PENCIL PRACTICE · BEGINNER GUIDE
Drawing buildings tutorial: a simple two-point perspective sketch
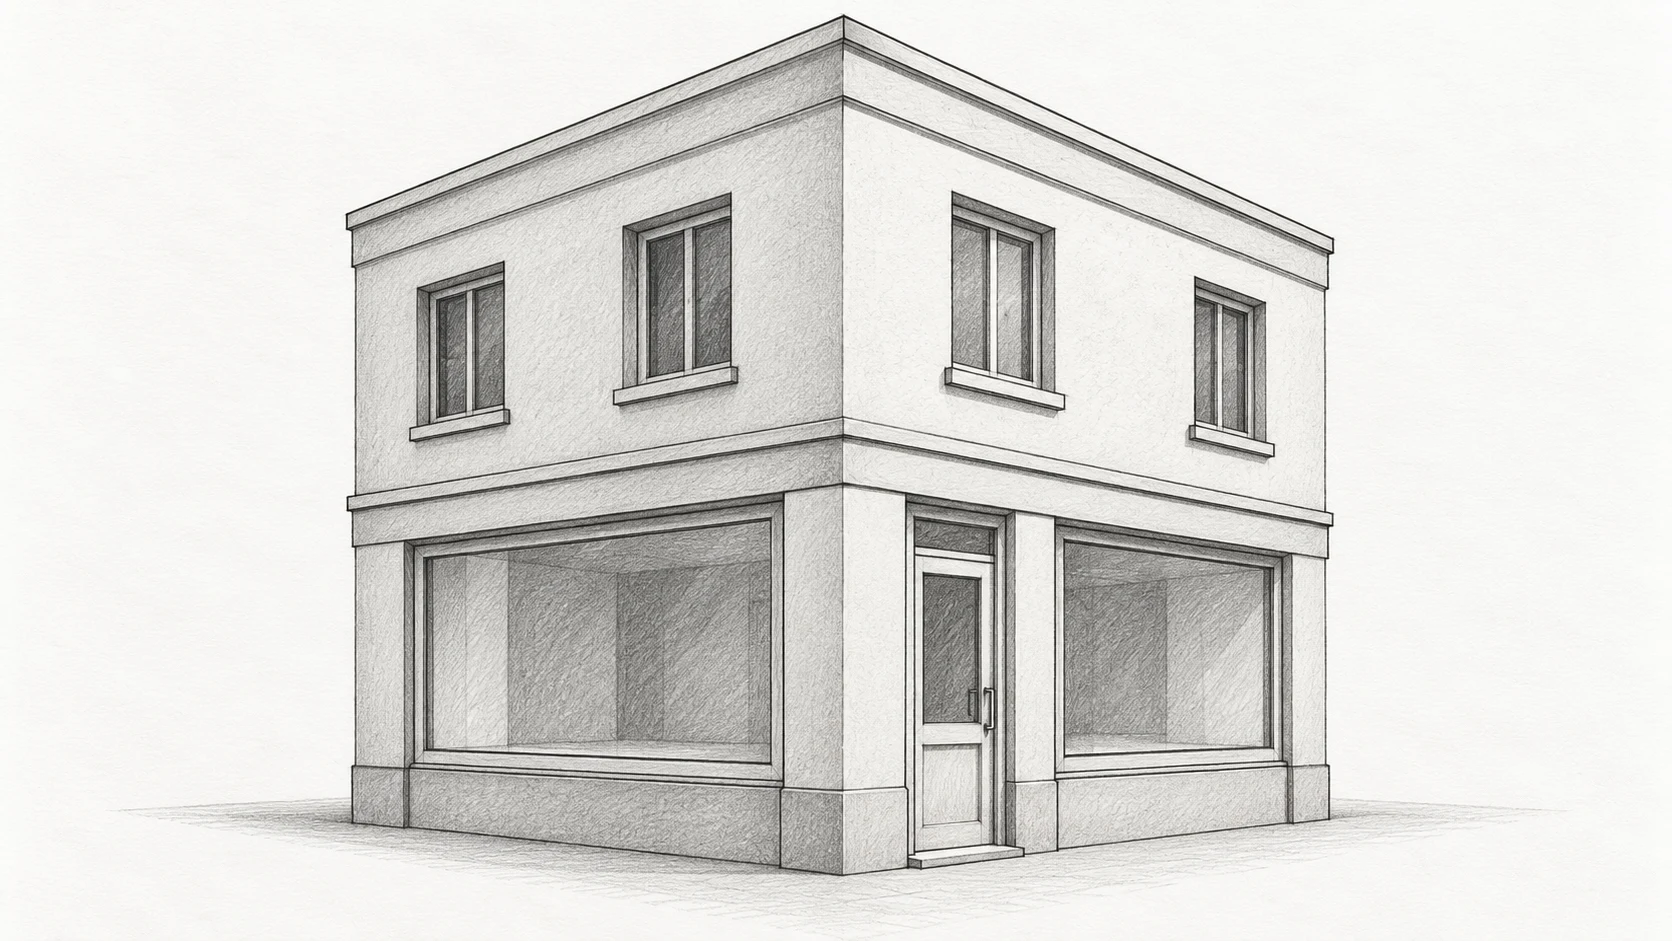
This drawing buildings tutorial uses one small corner shop to practise two-point perspective. You will draw the nearest vertical corner first, then send the horizontal wall edges toward two vanishing points. Keep the building plain while learning the construction. A convincing box with one well-placed door is a better exercise than a detailed facade whose window rows point in different directions.
What you need and how to begin
Use an HB pencil, an eraser, a ruler and a wide sheet of paper. Put the vanishing points well apart; you may tape spare paper beside your drawing if they fall outside the frame. This is an observational sketch exercise, not a measured construction drawing.
Choose a level view with the vertical edges kept upright. The reference shows two walls, but you do not need to copy its exact proportions. Plan the nearest corner slightly to one side so the two facades have different visible widths.
Drawing buildings tutorial — step by step
STEP 1 / 6
Mark the horizon and vanishing points
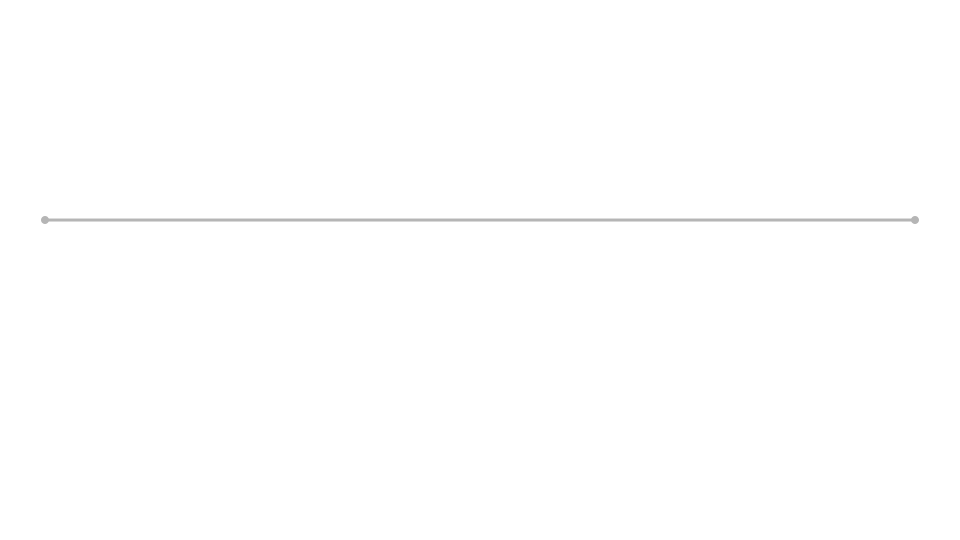
Black: earlier lines. Red: this step. Gray: temporary construction guides. Draw a light horizontal line across the sheet. Mark one vanishing point near each side, leaving enough distance between them for the building. Both points belong on the same horizon in this level-view exercise. If they are close together, the corner will appear sharply distorted.
Check your drawing: The two vanishing points should sit at the same height.
STEP 2 / 6
Draw the nearest corner
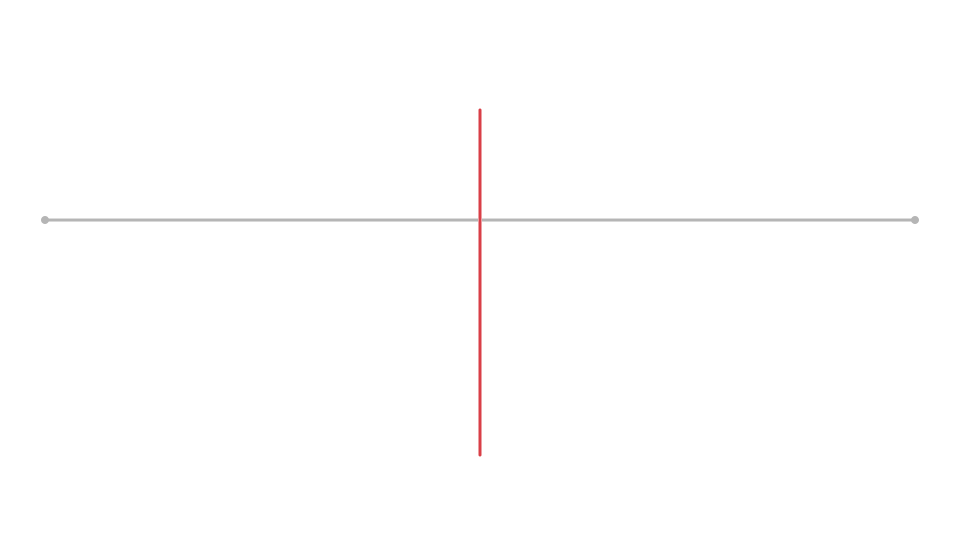
Black: earlier lines. Red: this step. Gray: temporary construction guides. Place a vertical segment across the horizon area to establish the nearest corner. Its top sets the roof height and its bottom sets the ground contact at that corner. Keep it upright; do not tilt it toward either vanishing point. This edge anchors the two walls.
Check your drawing: Compare the corner with the side of your paper to check its direction.
STEP 3 / 6
Construct both walls
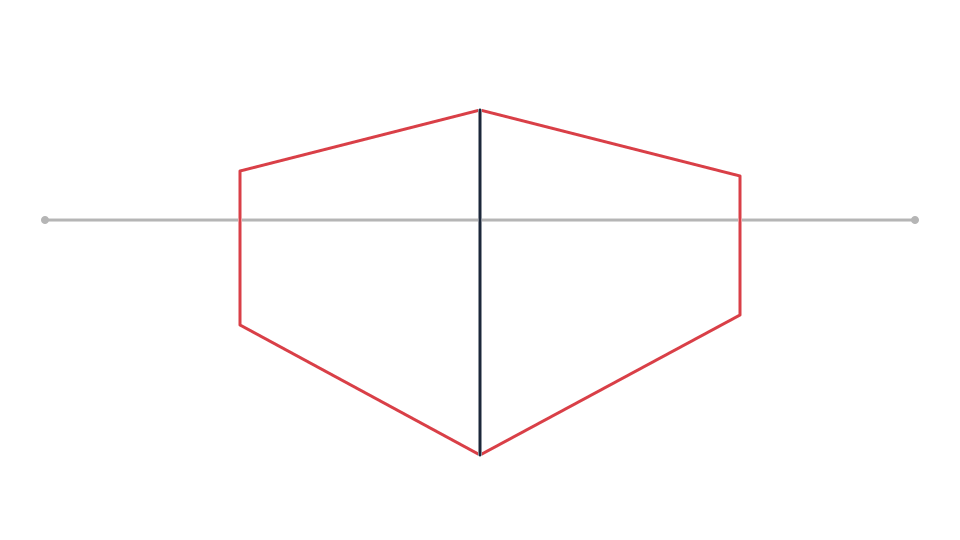
Black: earlier lines. Red: this step. Gray: temporary construction guides. Connect the top and bottom of the nearest corner to each vanishing point with faint guides. Choose the far end of each wall and close it with another vertical. You now have two joined wall shapes. Shorten either wall if the building looks too wide before committing to darker edges.
Check your drawing: Each wall has its own pair of edges converging toward its own point.
STEP 4 / 6
Add a shallow roof edge
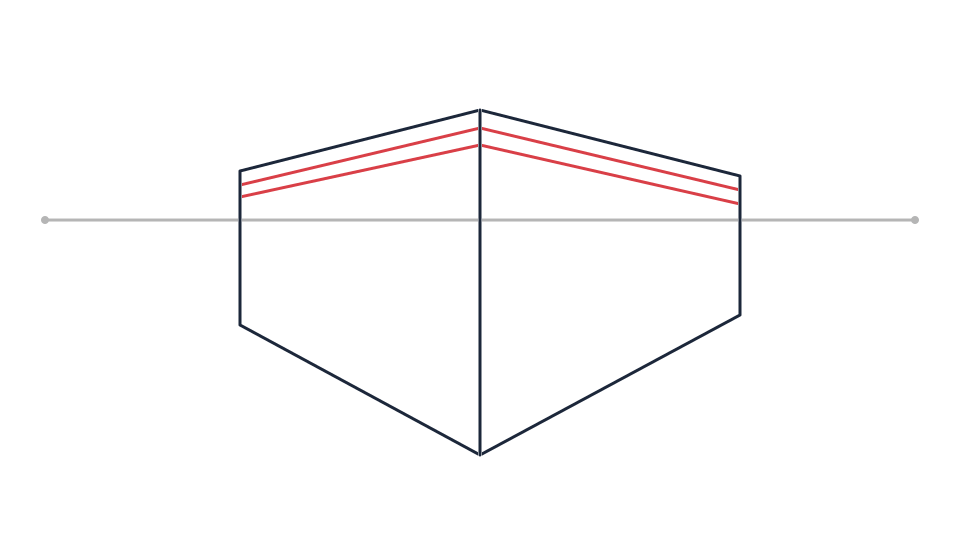
Black: earlier lines. Red: this step. Gray: temporary construction guides. Make a narrow band just below the top of each wall. Follow the same left and right convergence as the wall edges. Keep the roof form flat for this exercise. A pitched roof adds another set of directions and can be practised after the basic box feels clear.
Check your drawing: The roof band should stay attached at the front corner.
STEP 5 / 6
Place doors and windows
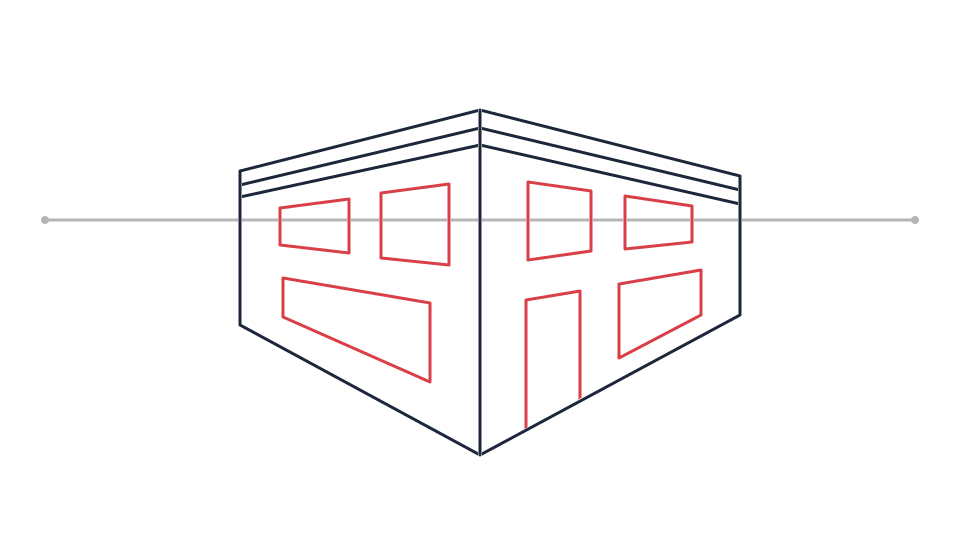
Black: earlier lines. Red: this step. Gray: temporary construction guides. Mark the top and bottom of a window row on one vertical edge, then project those levels toward the relevant vanishing point. Divide the row into a few windows with upright sides. Let windows become narrower with distance. Put the door on the ground edge rather than floating in the wall.
Check your drawing: Window tops on the same facade should share a convergence direction.
STEP 6 / 6
Clean the structure and add one shadow group
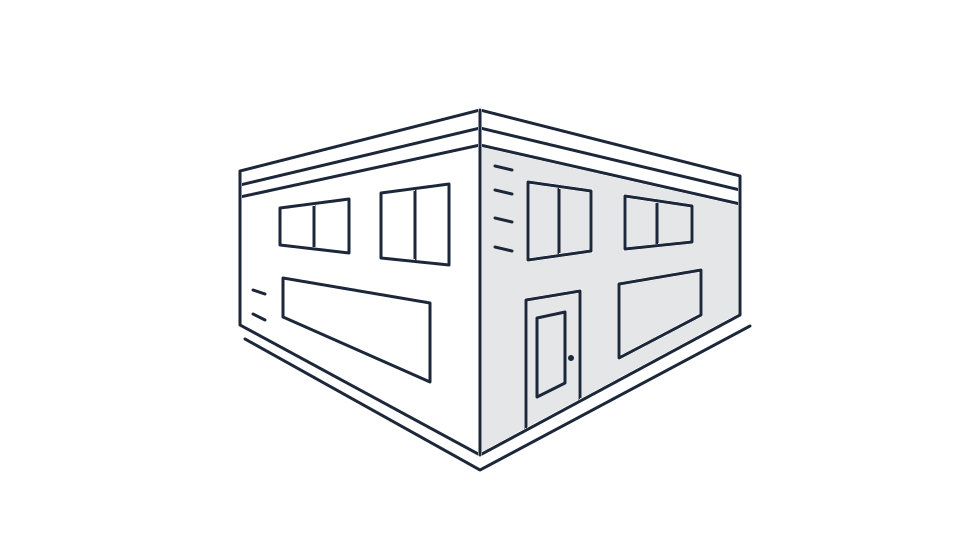
Finished practice line drawing; construction guides are removed. Erase guide lines beyond the building and lightly shade one wall. Leave the other wall mostly white. Add a short pavement edge that follows the ground perspective. Stop before drawing every brick; broad wall values help you judge the form without hiding the construction under texture.
Check your drawing: The untextured building should still read as a solid form.
Common problems and small corrections
The building looks twisted
Extend a questionable roof or window edge lightly. Check whether it reaches the vanishing point for that facade instead of drifting toward the opposite point.
The walls seem to fall over
For this particular level view, reset the vertical wall corners parallel to the paper sides. Do not mix a three-point view into only one corner.
Questions about this drawing exercise
Is this an architectural working drawing?
No. It is a free drawing exercise about perspective. It does not contain the dimensions, specifications or checks needed for construction.
Can I draw buildings without a ruler?
Yes. Use a ruler to understand the direction first, then practise short freehand strokes along the same guides.
Why are my windows squeezed?
The wall may be too short or the vanishing points too close. Simplify the facade to two windows and recheck the box before adding more.
Try a second sketch
Repeat this drawing buildings tutorial with a wider front wall and fewer windows. Keep the same horizon and check every receding edge before adding a second building. A small street scene is easier when each simple box already works.