BEGINNER DRAWING LESSON · 6 STEPS
How to draw a smiling cat in 6 steps
Take out a pencil and a sheet of paper. Keep the black lines you have already drawn; add only the red lines in each new picture.
Looking for another beginner subject? Follow the eight-step rose drawing guide, browse animal drawing references, or learn how to draw from a reference photo.

STEP 1 / 6
Face and ears
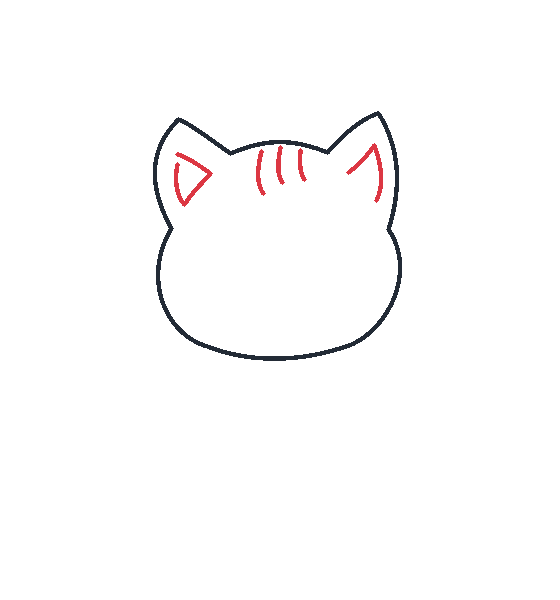
Start at one pointed ear and follow the rounded cheek down toward the chin. Continue around the opposite cheek and ear, keeping space below for the body.
STEP 2 / 6
Inner ears and stripes
Inside each ear, add a small triangular shape. Draw three short, curved stripes on the forehead without changing the outer head outline.

STEP 3 / 6
A smile and whiskers
Draw two upward-curving eyes at the same height. Add a small nose, two curves for the mouth, and whiskers extending out from each cheek.

STEP 4 / 6
The body outline
Begin below the cheeks and curve down both sides of the body. Join the lower outline, then add the short chest lines while leaving room for the paws.
STEP 5 / 6
Front paws and toes
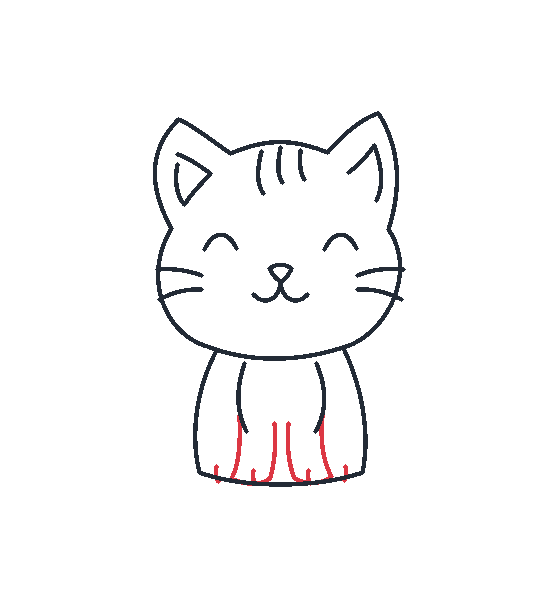
Draw two front paws inside the lower body outline. Use small curves to round the feet, then add a few short toe lines.
STEP 6 / 6
A curled tail
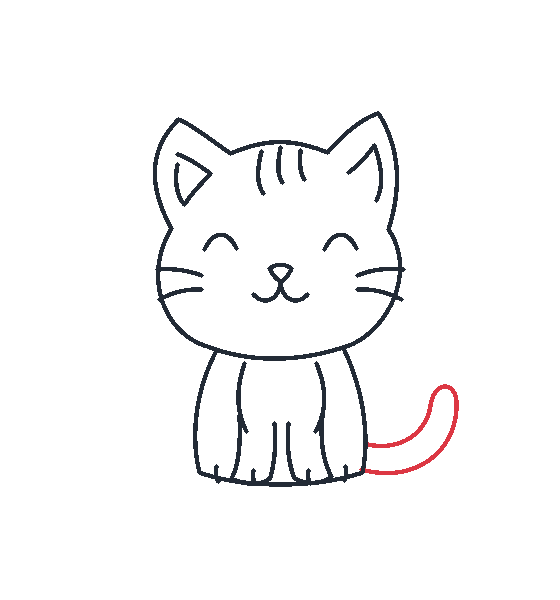
From the right side of the body, curve outward and upward to form the tail. Round the tip and return toward the body; keep all earlier lines in place.