ORIGINAL DRAWING LESSON
Violin
Let's learn how to draw a musical instrument. The violin is a stringed bowed musical instrument with a gentle and expressive sound, capable of conveying a wide range of emotions. Its graceful shape and resonant body allow it to create melodies that can be both lyrically contemplative and virtuously swift. Playing the violin requires the performer to have not only technical mastery but also a deep understanding of music to reveal the full beauty and depth of its voice.

STEP 1 / 14
Step 1
Let's draw a violin. We start with two circles in the upper and lower parts of the sheet. The upper circle should be significantly smaller than the lower one.
Use this image in the tutorial maker →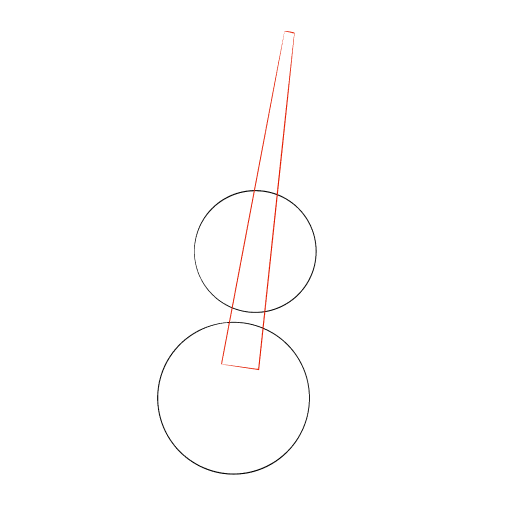
STEP 2 / 14
Step 2
Draw the outline of the neck and bridge using an elongated trapezoid.
Use this image in the tutorial maker →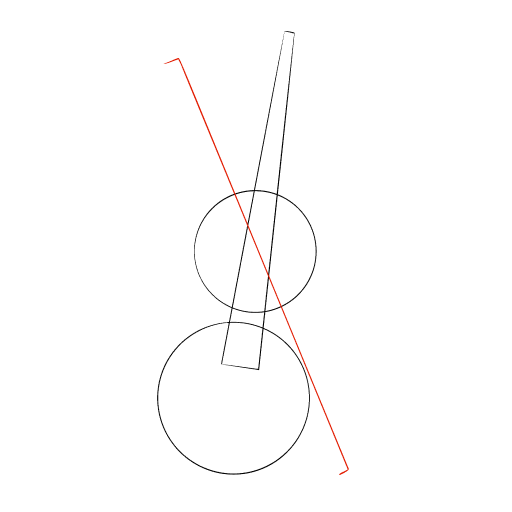
STEP 3 / 14
Step 3
Outline the position of the bow with a straight line.
Use this image in the tutorial maker →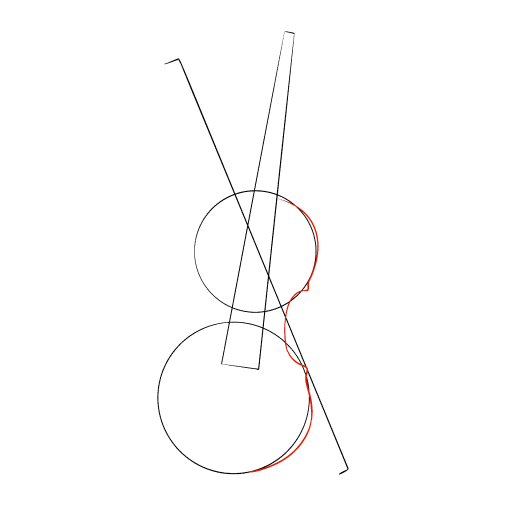
STEP 4 / 14
Step 4
Let's start shaping the body. Draw its right side along the contour of the previously drawn circles.
Use this image in the tutorial maker →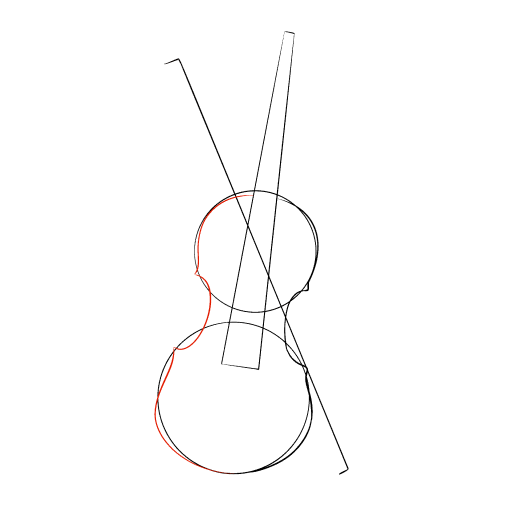
STEP 5 / 14
Step 5
Next, draw the right side of the body. The left and right sides should be a perfect mirror image of each other relative to the central axis.
Use this image in the tutorial maker →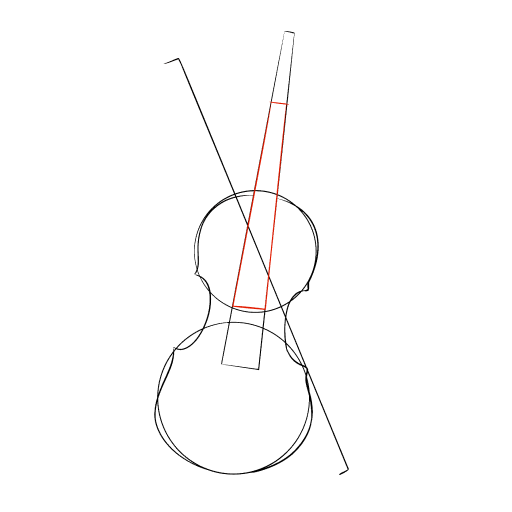
STEP 6 / 14
Step 6
Refine the shape of the neck. From the scroll side, it should smoothly widen into the pegbox.
Use this image in the tutorial maker →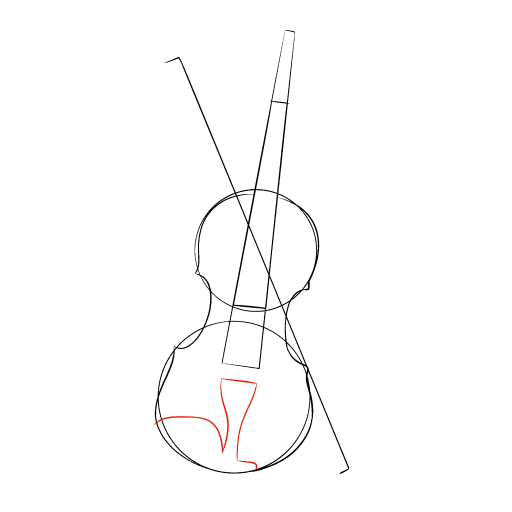
STEP 7 / 14
Step 7
Add the chin rest and tailpiece—the part where the strings are attached.
Use this image in the tutorial maker →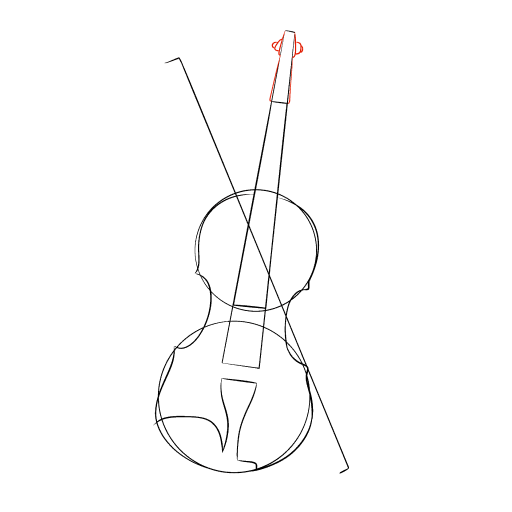
STEP 9 / 14
Step 9
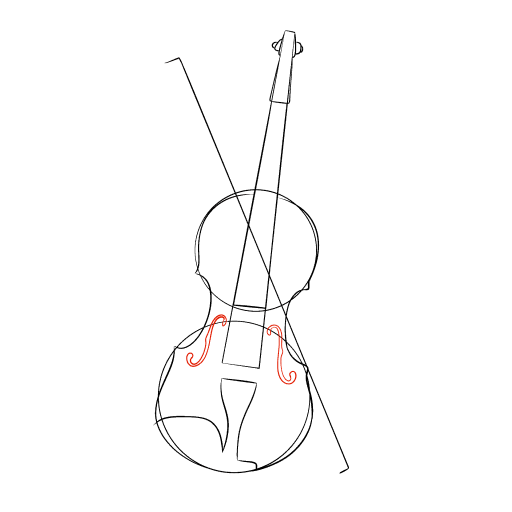
Next, let's draw the 'f-holes,' which are elements in the shape of the letter 'f' that are always positioned symmetrically.
Use this image in the tutorial maker →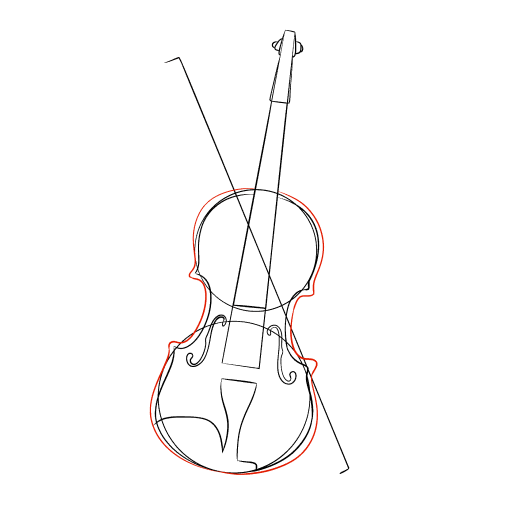
STEP 10 / 14
Step 10
Let's give the violin body volume by drawing a line along the contour to show the thickness of the wooden body and give the instrument volume.
Use this image in the tutorial maker →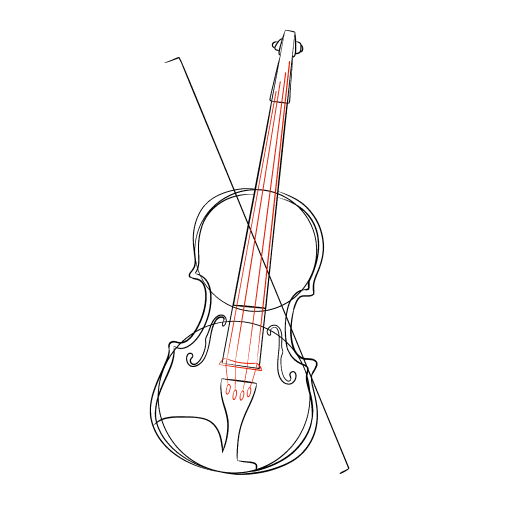
STEP 11 / 14
Step 11
Draw the strings. These are four parallel lines that run from the pegbox to the tailpiece.
Use this image in the tutorial maker →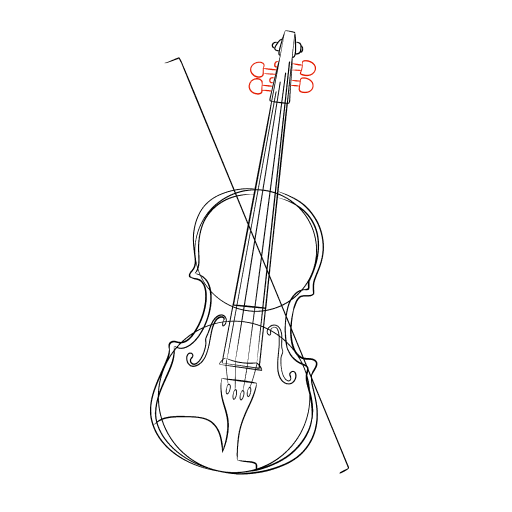
STEP 12 / 14
Step 12
Add the pegs, two on each side of the pegbox.
Use this image in the tutorial maker →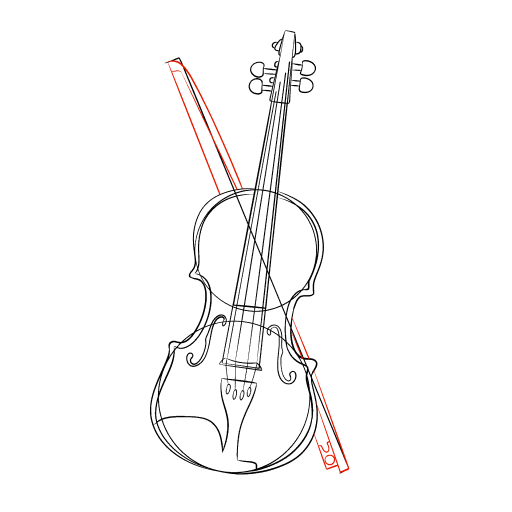
STEP 14 / 14
Step 14
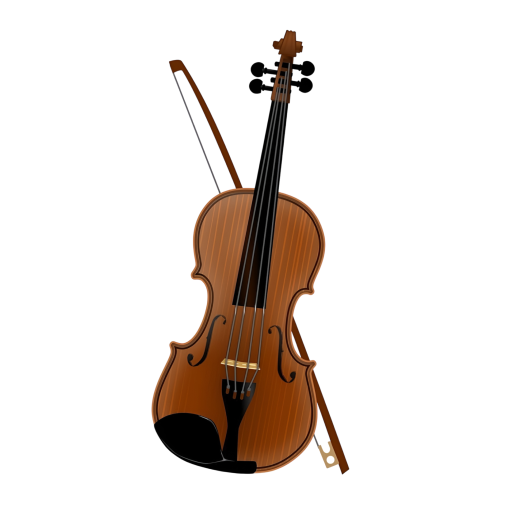
The violin is ready! A great drawing. Color it in.
Use this image in the tutorial maker →


