ORIGINAL DRAWING LESSON
Trumpet
Let's learn how to draw one of the musical instruments—the trumpet. Start with smooth, curved lines to convey the elegant shape of the trumpet's body, paying attention to the transitions from the wide bell to the narrower part. Then add details such as the valves and mouthpiece, using clear lines and shadows to give the instrument volume and realism. Finally, with light strokes or soft color transitions, emphasize the shine of the metal, creating a sense of a polished surface and reflections.
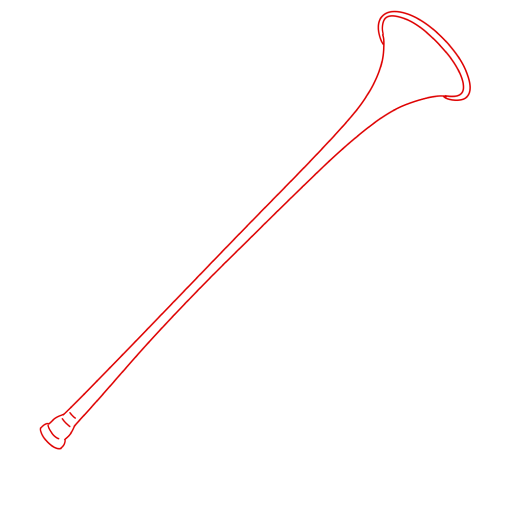
STEP 1 / 6
Step 1
Draw this shape; this part is called the 'bell'.
Use this image in the tutorial maker →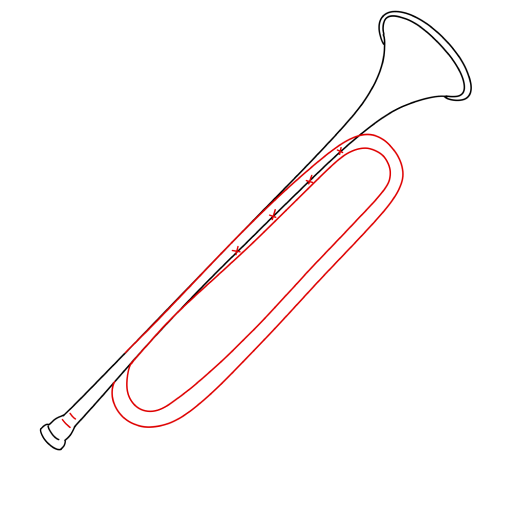
STEP 2 / 6
Step 2
Continue this shape by curving the instrument. The parts marked with crosses will need to be erased; this is the 'tubing'.
Use this image in the tutorial maker →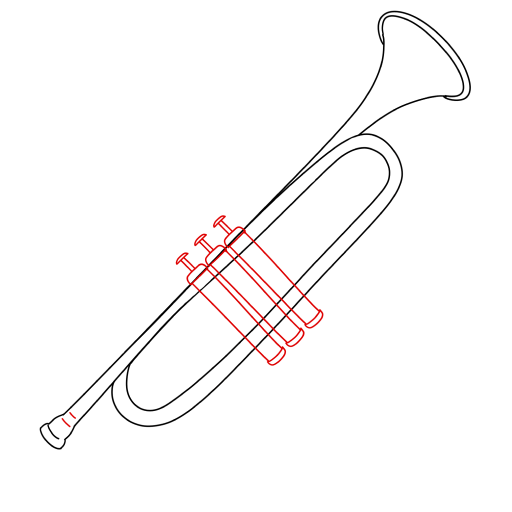
STEP 3 / 6
Step 3
Perpendicular to the trumpet, draw three valves.
Use this image in the tutorial maker →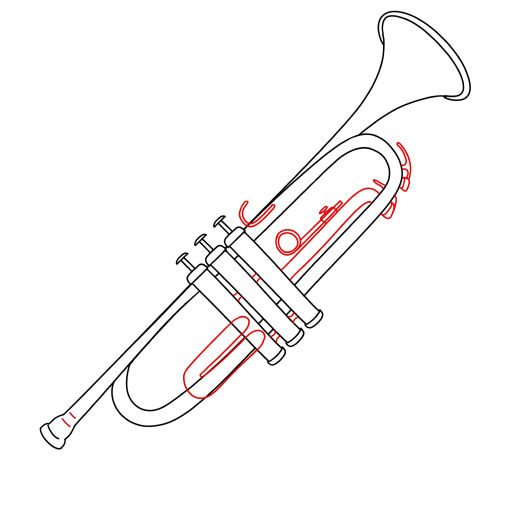
STEP 4 / 6
Step 4
Next, you need to add various small details of the instrument.
Use this image in the tutorial maker →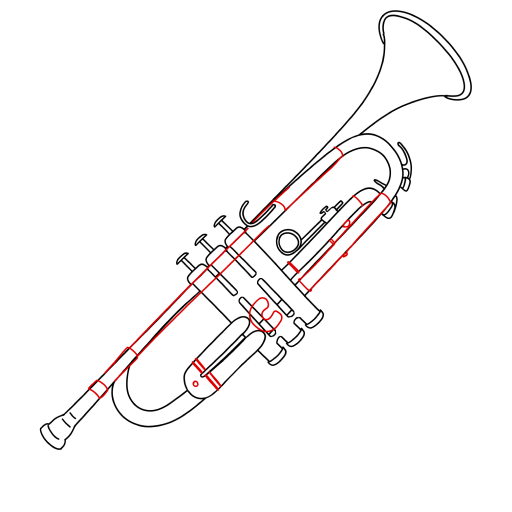
STEP 5 / 6
Step 5
Draw or correct the necessary parts of the drawing; you can also use reference photos of a real trumpet.
Use this image in the tutorial maker →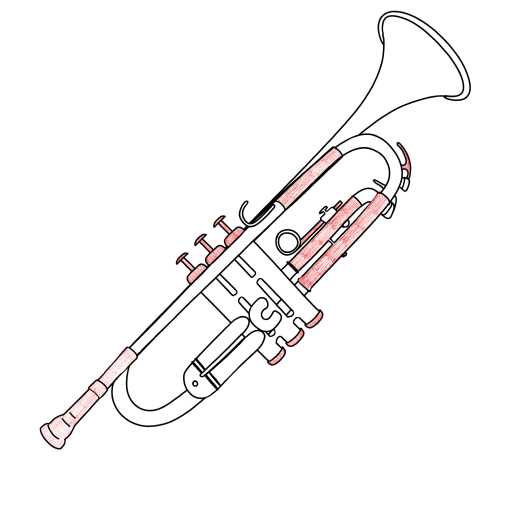
STEP 6 / 6
Step 6
Mentally distribute the darker parts of the instrument; they can be hatched. The drawing is ready!
Use this image in the tutorial maker →


