ORIGINAL DRAWING LESSON
A Small Child
Creating a small child's image on paper is a touching journey into a world of innocence and unique emotions. Start with gentle, barely noticeable strokes, capturing the fragility and softness of a child's features. Gradually fill the drawing with life, trying to convey the trusting gaze, chubby cheeks, and that special warmth that radiates from a child.

STEP 1 / 15
Step 1
With barely noticeable lines, mark the top and bottom of the drawing to define its overall size.
Use this image in the tutorial maker →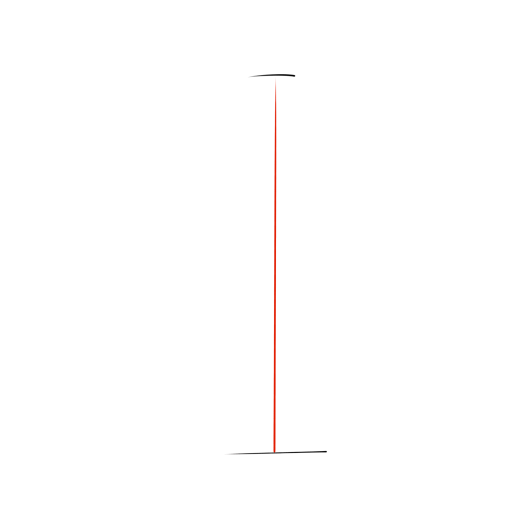
STEP 2 / 15
Step 2
Draw a vertical axis of symmetry — this will help maintain proportions.
Use this image in the tutorial maker →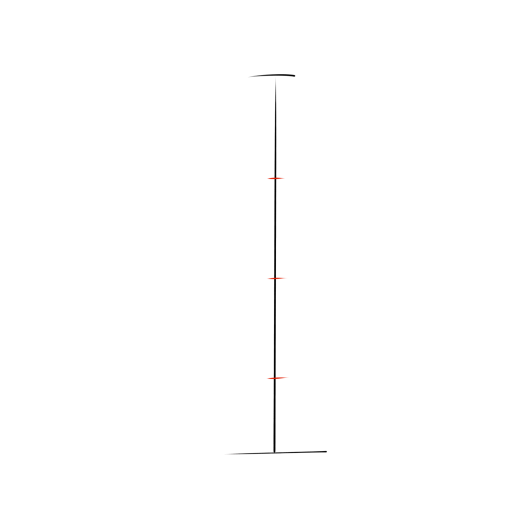
STEP 3 / 15
Step 3
Divide the vertical axis into four equal parts. One segment will be equal to the size of the head — this is the basis for further measurements.
Use this image in the tutorial maker →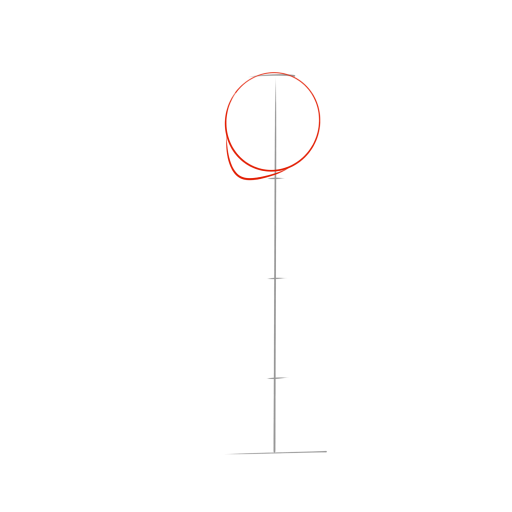
STEP 4 / 15
Step 4
In the upper part, draw a circle and add a rounded chin to it, forming the contour of the head.
Use this image in the tutorial maker →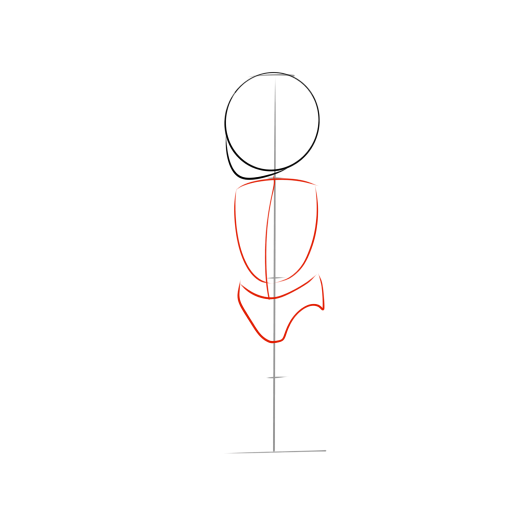
STEP 5 / 15
Step 5
Sketch the chest in the shape of an inverted egg in the second segment. In the middle of the third segment, use smooth strokes to mark the pelvis.
Use this image in the tutorial maker →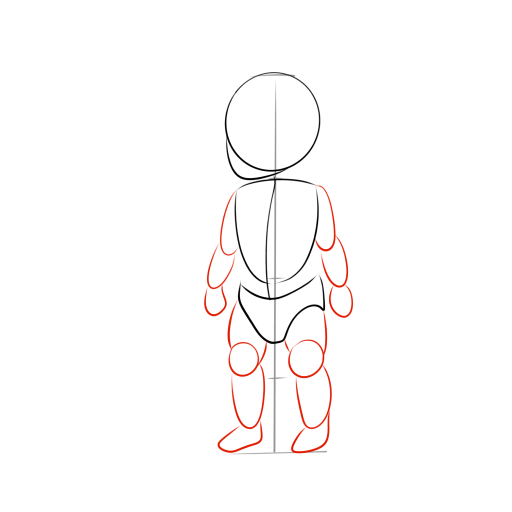
STEP 6 / 15
Step 6
With light lines, sketch the direction of the arms and legs, mark the joints (elbows, knees) and the position of the hands and feet.
Use this image in the tutorial maker →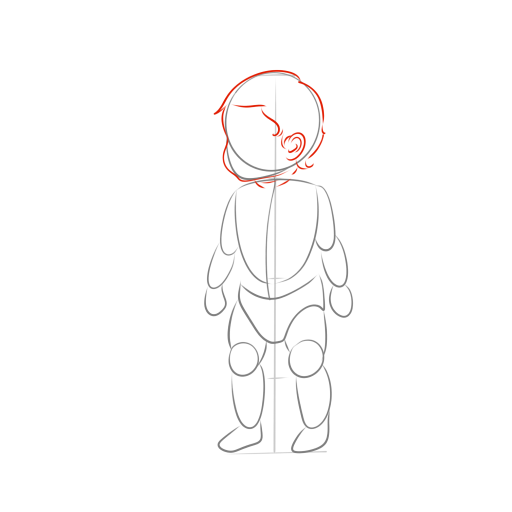
STEP 7 / 15
Step 7
Refine the oval of the face and the hairstyle to make the image more expressive.
Use this image in the tutorial maker →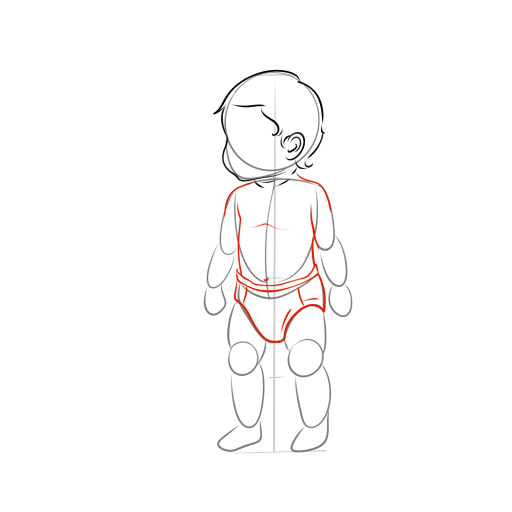
STEP 8 / 15
Step 8
Work on the torso: define the chest, tummy, and add a diaper, using the contours of the pelvis as a guide.
Use this image in the tutorial maker →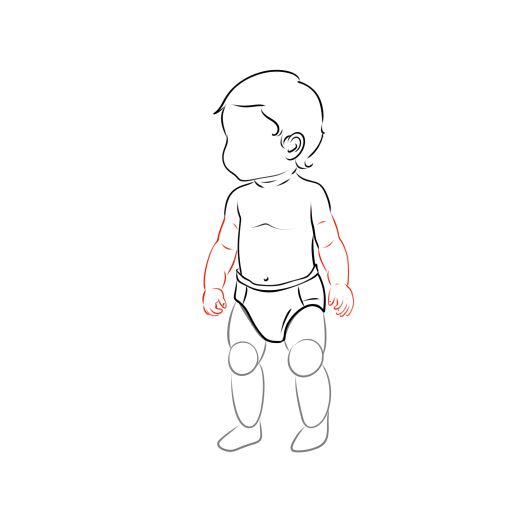
STEP 9 / 15
Step 9
Detail the arms, carefully shaping them. Divide the hand into two parts: fingers together and the thumb separately.
Use this image in the tutorial maker →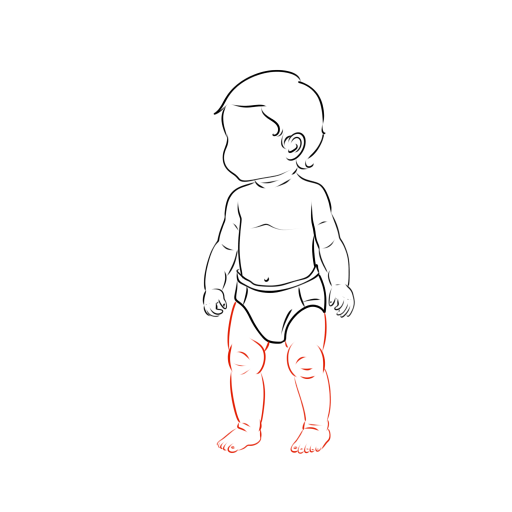
STEP 10 / 15
Step 10
Draw the legs, emphasize the knees, and add natural folds at the bends.
Use this image in the tutorial maker →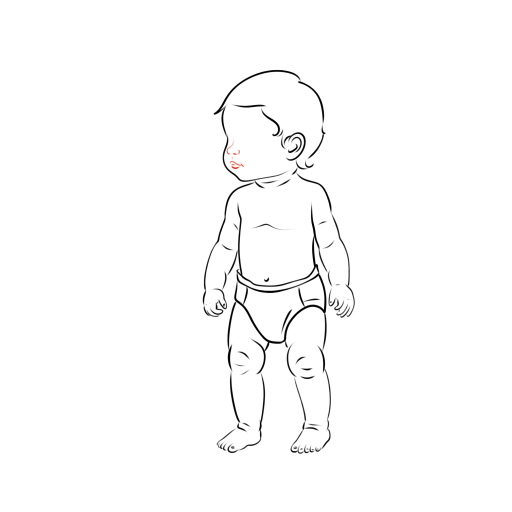
STEP 11 / 15
Step 11
Schematically depict the facial features: the nose and mouth.
Use this image in the tutorial maker →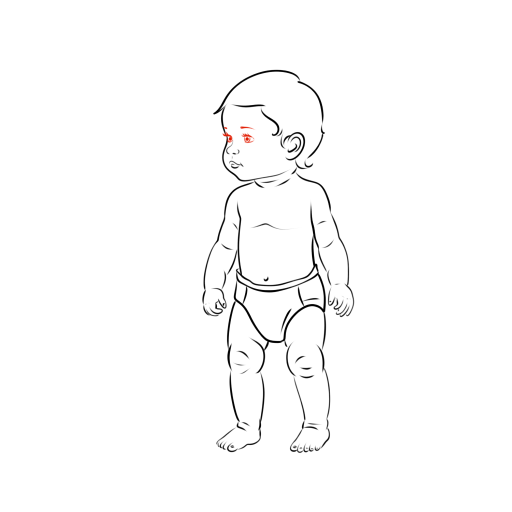
STEP 12 / 15
Step 12
Draw large, expressive eyes and eyebrows — this will give the child liveliness.
Use this image in the tutorial maker →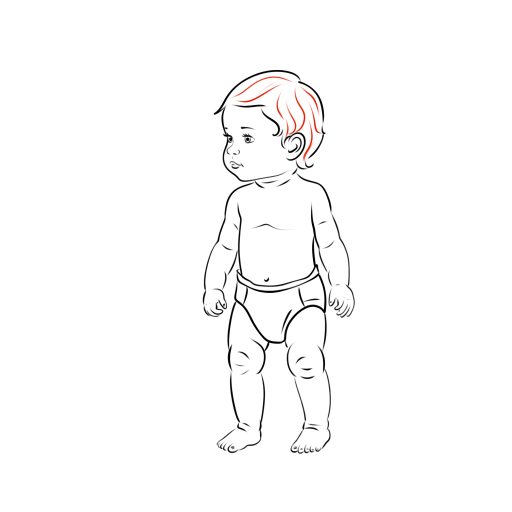
STEP 13 / 15
Step 13
Add details to the hairstyle: individual strands to make the hair look natural.
Use this image in the tutorial maker →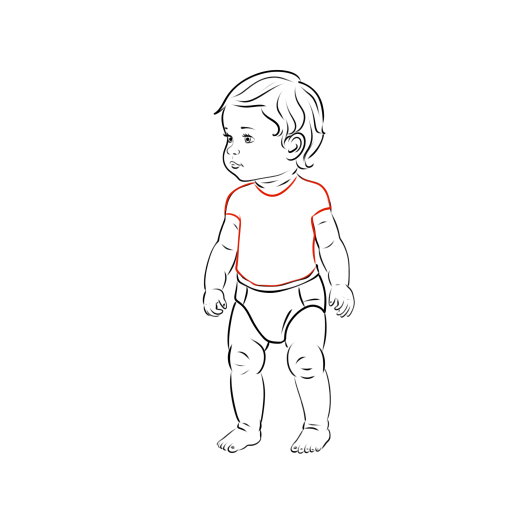
STEP 14 / 15
Step 14
Draw a T-shirt that follows the shape of the body.
Use this image in the tutorial maker →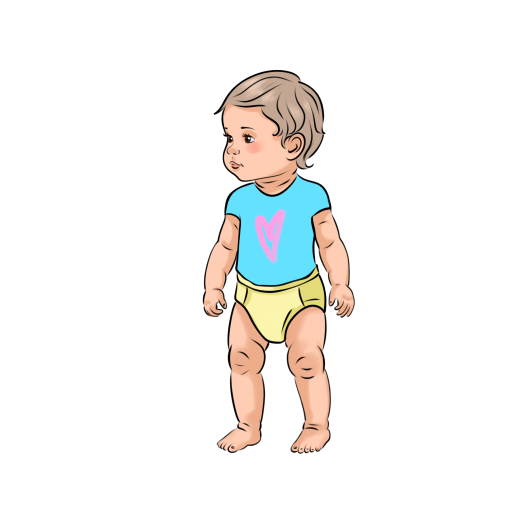
STEP 15 / 15
Step 15
The drawing is ready! All that's left is to color it, following the example.
Use this image in the tutorial maker →


