ORIGINAL DRAWING LESSON
School Bus
It's back-to-school time, and let's draw a bright school bus together—a symbol of the road to knowledge. The step-by-step instructions will help you create a drawing easily and beautifully.
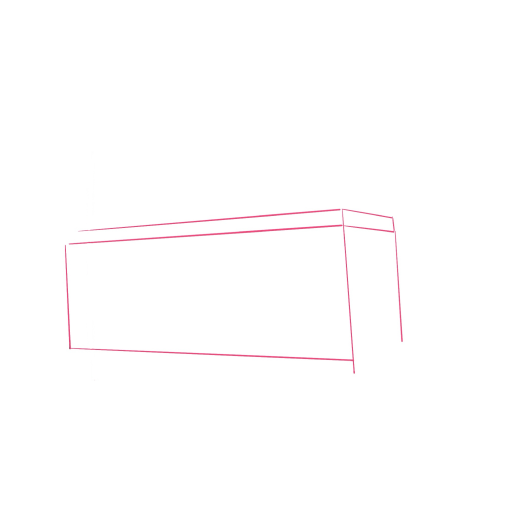
STEP 1 / 8
Step 1
Draw a long rectangle in perspective—this is the body of the bus. Slightly tilt the lines to make the bus look three-dimensional.
Use this image in the tutorial maker →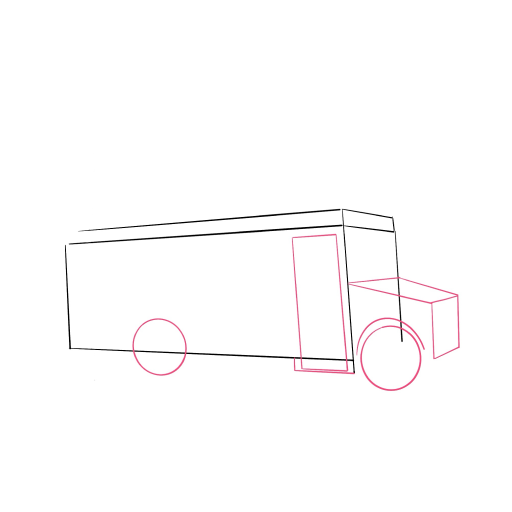
STEP 2 / 8
Step 2
In the front, add a protruding hood—a trapezoid in perspective. Next to it, a vertical rectangle for the future door. The wheels are circles, with the front one slightly larger as it is closer to the viewer.
Use this image in the tutorial maker →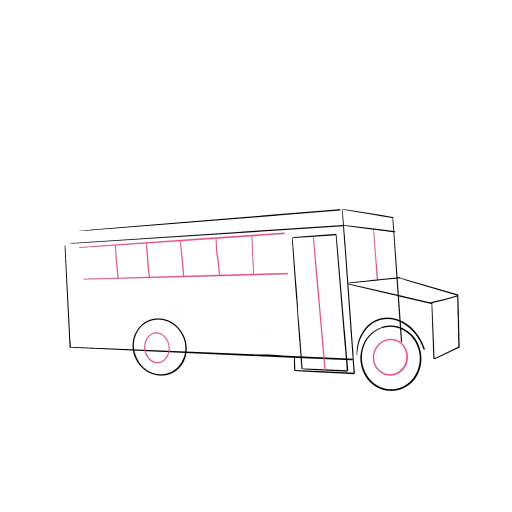
STEP 3 / 8
Step 3
Outline the inner part of the wheel (discs). On the body, draw two horizontal lines and divide the top part into rectangular windows. Add a division for the window on the door and the windshield.
Use this image in the tutorial maker →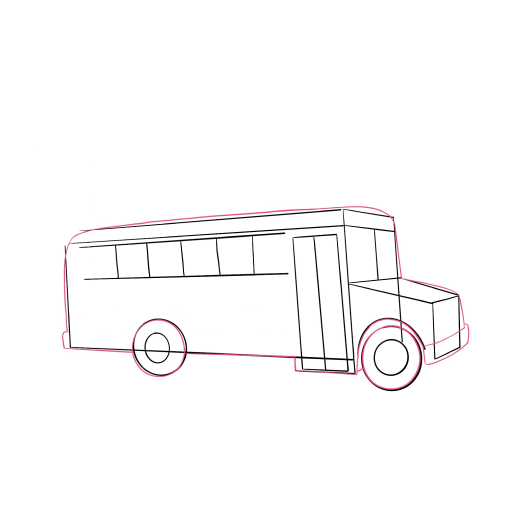
STEP 4 / 8
Step 4
Erase unnecessary lines and combine all the details into the bus body. Make the bus roof rounded, add smooth lines on the hood and the back of the body.
Use this image in the tutorial maker →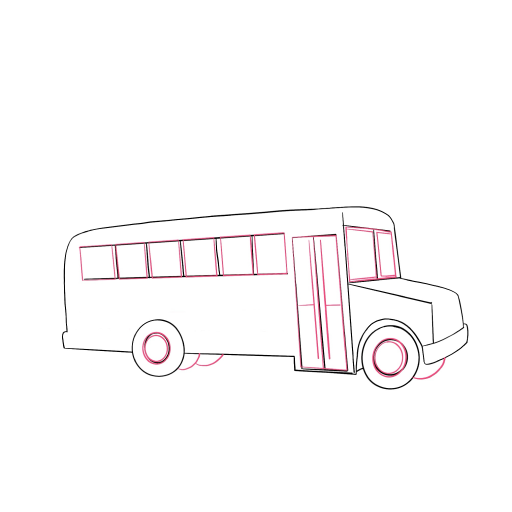
STEP 5 / 8
Step 5
Draw all the windows on the bus: windows, the door, and the windshield for the driver. Add the wheels that are on the other side.
Use this image in the tutorial maker →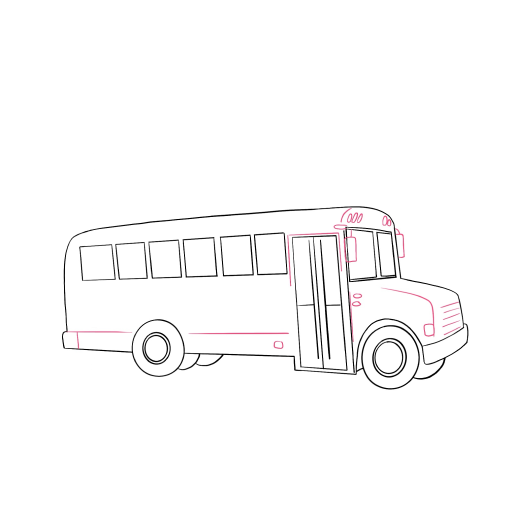
STEP 6 / 8
Step 6
Add details to the bus body: headlights, radiator grille, turn signals, and hood lines. Outline the side mirrors.
Use this image in the tutorial maker →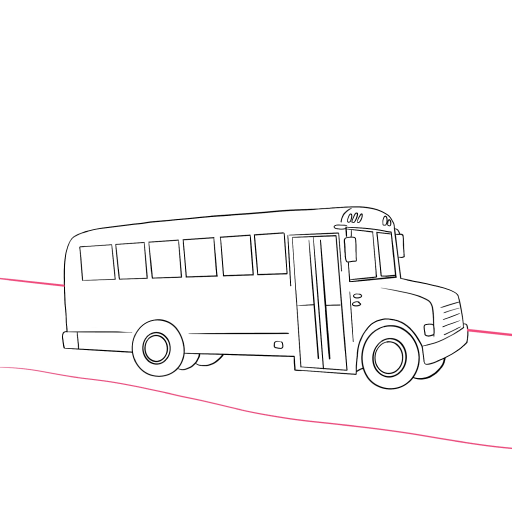
STEP 8 / 8
Step 8
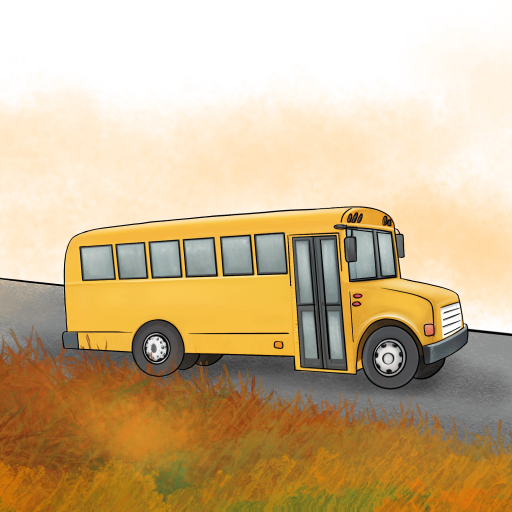
The autumn composition is ready, color it according to the example.
Use this image in the tutorial maker →


