ORIGINAL DRAWING LESSON

School Backpack

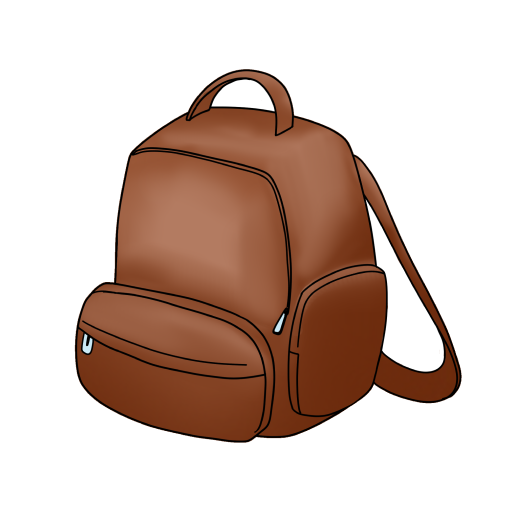
In this lesson, we will learn how to draw the main attribute of all students—a backpack. First, draw a rectangle for the main body of the backpack, then add the top part with straps and a handle. After that, detail the front pocket, zippers, and other elements to give it a realistic look. Finally, add shadows and highlights to emphasize volume and texture, completing the look of the school companion.

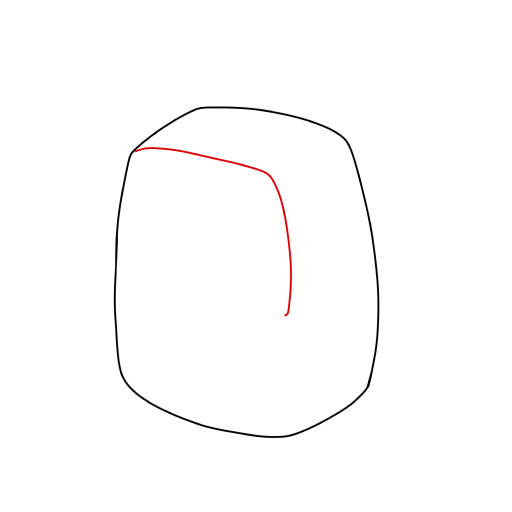
  1. School Backpack — step 1

    STEP 1 / 10

    Step 1

    Draw this shape for the backpack

    Use this image in the tutorial maker →
  2. School Backpack — step 2

    STEP 2 / 10

    Step 2

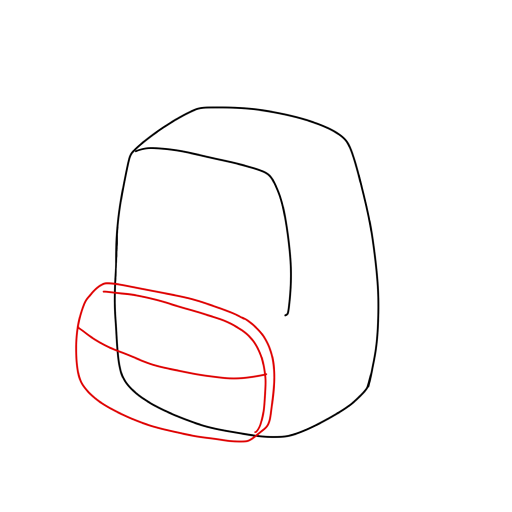
    Add a large pocket with a line

    Use this image in the tutorial maker →
  3. School Backpack — step 3

    STEP 3 / 10

    Step 3

    Draw a small pocket at the bottom

    Use this image in the tutorial maker →
  4. School Backpack — step 4

    STEP 4 / 10

    Step 4

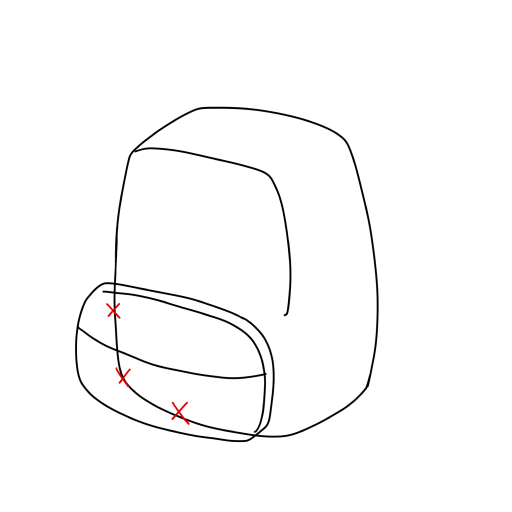
    Remove extra lines

    Use this image in the tutorial maker →
  5. School Backpack — step 5

    STEP 5 / 10

    Step 5

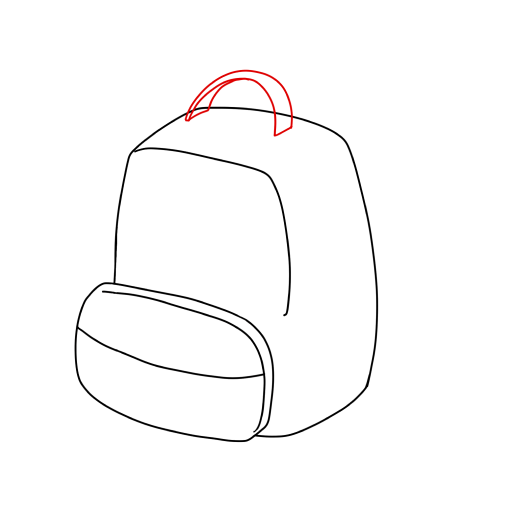
    Add a handle at the top

    Use this image in the tutorial maker →
  6. School Backpack — step 6

    STEP 6 / 10

    Step 6

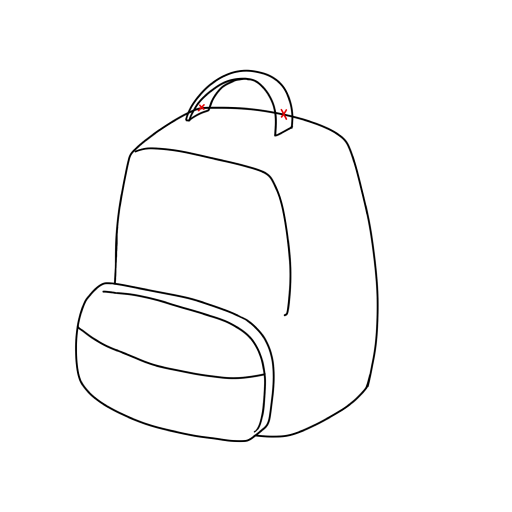
    Remove extra lines

    Use this image in the tutorial maker →
  7. School Backpack — step 7

    STEP 7 / 10

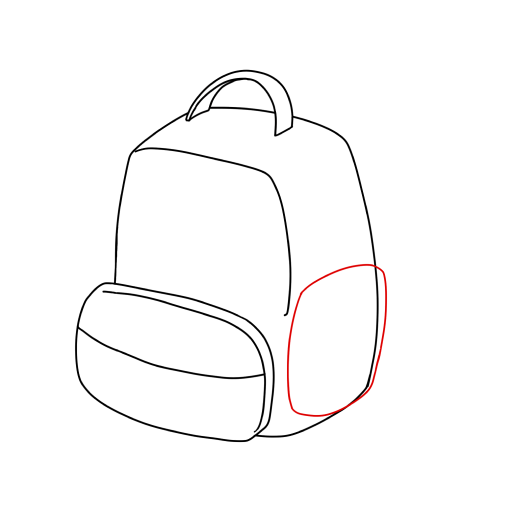
    Step 7

    Draw a side pocket on the side

    Use this image in the tutorial maker →
  8. School Backpack — step 8

    STEP 8 / 10

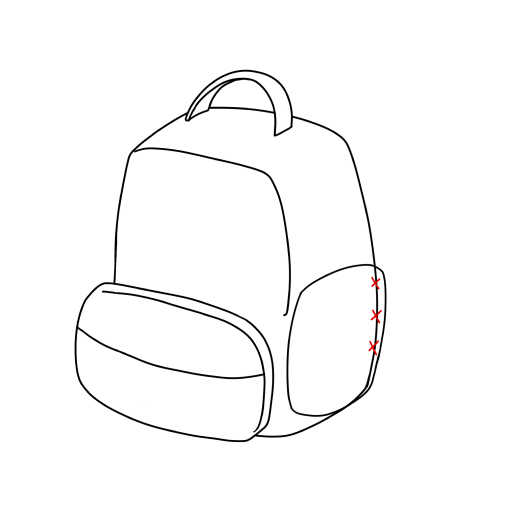
    Step 8

    Remove extra lines

    Use this image in the tutorial maker →
  9. School Backpack — step 9

    STEP 9 / 10

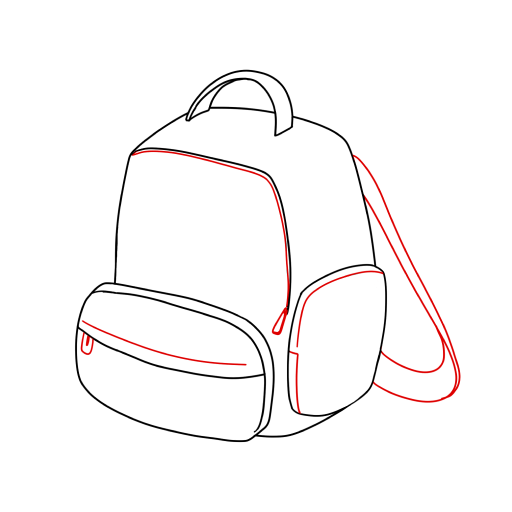
    Step 9

    Add details: a long strap, a zipper pull, and so on

    Use this image in the tutorial maker →
  10. School Backpack — step 10

    STEP 10 / 10

    Step 10

    The drawing is complete! You can color it according to the example.

    Use this image in the tutorial maker →