ORIGINAL DRAWING LESSON
Rocking Horse
Drawing a rocking horse is a fun activity full of bright colors and imagination. First, draw simple shapes for the body, head, and legs, and then add details like the mane, tail, and saddle. Don't forget to color the horse in your favorite colors to make it unique and special!

STEP 1 / 13
Step 1
Let's start by drawing a small semicircle. This is the base for the head of the future toy.
Use this image in the tutorial maker →
STEP 2 / 13
Step 2
From the top of the head, draw two symmetrical little triangles – these are our horse's ears.
Use this image in the tutorial maker →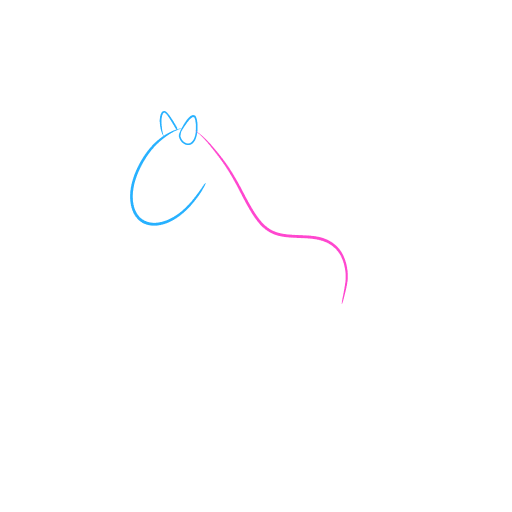
STEP 3 / 13
Step 3
From the back of the head, draw a long, smooth, curved arc downwards. This line will outline the horse's neck, back, and rump, setting the main pose of the toy.
Use this image in the tutorial maker →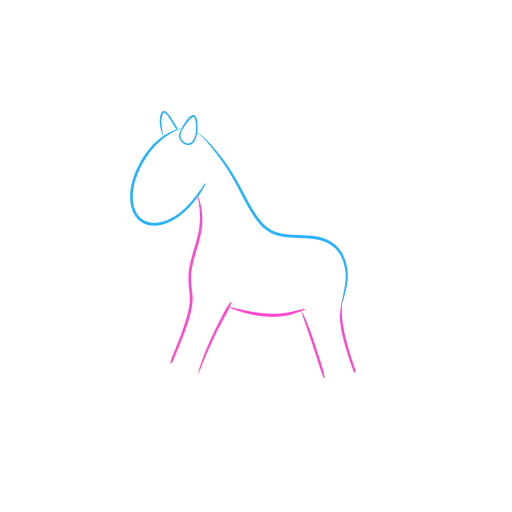
STEP 4 / 13
Step 4
From the lower part of the arc (in the chest area), draw a slightly curved line downwards — this is the front leg. Then complete the outline by drawing the lines for the legs and belly.
Use this image in the tutorial maker →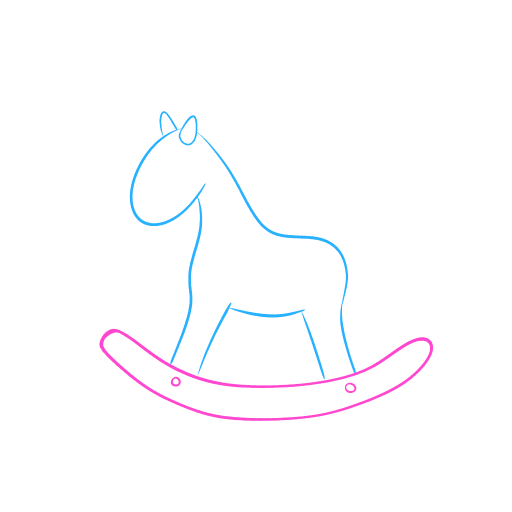
STEP 5 / 13
Step 5
Connect the bottom points of the front and back legs with a long, smooth curved line, like a smile. This will be the bottom edge of the rocking arch.
Use this image in the tutorial maker →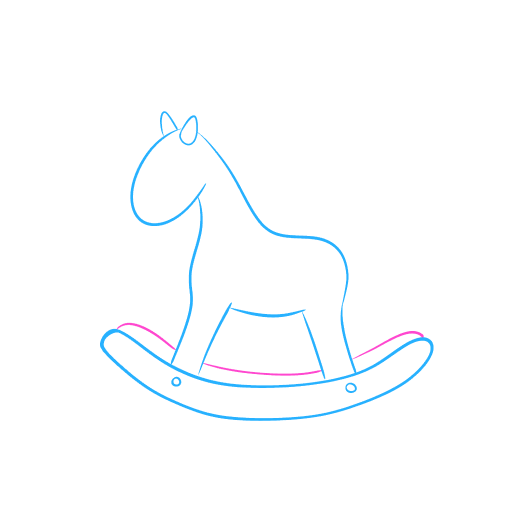
STEP 6 / 13
Step 6
Draw a second arched line, exactly replicating the shape of the first, but at some distance above it. Now we have a three-dimensional rocking arch.
Use this image in the tutorial maker →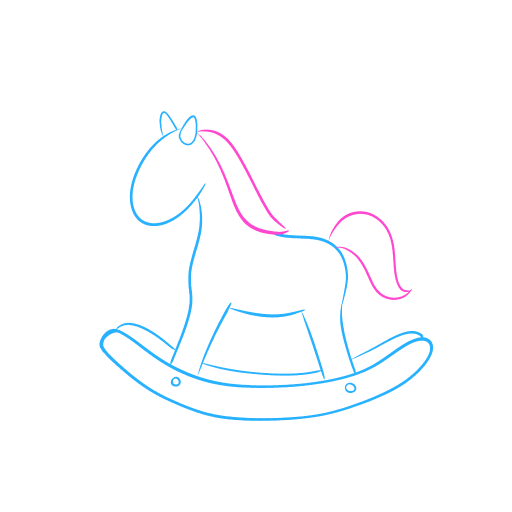
STEP 7 / 13
Step 7
Draw a lush mane along the curved line of the neck and back. Depict the tail as a fluffy tuft of hair at the end of the rump. Make the lines of the mane and tail wavy for a fluffy look.
Use this image in the tutorial maker →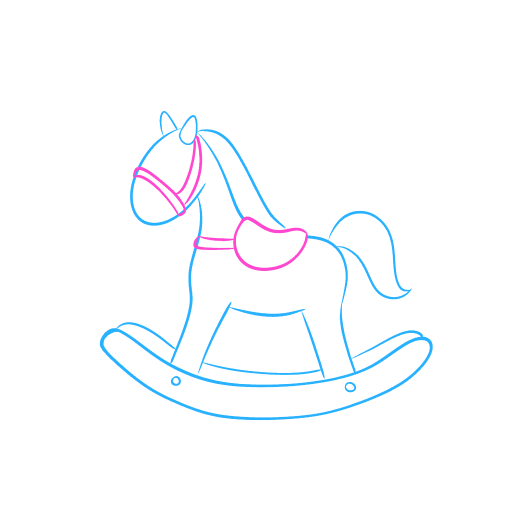
STEP 8 / 13
Step 8
Add details: draw a bridle in the form of straps on the muzzle and ties underneath, and depict a saddle on the back.
Use this image in the tutorial maker →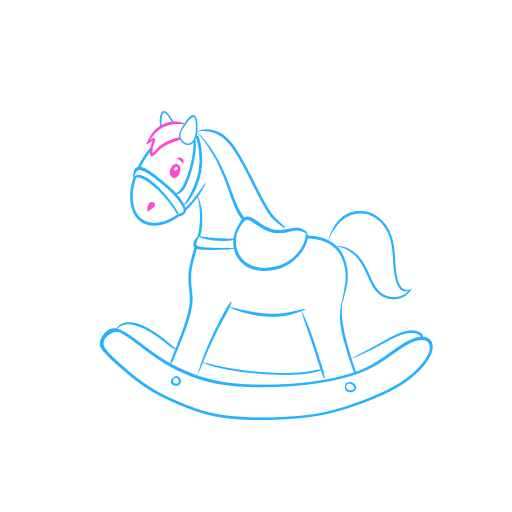
STEP 9 / 13
Step 9
Draw a kind eye, a nostril, and a smile on the muzzle, and a forelock.
Use this image in the tutorial maker →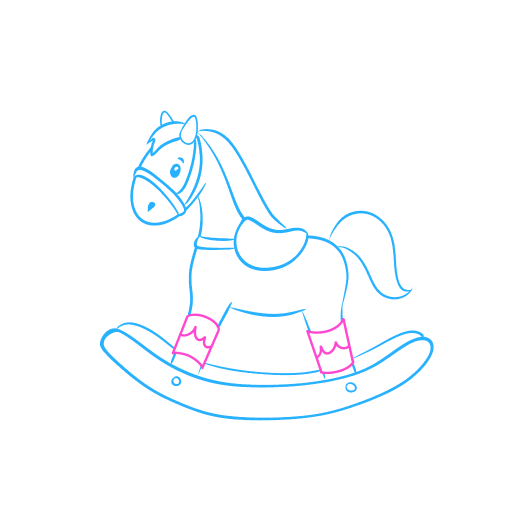
STEP 11 / 13
Step 11
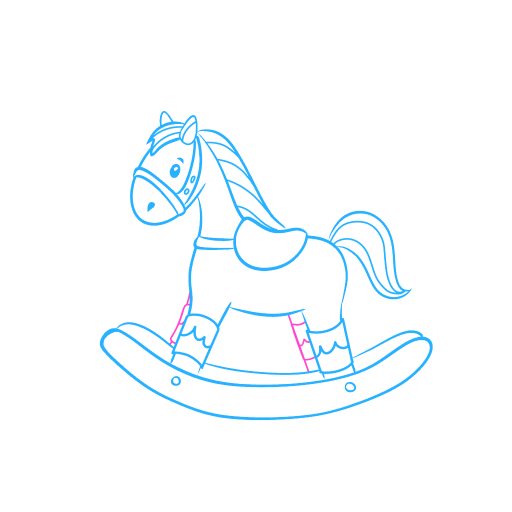
Draw the second pair of legs behind the first and decorate them as well.
Use this image in the tutorial maker →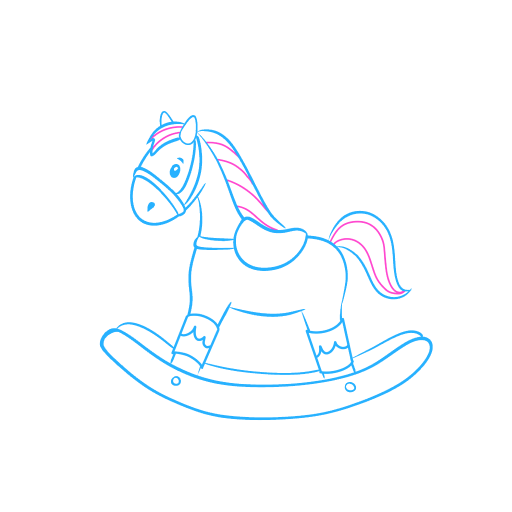
STEP 13 / 13
Step 13
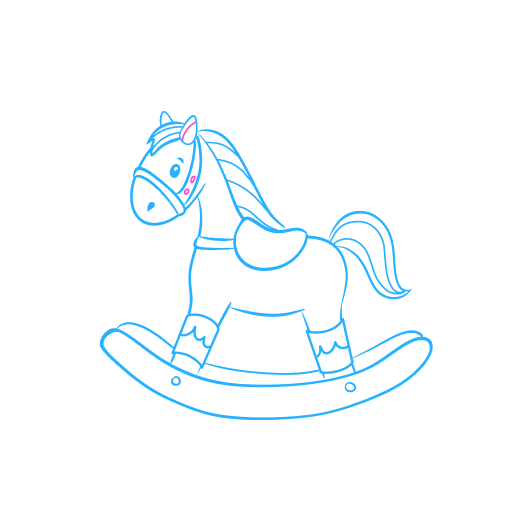
Complete the drawing by adding details to the bridle and the horse's ear. The drawing is ready!
Use this image in the tutorial maker →


