ORIGINAL DRAWING LESSON

Pumpkin

Let's learn how to draw a pumpkin, the symbol of autumn and Halloween. It all starts with creating a rounded shape, which will be the base for our pumpkin. Then, we add the characteristic vertical grooves that give it volume and make it recognizable. After that, we focus on the details: we draw the stem on top and, perhaps, add a couple of curved lines to give it a playful or mysterious look.
  1. Pumpkin — step 1

    STEP 1 / 8

    Step 1

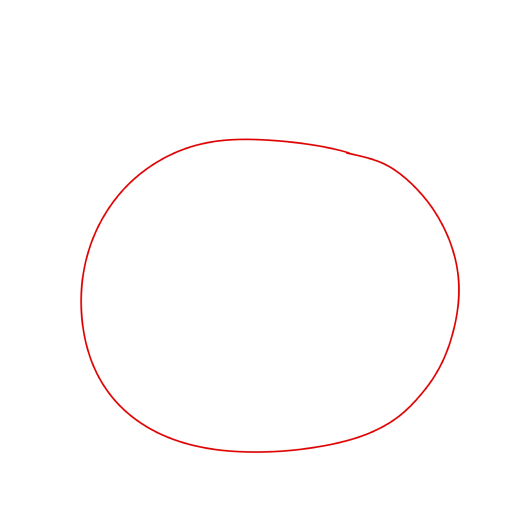
    Draw a circle, but not a perfect one.

    Use this image in the tutorial maker →
  2. Pumpkin — step 2

    STEP 2 / 8

    Step 2

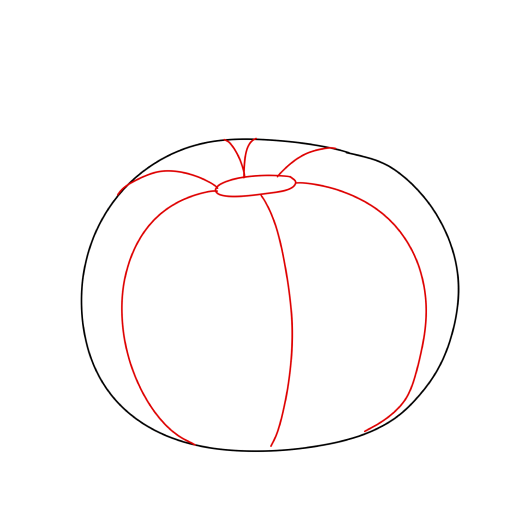
    At the top, outline the top with a circle and draw “slices” like on a mandarin or watermelon.

    Use this image in the tutorial maker →
  3. Pumpkin — step 3

    STEP 3 / 8

    Step 3

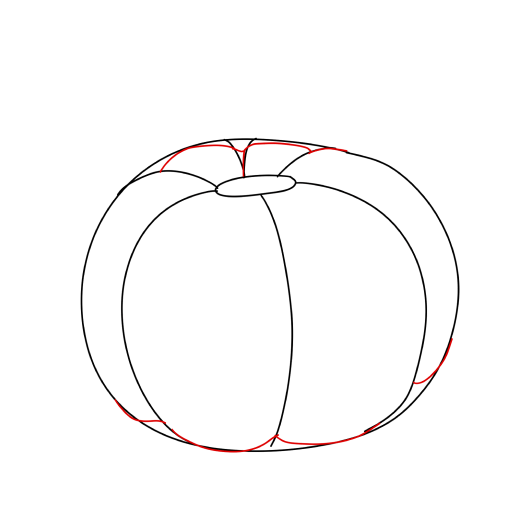
    Give the pumpkin its shape.

    Use this image in the tutorial maker →
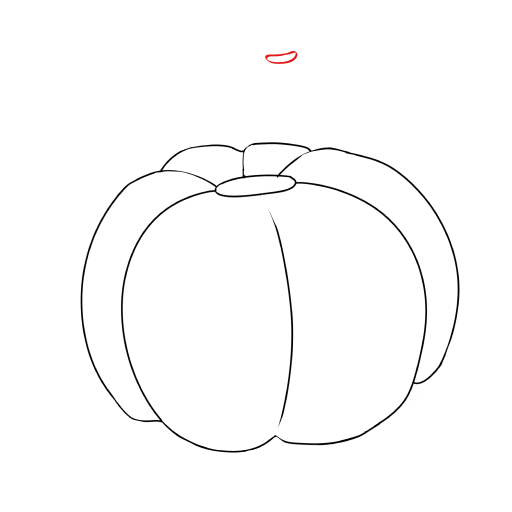
  4. Pumpkin — step 4

    STEP 4 / 8

    Step 4

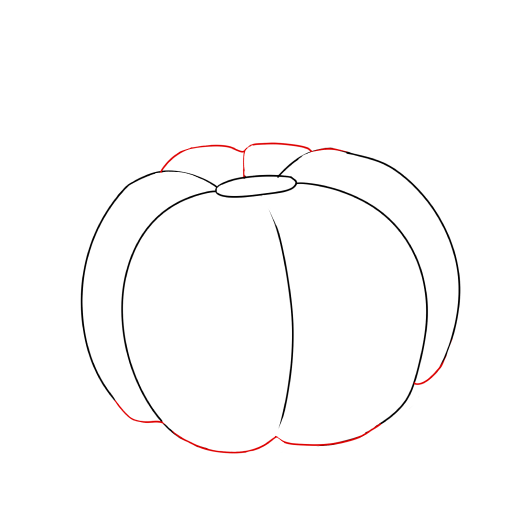
    Now, clean up the sketch like this.

    Use this image in the tutorial maker →
  5. Pumpkin — step 5

    STEP 5 / 8

    Step 5

    Draw an oval on top of the pumpkin, as in the picture, to connect the shape with the vegetable.

    Use this image in the tutorial maker →
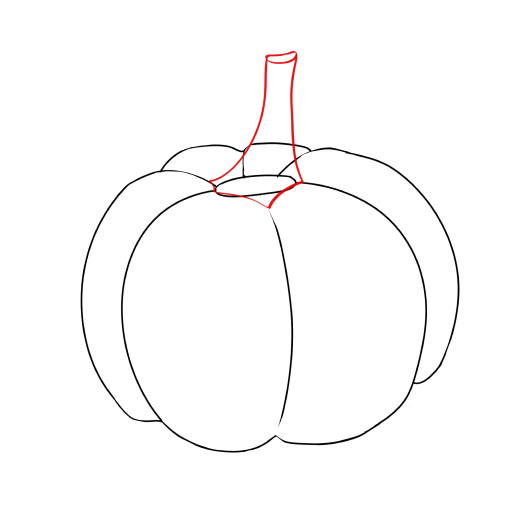
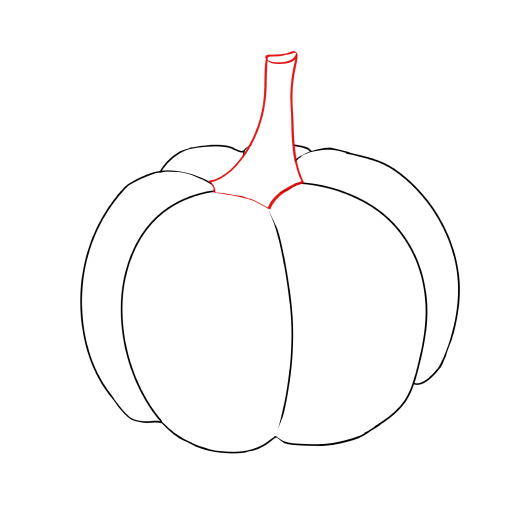
  6. Pumpkin — step 6

    STEP 6 / 8

    Step 6

    Draw a simple shape for the top.

    Use this image in the tutorial maker →
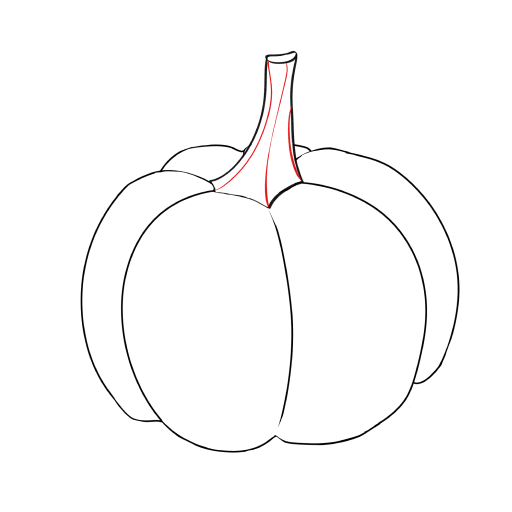
  7. Pumpkin — step 7

    STEP 7 / 8

    Step 7

    Erase the extra lines.

    Use this image in the tutorial maker →
  8. Pumpkin — step 8

    STEP 8 / 8

    Step 8

    Add lines to the stem. The drawing is ready!

    Use this image in the tutorial maker →