ORIGINAL DRAWING LESSON
Portrait of a Girl
In this lesson, we learn to draw a portrait of a girl in a more complex style. The process begins with building the skeleton and muscles to convey the correct proportions and volume of the face. Then, features are added, considering their anatomical structure. Finally, light and shadow and textures are worked on to give the portrait liveliness and realism.
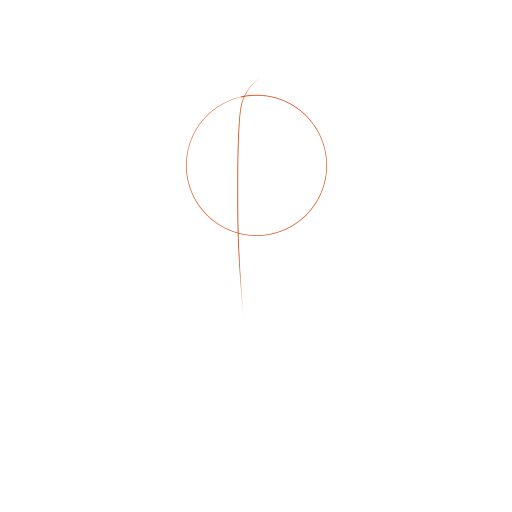
STEP 1 / 13
Step 1
Let's start by outlining the head. To do this, draw a circle and a central axis.
Use this image in the tutorial maker →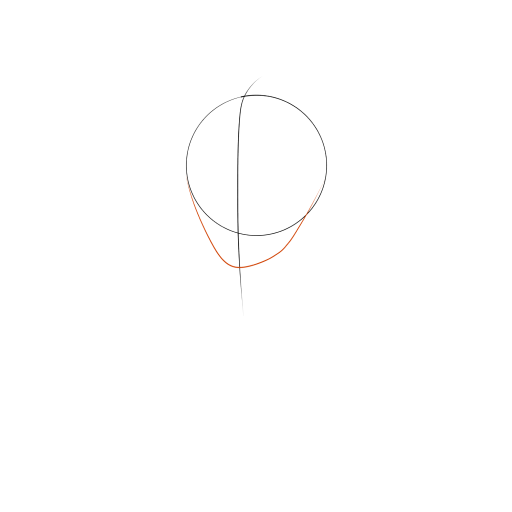
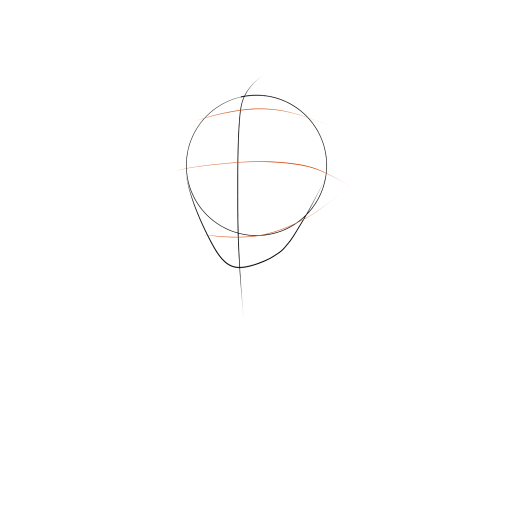
STEP 3 / 13
Step 3
Draw auxiliary lines: the hairline, eyebrows, and lips.
Use this image in the tutorial maker →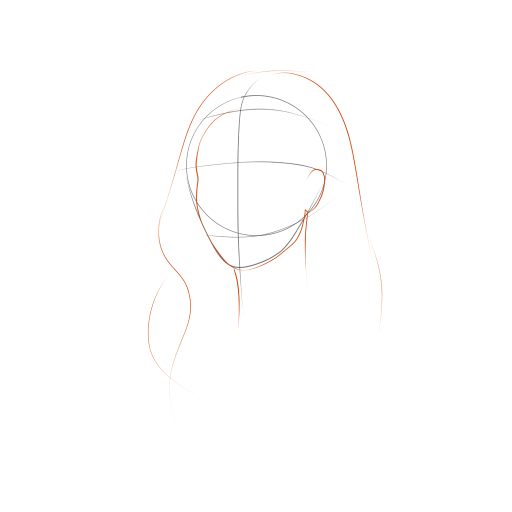
STEP 4 / 13
Step 4
Arrange the three-quarter turn of the head, the neck, and the hair.
Use this image in the tutorial maker →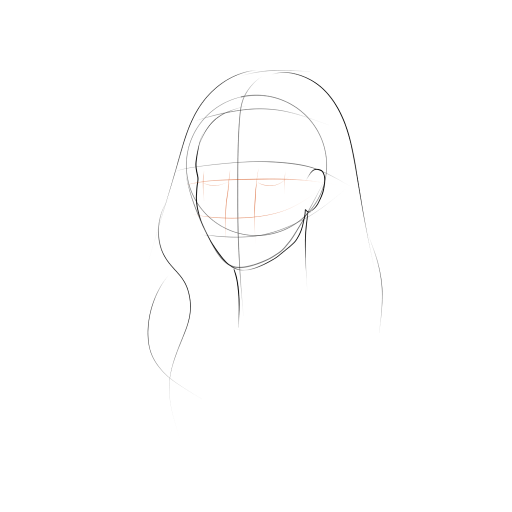
STEP 5 / 13
Step 5
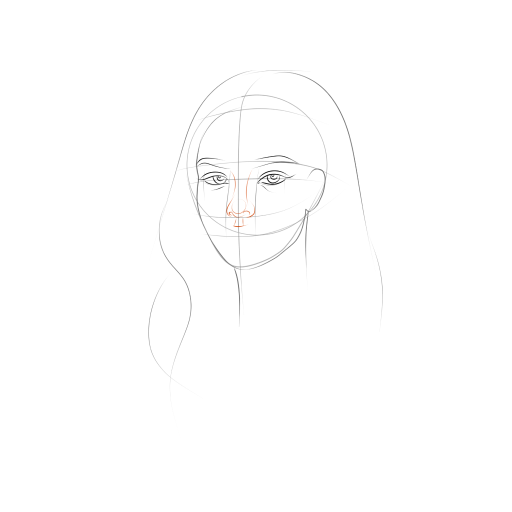
Mark the place for the eyes. The distance between them is almost always equal to the width of one eye. Define the width of the nostrils.
Use this image in the tutorial maker →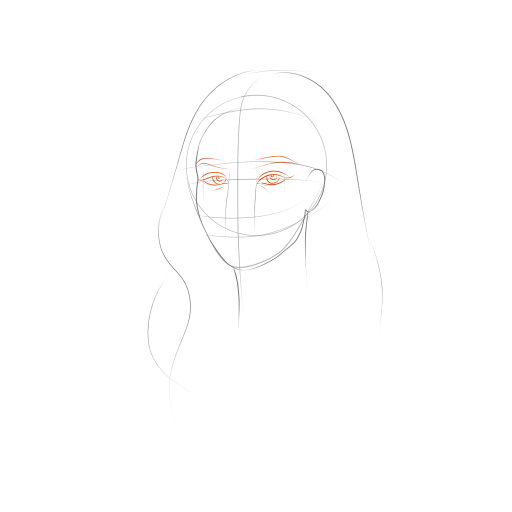
STEP 8 / 13
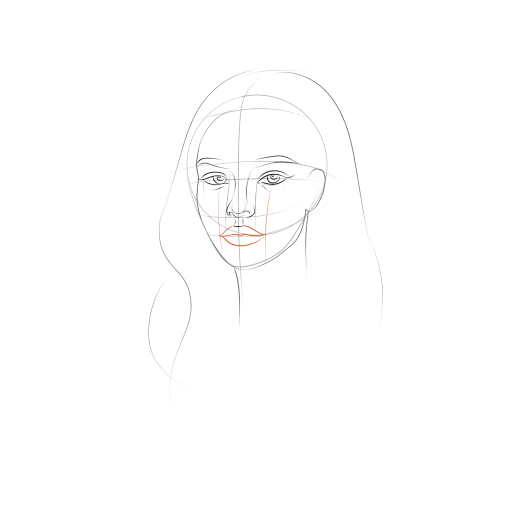
Step 8
Draw the lips. Find the location of the corners of the lips using lines drawn from the center of the pupils.
Use this image in the tutorial maker →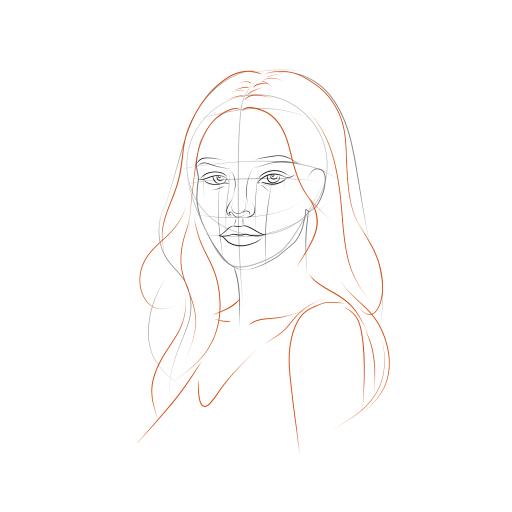
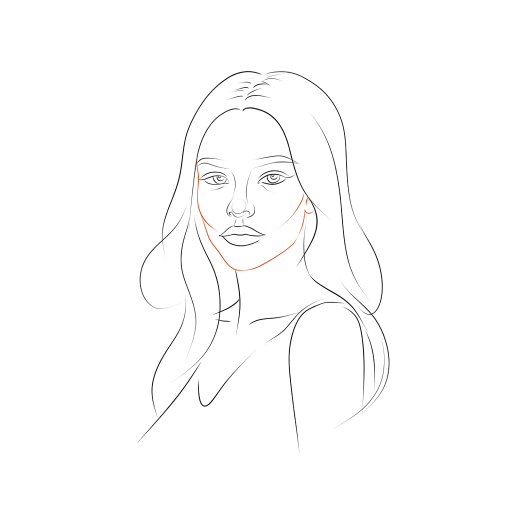
STEP 11 / 13
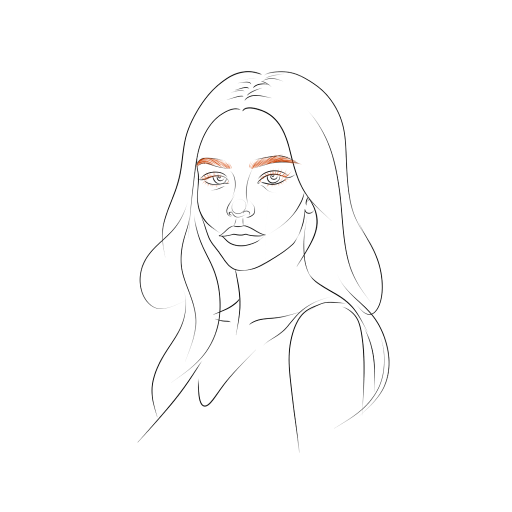
Step 11
Draw the eyebrows and eyelashes. They affect the character of the face.
Use this image in the tutorial maker →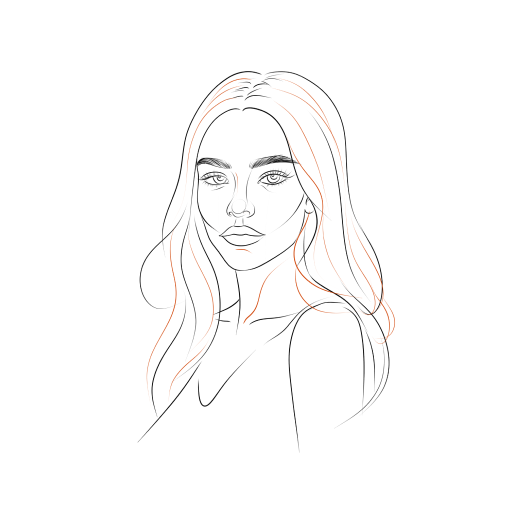
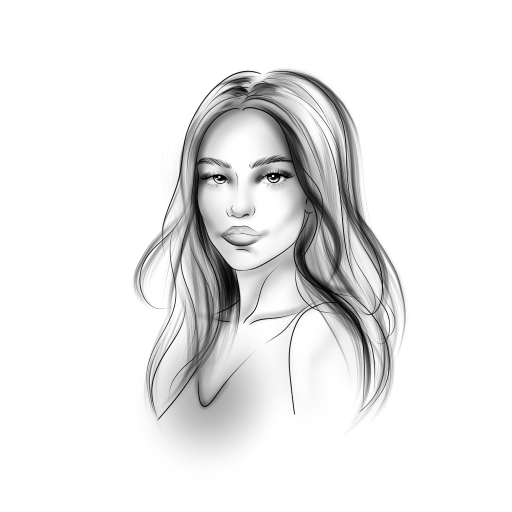
STEP 13 / 13
Step 13
Add light shadows to the face, and draw highlights in the eyes. Don't forget to detail the hair. The portrait is ready!
Use this image in the tutorial maker →


