ORIGINAL DRAWING LESSON
Pencil
In this simple lesson, we will learn how to draw an object that is needed by all schoolchildren and beyond. We will start with a light sketch, defining the main forms and proportions of the pencil to convey its elongated cylindrical structure. Next, we will detail the tip of the pencil, showing the sharpness of the lead, and add highlights and color to make the drawing look complete and expressive.

STEP 1 / 9
Step 1
Draw a triangle pointing downwards. This will be the sharpened tip of the pencil.
Use this image in the tutorial maker →
STEP 2 / 9
Step 2
From the top corner of the triangle, draw a long straight line upwards. This is the left edge of the pencil body.
Use this image in the tutorial maker →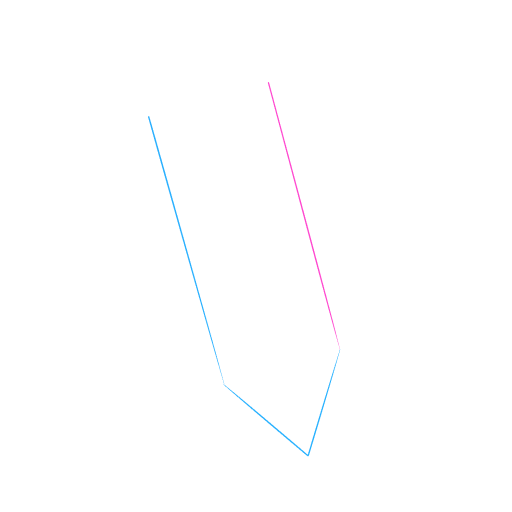
STEP 3 / 9
Step 3
Draw the same straight line upwards from the right corner of the triangle. The lines should be parallel to each other.
Use this image in the tutorial maker →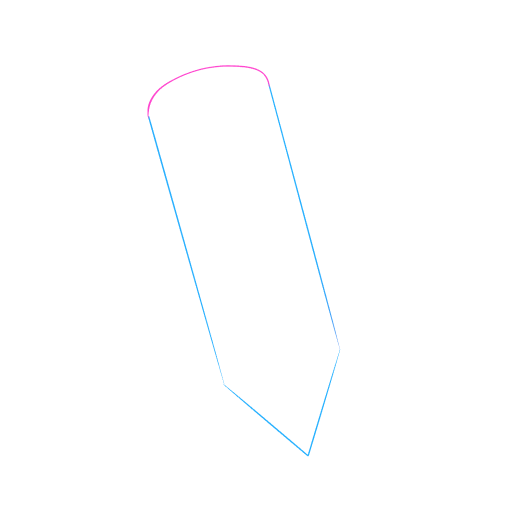
STEP 4 / 9
Step 4
Connect the two parallel lines at the top with a smooth arc, resembling half an oval. This is the back end of the pencil.
Use this image in the tutorial maker →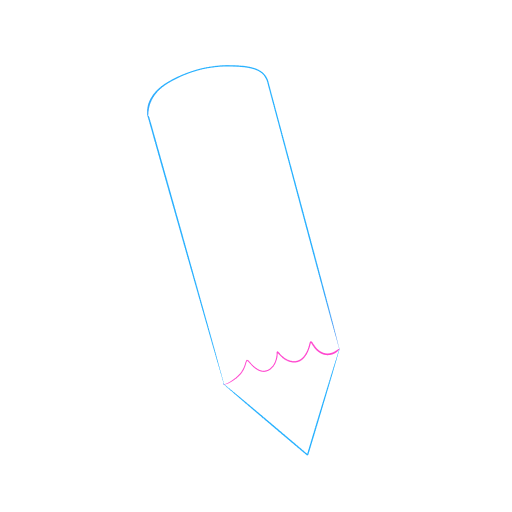
STEP 5 / 9
Step 5
At the boundary between the wooden body and the sharpened tip, draw a wavy line that mimics the trace from a sharpener.
Use this image in the tutorial maker →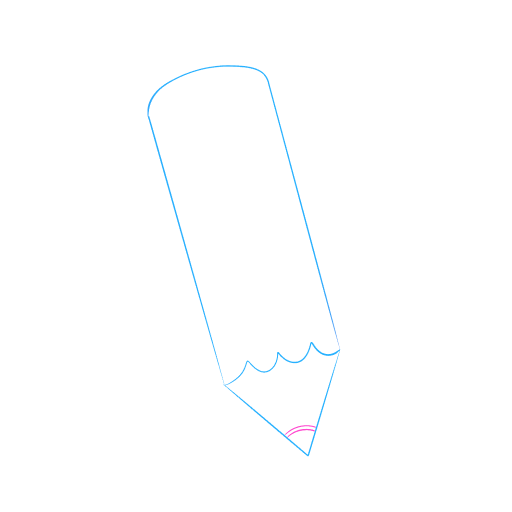
STEP 6 / 9
Step 6
In the bottom corner of the triangle, draw two curved lines. This is the visible part of the lead.
Use this image in the tutorial maker →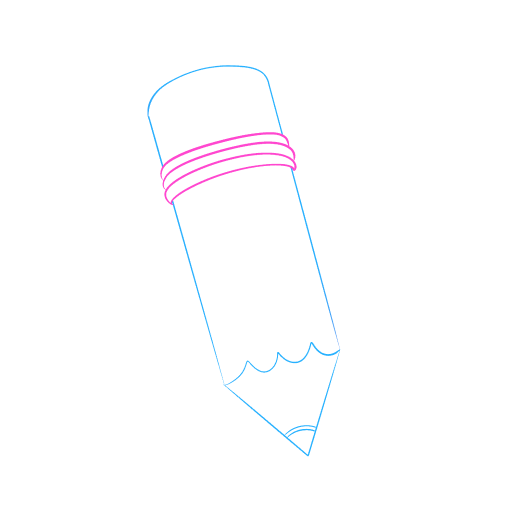
STEP 7 / 9
Step 7
In the upper part of the pencil, under the arc of the end, draw a metallic ring.
Use this image in the tutorial maker →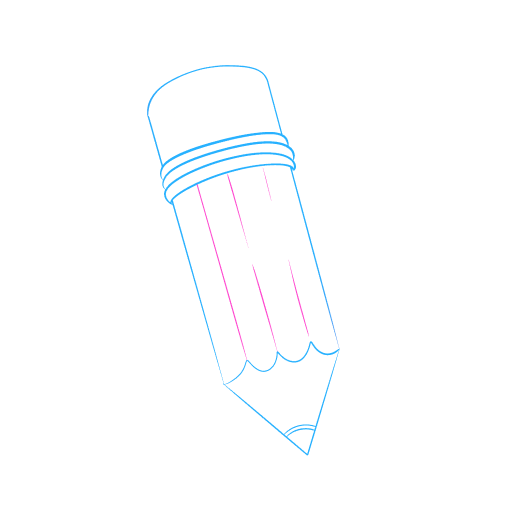
STEP 8 / 9
Step 8
For volume, draw three longitudinal lines from the peaks of the wavy sharpening line to the very top of the pencil. These lines should be parallel to the side edges.
Use this image in the tutorial maker →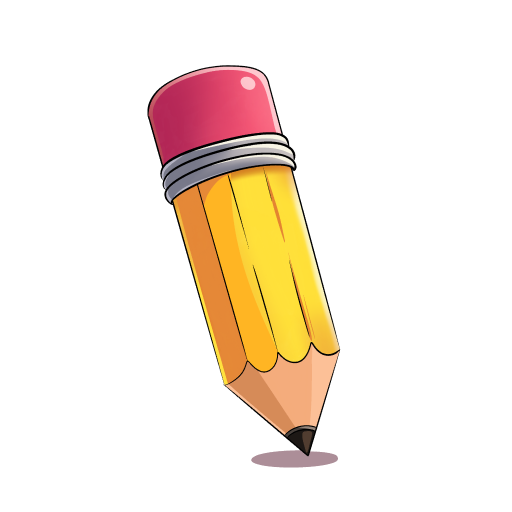
STEP 9 / 9
Step 9
Your pencil drawing is ready! Color it according to the example.
Use this image in the tutorial maker →


