ORIGINAL DRAWING LESSON
Piece of Cake
Imagine a tender piece of cake, like a cloud, with a light creamy texture that just begs to be tasted. On its top, like a precious ruby, lies a juicy strawberry, adding a bright accent. This small masterpiece of culinary art awakens the appetite and gives a sense of celebration.
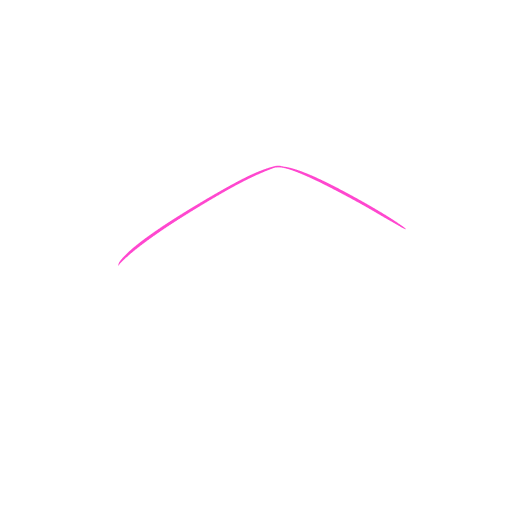
STEP 1 / 9
Step 1
Draw two slightly diverging straight lines, joined at the top at an obtuse angle. The figure should resemble an inverted checkmark or a mountain. This will be the top slice of the cake.
Use this image in the tutorial maker →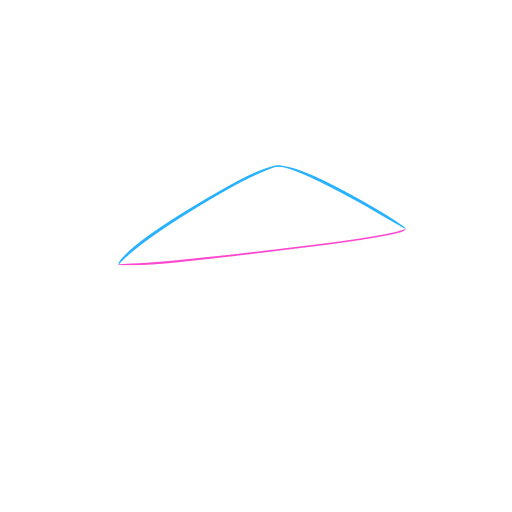
STEP 2 / 9
Step 2
Connect the bottom points of these lines with a straight line. We will get a triangle — the basic shape of the slice.
Use this image in the tutorial maker →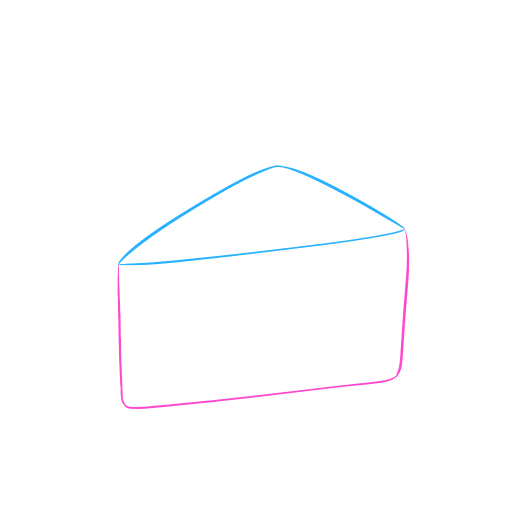
STEP 3 / 9
Step 3
From the two bottom corners of the triangle, draw short vertical lines downwards. Connect their ends with another line. Now the piece of cake has gained volume.
Use this image in the tutorial maker →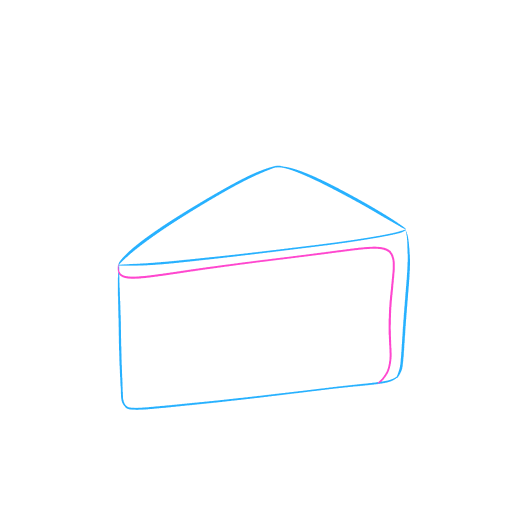
STEP 4 / 9
Step 4
With a smooth curved line that follows the shape of the top slice, draw a 'cap' of cream or frosting that extends beyond the edges of the cake layer.
Use this image in the tutorial maker →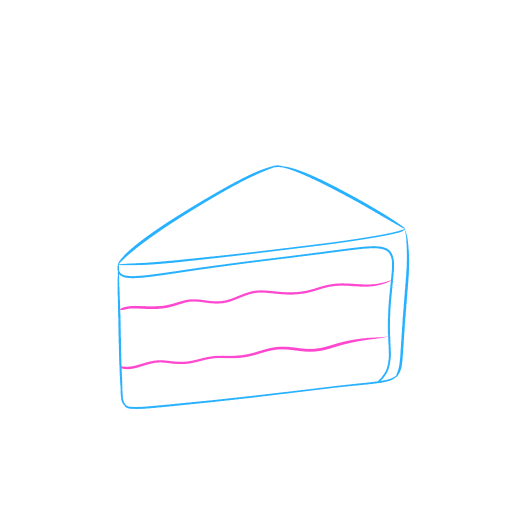
STEP 5 / 9
Step 5
On the side of the cake, with wavy lines running parallel to the base, depict layers of cream between the cake layers.
Use this image in the tutorial maker →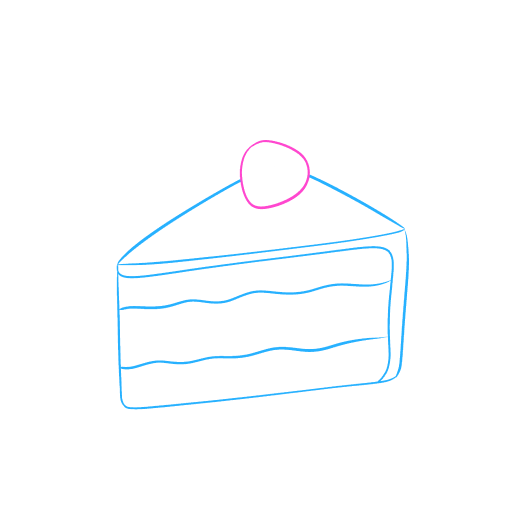
STEP 6 / 9
Step 6
On the very top of the cake, draw a berry. Its shape resembles an elongated heart or a rounded triangle with smooth lines.
Use this image in the tutorial maker →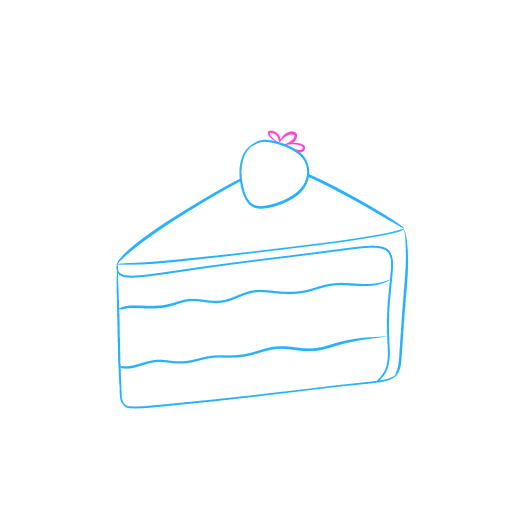
STEP 7 / 9
Step 7
Decorate the top of the berry with leaves: draw a few short leaves spreading in different directions.
Use this image in the tutorial maker →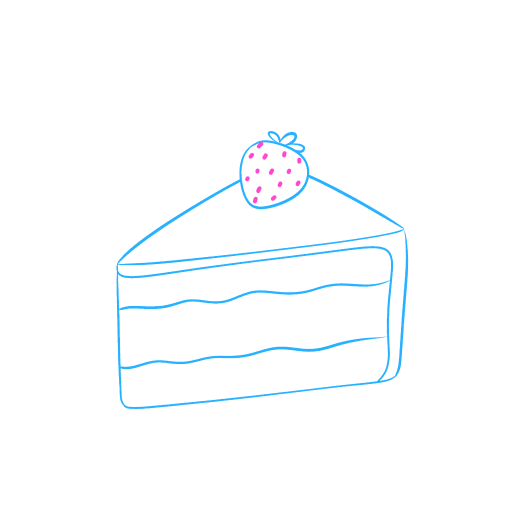
STEP 8 / 9
Step 8
Apply small seed-dots to the surface of the strawberry.
Use this image in the tutorial maker →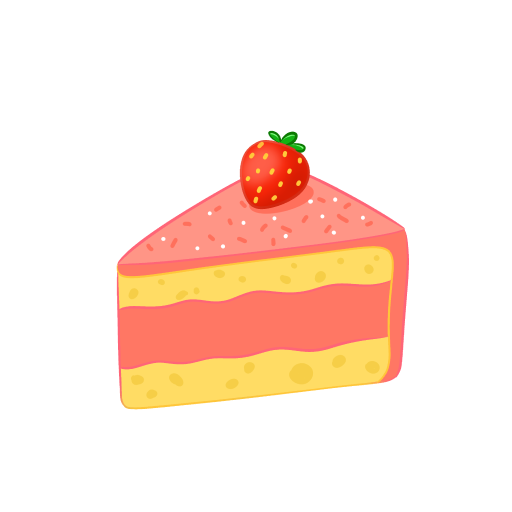
STEP 9 / 9
Step 9
The drawing is ready! Color it according to the example.
Use this image in the tutorial maker →


