ORIGINAL DRAWING LESSON
Old Phone
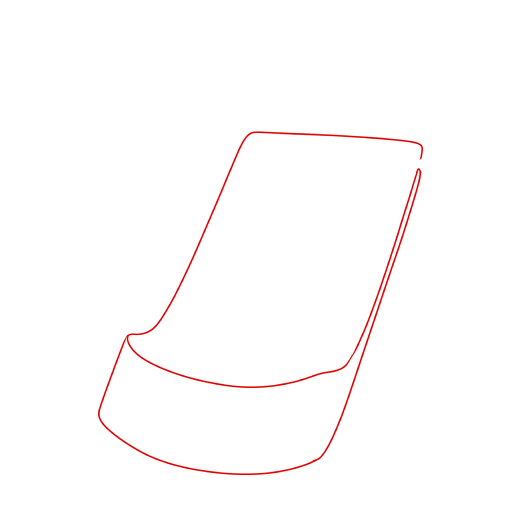
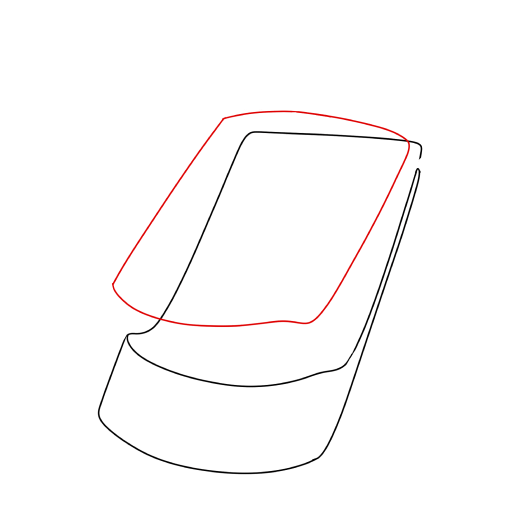
Let's learn how to draw an old flip phone. You probably barely remember what these looked like. The drawing begins with two rectangles connected by a hinge, which can be represented by a small line or circle. Then, details such as buttons, a screen, and a logo are added to give the phone a recognizable look. Finally, you can add shadows and highlights to make the drawing more realistic and three-dimensional.
STEP 3 / 9
Step 3
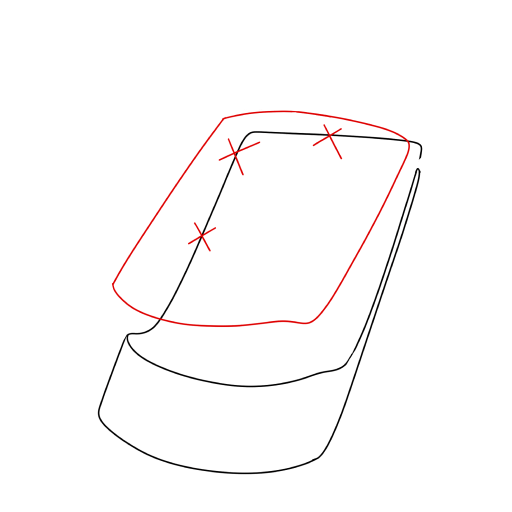
The extra lines marked with crosses will need to be erased.
Use this image in the tutorial maker →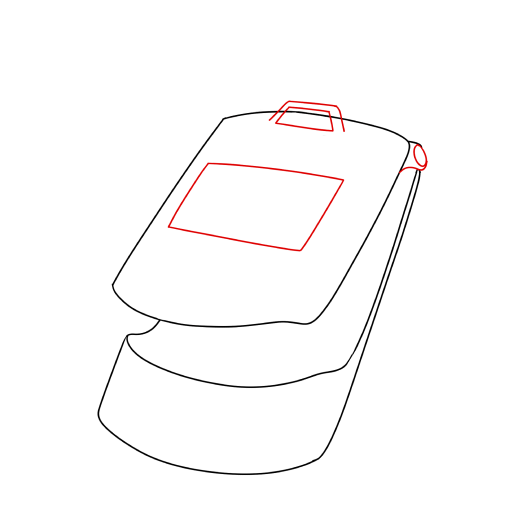
STEP 4 / 9
Step 4
Draw the mini-display, camera, and the hinge detail.
Use this image in the tutorial maker →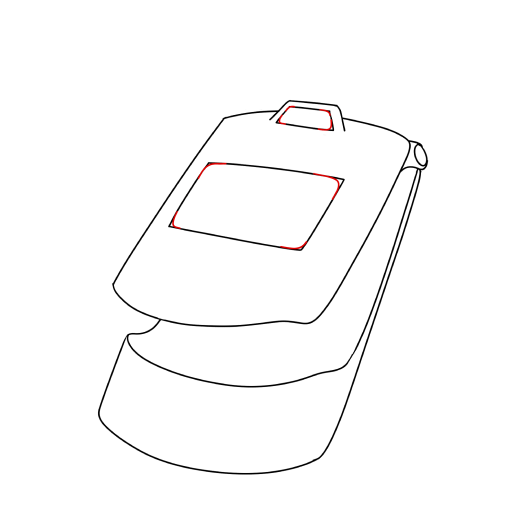
STEP 5 / 9
Step 5
The shapes of the added details can be rounded like this.
Use this image in the tutorial maker →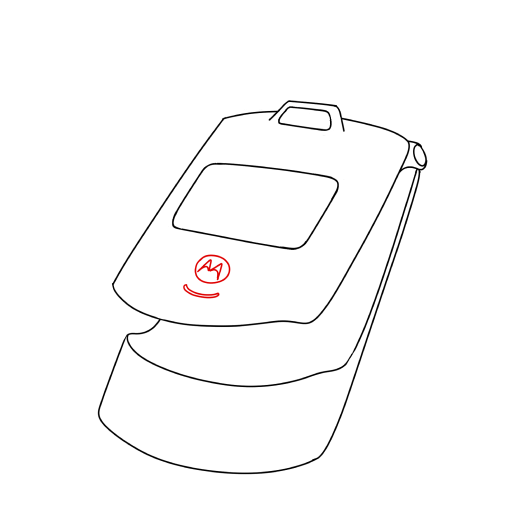
STEP 7 / 9
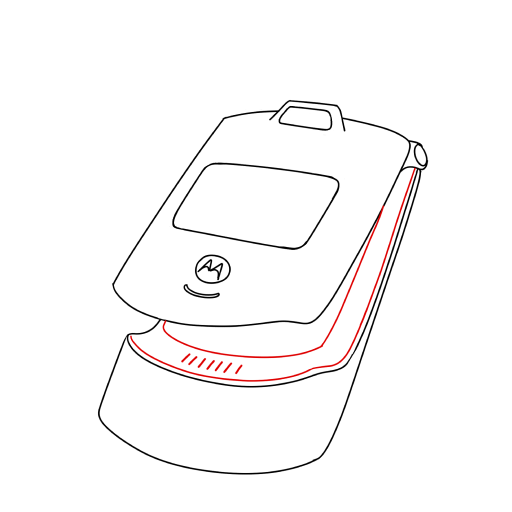
Step 7
In the bottom part of the phone, draw the speaker as a series of strokes.
Use this image in the tutorial maker →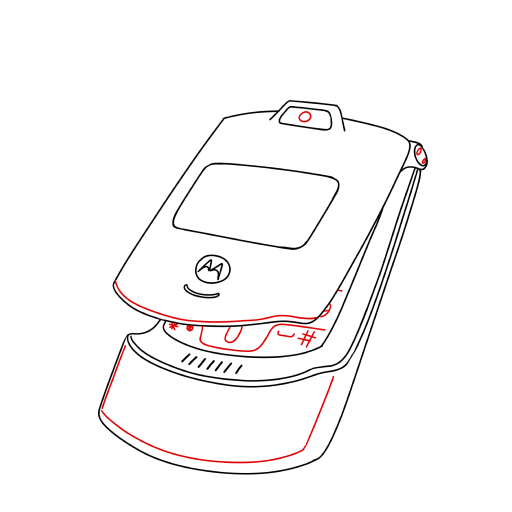
STEP 8 / 9
Step 8
Add part of the bottom keyboard and other details.
Use this image in the tutorial maker →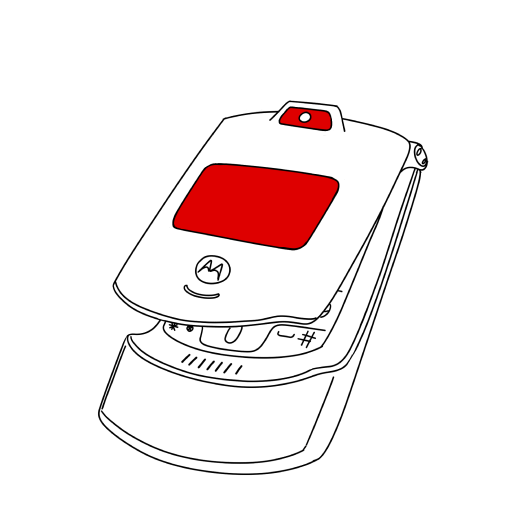
STEP 9 / 9
Step 9
Make the mini-display dark. The drawing is ready!
Use this image in the tutorial maker →


