ORIGINAL DRAWING LESSON
Maple Leaf
Drawing a maple leaf is a fascinating process that begins with simple lines and gradually fills with details, allowing you to create a beautiful and harmonious image.
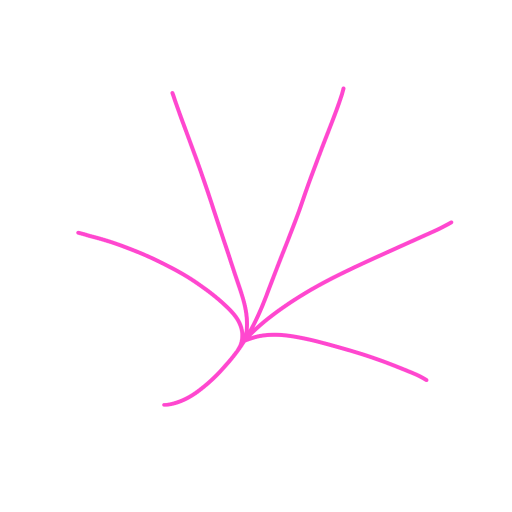
STEP 1 / 7
Step 1
Begin by drawing the central vein and several main branches. These lines will set the direction and structure of the future leaf.
Use this image in the tutorial maker →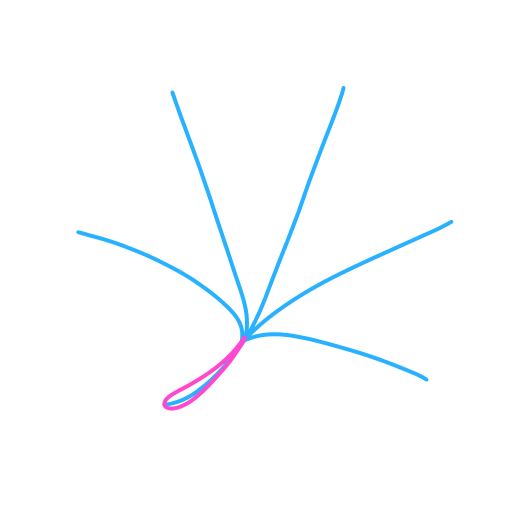
STEP 2 / 7
Step 2
At the bottom of the central vein, draw a short petiole, resembling an elongated drop.
Use this image in the tutorial maker →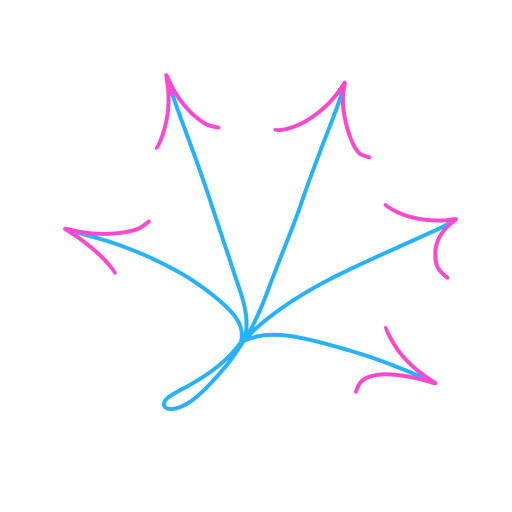
STEP 3 / 7
Step 3
At the end of each drawn vein, lightly sketch the highest points—the future sharp tips of the leaf.
Use this image in the tutorial maker →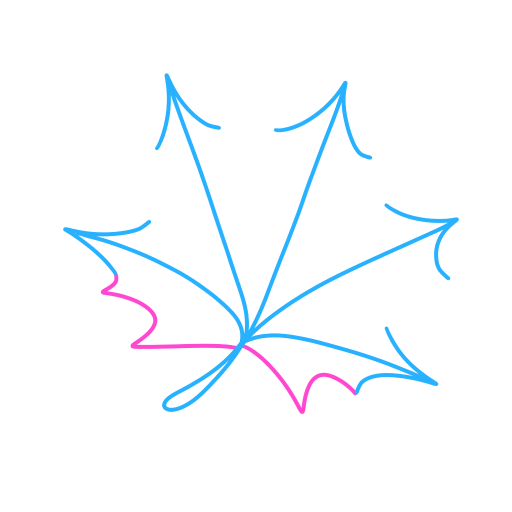
STEP 4 / 7
Step 4
Refine the lower part of the leaf, adding natural curves and irregularities.
Use this image in the tutorial maker →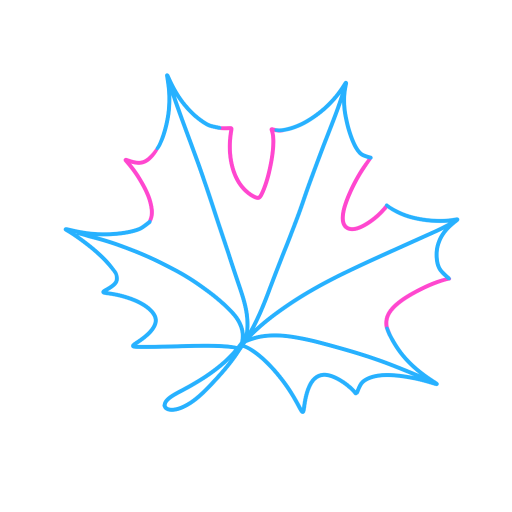
STEP 5 / 7
Step 5
Connect the tips with smooth, curved lines, forming the recognizable serrated outline of a maple leaf.
Use this image in the tutorial maker →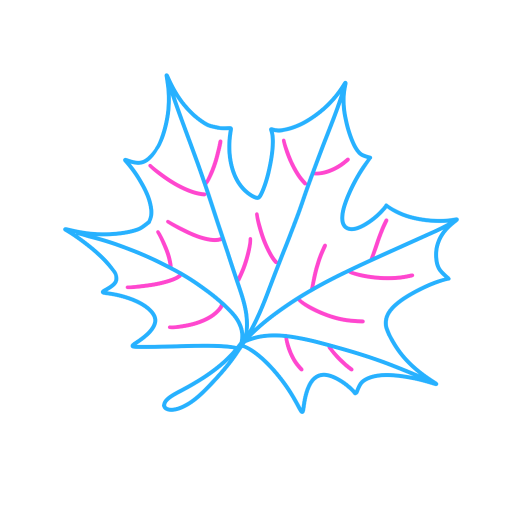
STEP 6 / 7
Step 6
Inside the leaf, between the main veins, add shorter and thinner auxiliary lines. This will give the leaf texture and realism.
Use this image in the tutorial maker →
STEP 7 / 7
Step 7
Color it according to the example. The drawing is ready!
Use this image in the tutorial maker →


