ORIGINAL DRAWING LESSON
Male Body
Ready to conquer anatomy? Today, we're tackling drawing the male body. Drawing the anatomical male body is a fascinating process that requires an understanding of structure and proportions. An artist studies bones, muscles, and their interaction to convey volume and movement. The result is a realistic depiction that showcases the strength and beauty of the male physique.
STEP 1 / 15
Step 1
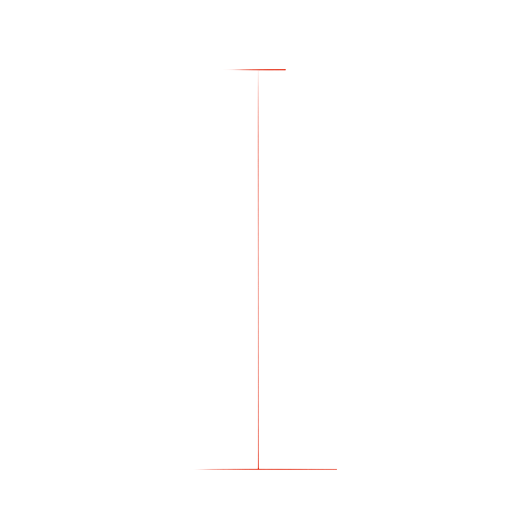
With light, almost invisible lines, mark the top and bottom boundaries of the future drawing, setting its overall scale.
Use this image in the tutorial maker →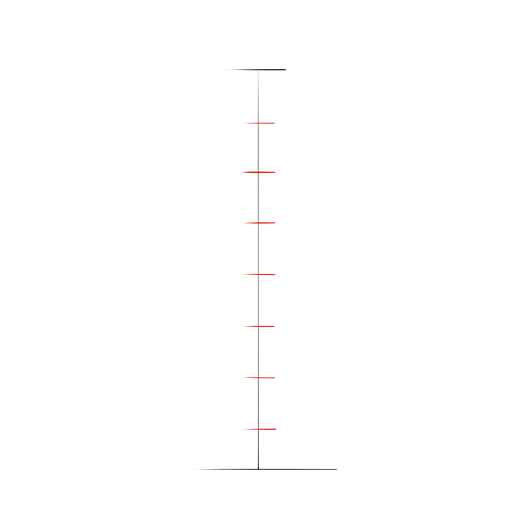
STEP 2 / 15
Step 2
Divide the resulting vertical line into eight equal segments; one such segment will correspond to the size of the head, which will become our main unit of measurement.
Use this image in the tutorial maker →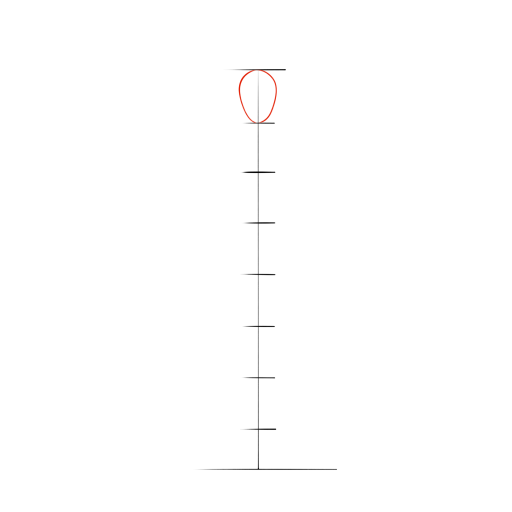
STEP 3 / 15
Step 3
In the top segment, draw an oval that will define the shape and volume of the future head.
Use this image in the tutorial maker →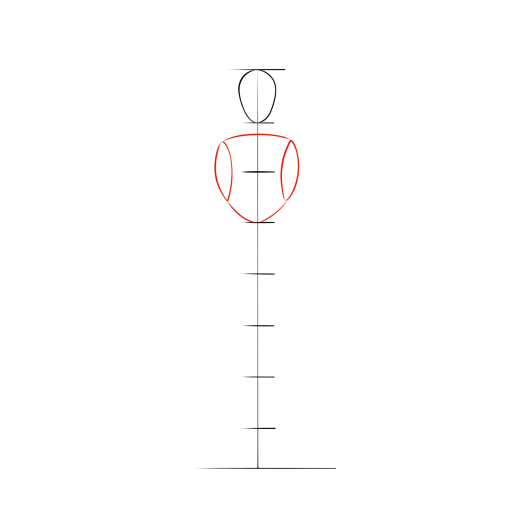
STEP 4 / 15
Step 4
Form the rib cage; its silhouette resembles an inverted egg. It occupies the space from the second to the fourth section, creating the foundation for the torso.
Use this image in the tutorial maker →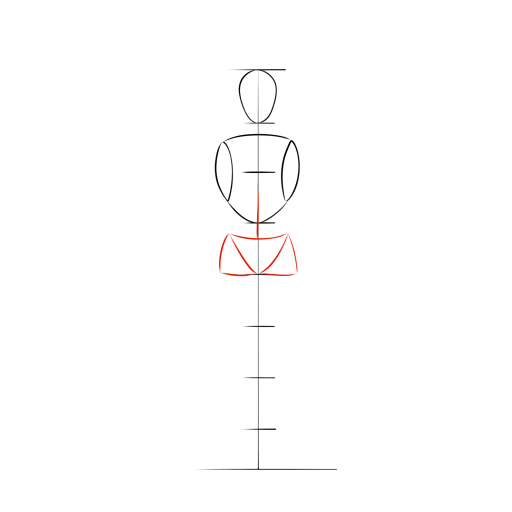
STEP 5 / 15
Step 5
Between the middle of the fourth and fifth sections, use smooth lines to outline the shape of the pelvis, which is wide and bowl-shaped.
Use this image in the tutorial maker →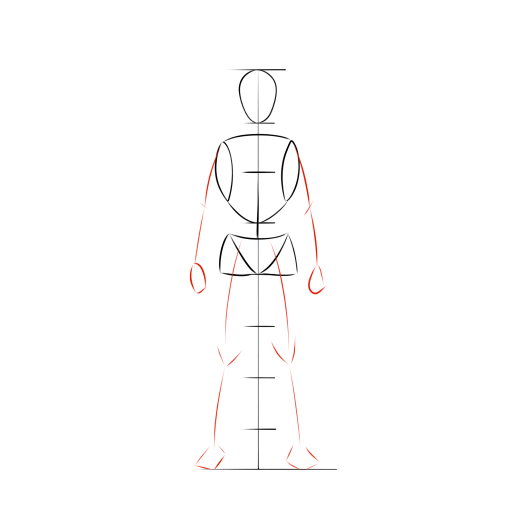
STEP 6 / 15
Step 6
With light strokes, indicate the location and main axes of the arms and legs, outlining key joints: elbows, kneecaps, and the position of the hands and feet.
Use this image in the tutorial maker →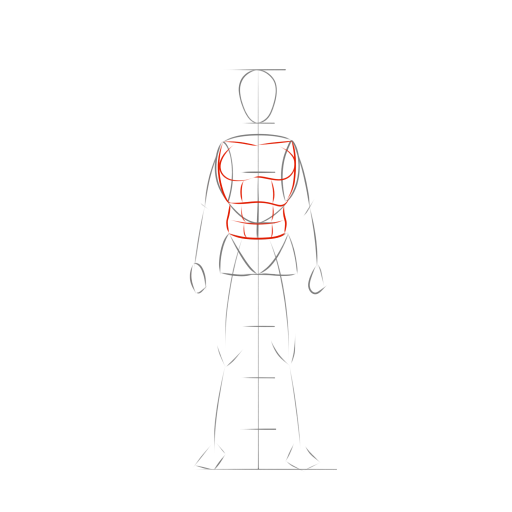
STEP 7 / 15
Step 7
Work on the torso: outline two large pectoral muscles, attached from the collarbone to the sternum. Draw lines from the lower ribs to the top of the pelvis, indicating the external oblique muscles. Form a rectangle of the rectus abdominis muscles with straight lines and divide it with light horizontal and vertical strokes.
Use this image in the tutorial maker →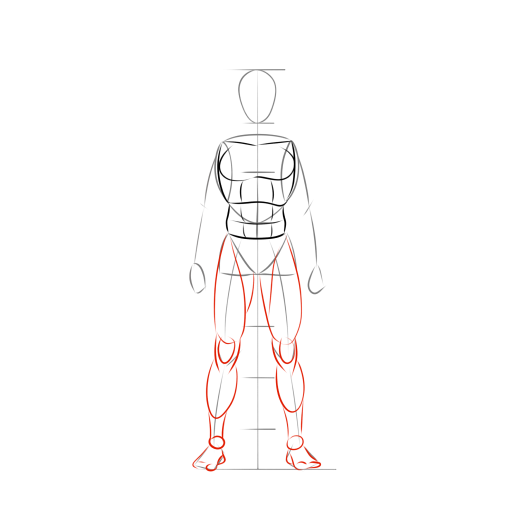
STEP 8 / 15
Step 8
Move on to the legs. Use clear lines to highlight the massive volume of the leg muscles. Draw the foot in the shape of a wedge, emphasizing the heel, arch, and toes.
Use this image in the tutorial maker →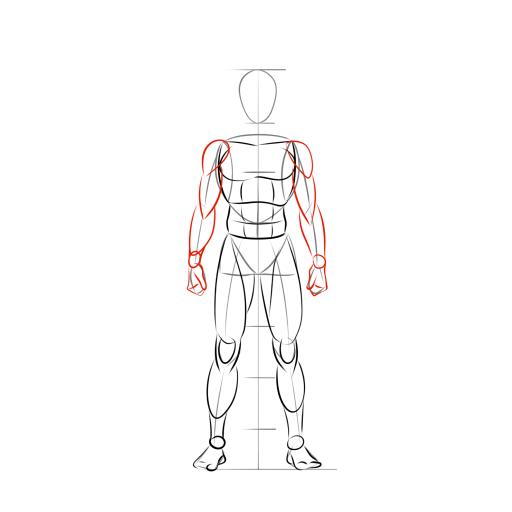
STEP 9 / 15
Step 9
Work on the arms. Break down the hand into two simple forms: the fingers, grouped into a single volume, and the thumb separately.
Use this image in the tutorial maker →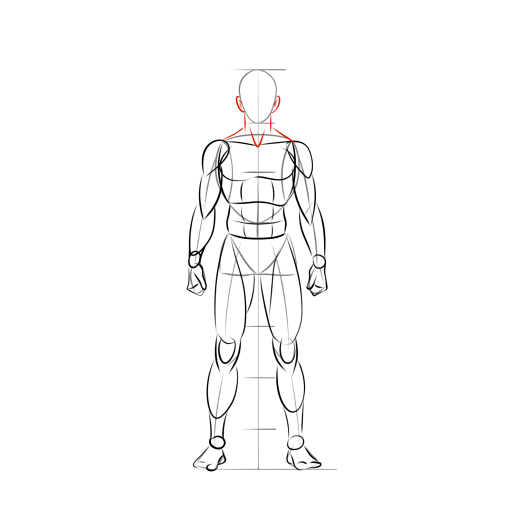
STEP 10 / 15
Step 10
With light strokes, add the trapezoid muscles connecting the neck and shoulders, and outline the Adam's apple for greater anatomical accuracy.
Use this image in the tutorial maker →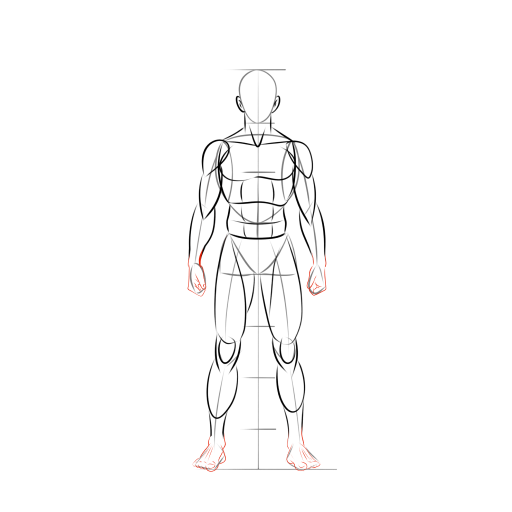
STEP 11 / 15
Step 11
Detail the hands and feet, refining their shape and main elements.
Use this image in the tutorial maker →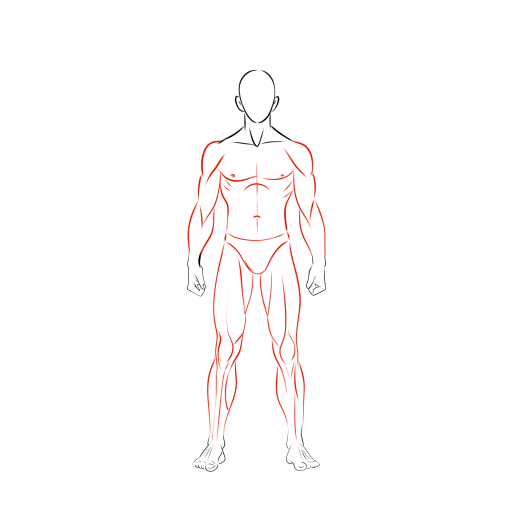
STEP 12 / 15
Step 12
Connect all the muscle groups of the body with smooth, confident lines, creating a complete silhouette. Erase all unnecessary construction lines, cleaning up the drawing.
Use this image in the tutorial maker →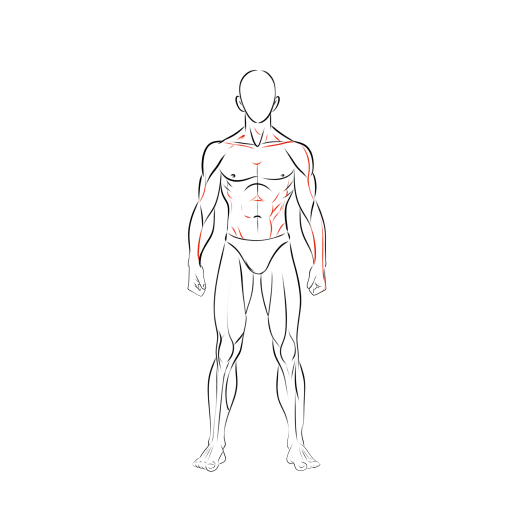
STEP 13 / 15
Step 13
Emphasize the areas where muscles transition into tendons, using thin lines to enhance anatomical accuracy.
Use this image in the tutorial maker →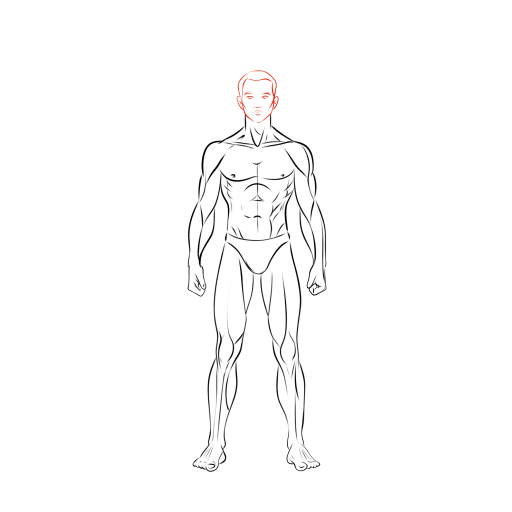
STEP 14 / 15
Step 14
Schematically, without going into detail, sketch the facial features: nose, mouth, eyes, and outline the hairstyle.
Use this image in the tutorial maker →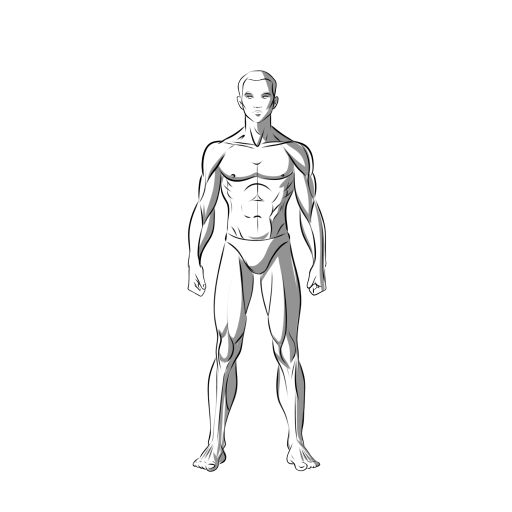
STEP 15 / 15
Step 15
Finish the drawing by adding shadows. Work with light and volume: darken the areas in shadow and leave the lit areas light to make the figure look three-dimensional and realistic. The drawing is ready!
Use this image in the tutorial maker →


