ORIGINAL DRAWING LESSON
Macaw Parrot
A vibrant macaw parrot! These picturesque birds with their colorful feathers and playful personalities inspire creativity. Get ready for bright colors and challenging details to capture all the beauty of this amazing feathered friend!
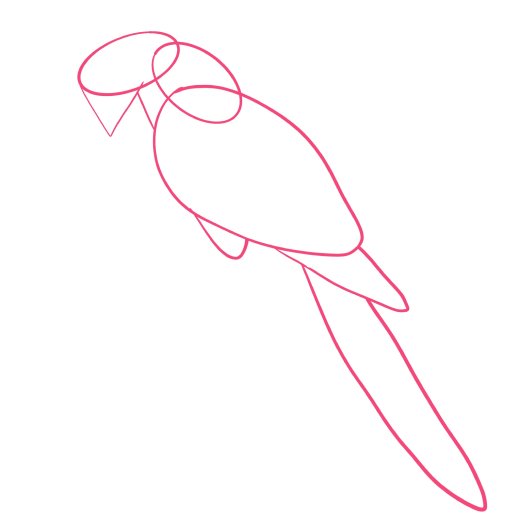
STEP 1 / 12
Step 1
Start with the general outline of the bird's body. Draw a large oval for the torso, and two smaller ovals on top for the head and neck. Use elongated ovals for the wing and tail. Also, draw a large triangle for the beak.
Use this image in the tutorial maker →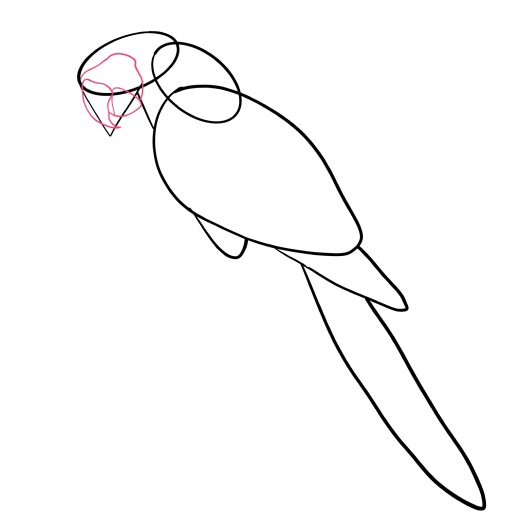
STEP 2 / 12
Step 2
Draw the beak. First, the upper curved part, then the lower one—a bit shorter. The beak should be massive and rounded.
Use this image in the tutorial maker →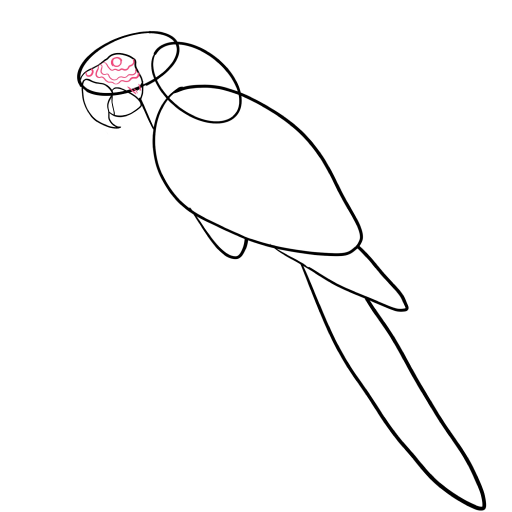
STEP 3 / 12
Step 3
Draw the eye and decorative lines on the parrot's face. Also, add the characteristic spot for the parrot.
Use this image in the tutorial maker →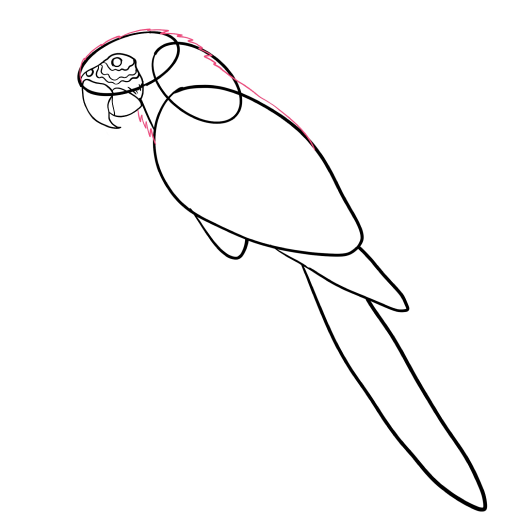
STEP 4 / 12
Step 4
Add the contour of the head and neck, using a slightly uneven line to convey the plumage.
Use this image in the tutorial maker →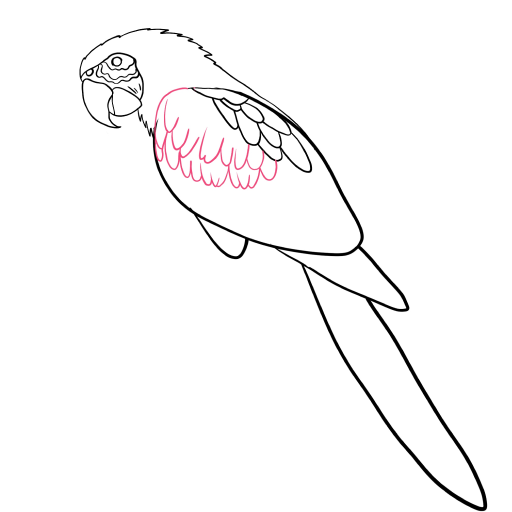
STEP 5 / 12
Step 5
Draw the upper wing. Start with a few oval feathers on top. Gradually erase the extra lines of the wing.
Use this image in the tutorial maker →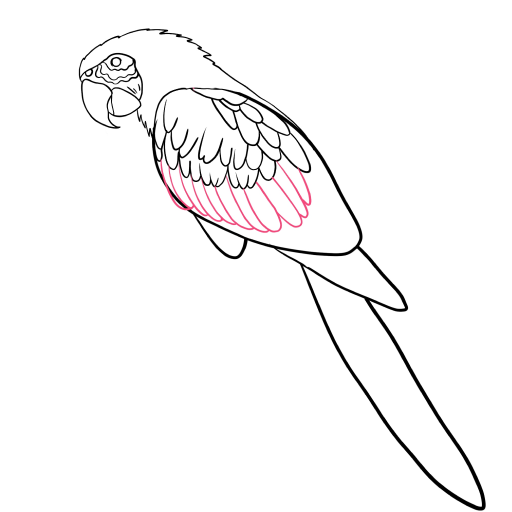
STEP 6 / 12
Step 6
Continue working on the wing: add another row of feathers, slightly longer and wider than the previous ones.
Use this image in the tutorial maker →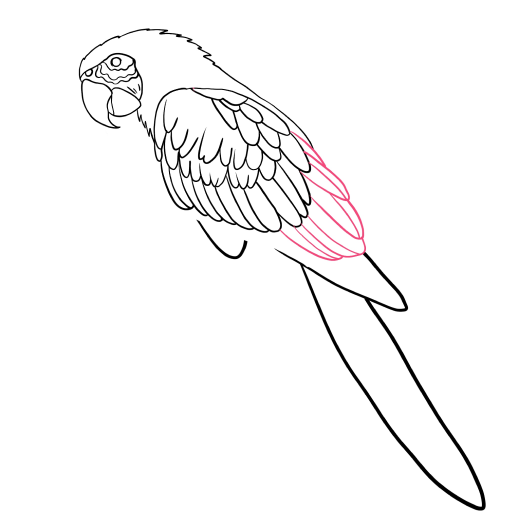
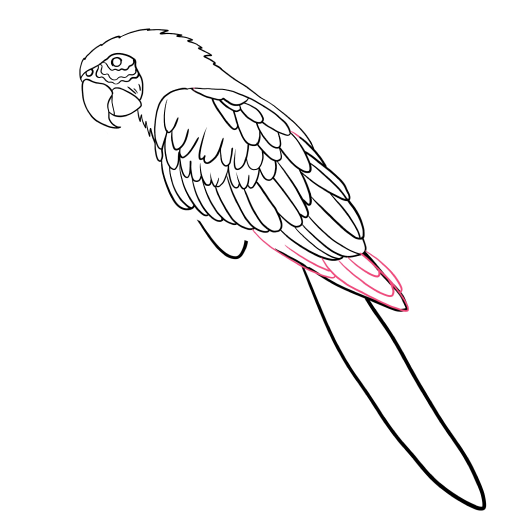
STEP 8 / 12
Step 8
The final stage of the wing, start with a few large, long feathers that hang down. Now the wing looks full and natural.
Use this image in the tutorial maker →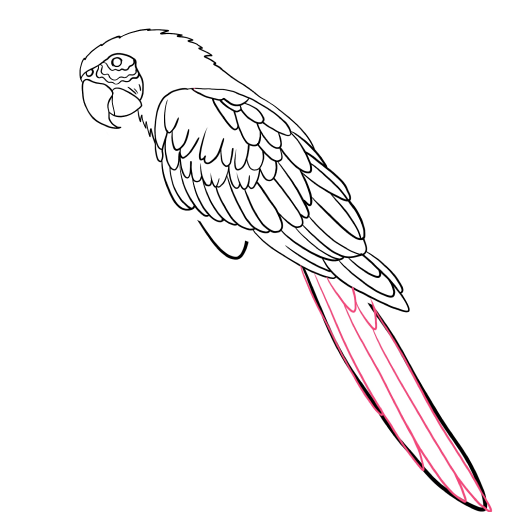
STEP 9 / 12
Step 9
Continue making the tail feathers; they are long and give shape to the parrot.
Use this image in the tutorial maker →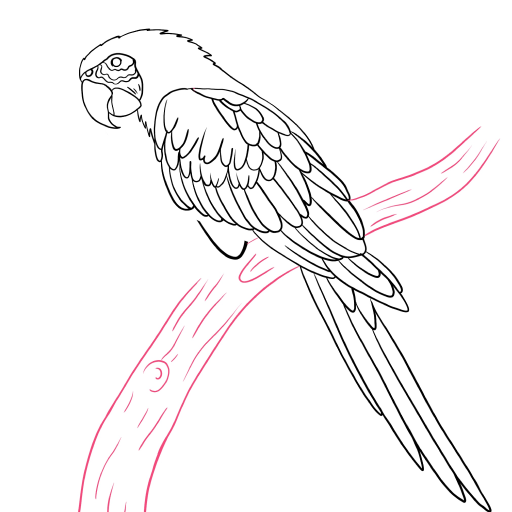
STEP 10 / 12
Step 10
Draw a thick branch on which the parrot is sitting. Make it slightly curved and add small ring-like lines for wood texture.
Use this image in the tutorial maker →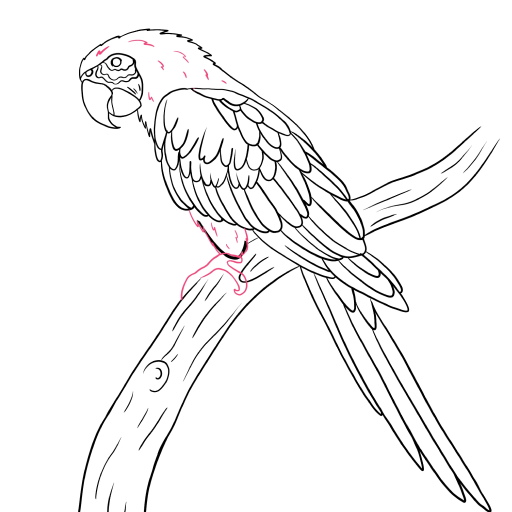
STEP 11 / 12
Step 11
Draw the parrot's foot gripping the branch. The lines should be smooth to convey the grasping toes. Add more details to the torso: small feather strokes on the chest and neck to make the drawing look more lively.
Use this image in the tutorial maker →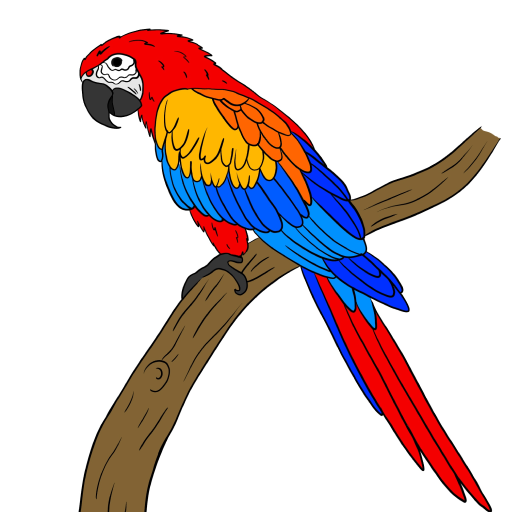
STEP 12 / 12
Step 12
The drawing is ready, color it according to the example.
Use this image in the tutorial maker →


