ORIGINAL DRAWING LESSON
Hand
In this lesson, we will learn how to properly draw the anatomical hand. First, we will focus on studying the basic proportions and structure of the hand, and then we will move on to detailing, tone, and volume. Using various techniques, we will create a realistic image that conveys the dynamics and forms of the hand.
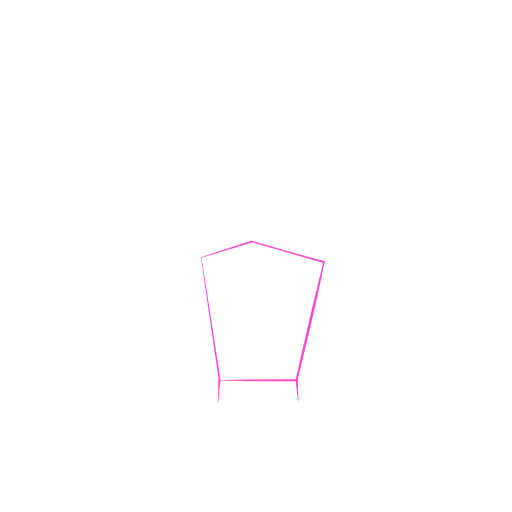
STEP 1 / 7
Step 1
Let's draw a hand. Outline the general mass of the hand – it's a volumetric three-dimensional shape.
Use this image in the tutorial maker →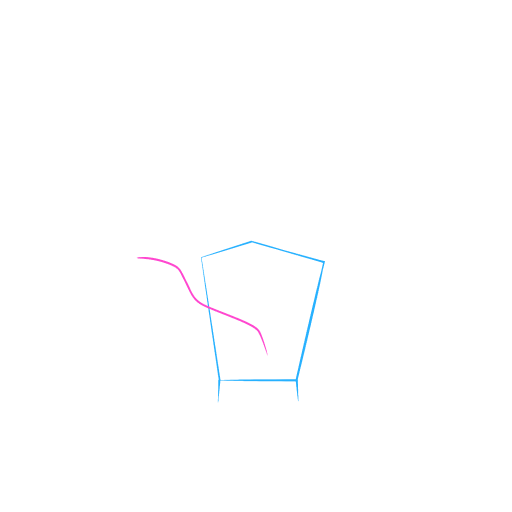
STEP 2 / 7
Step 2
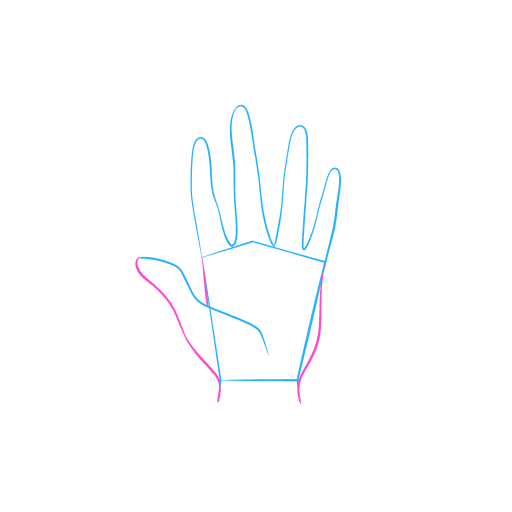
The thumb is attached separately. Outline the position of the thumb with a curved line.
Use this image in the tutorial maker →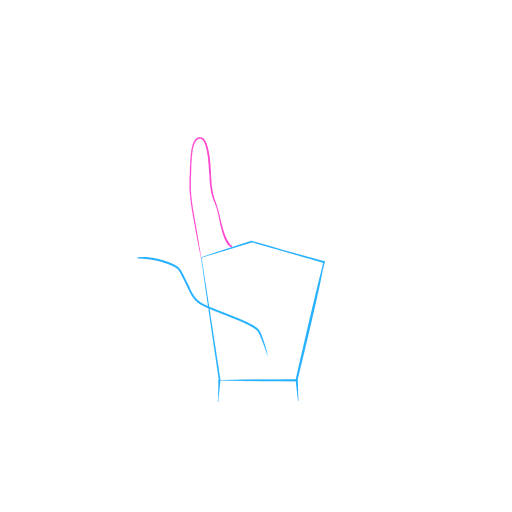
STEP 3 / 7
Step 3
Next, draw the index finger, observing perspective foreshortening.
Use this image in the tutorial maker →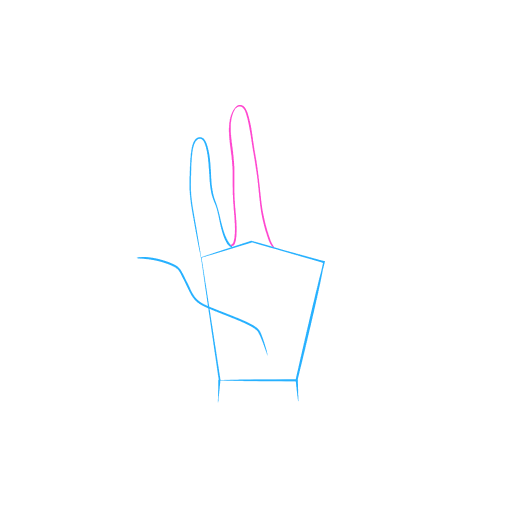
STEP 4 / 7
Step 4
Then the middle finger. It is the longest and sets the rhythm.
Use this image in the tutorial maker →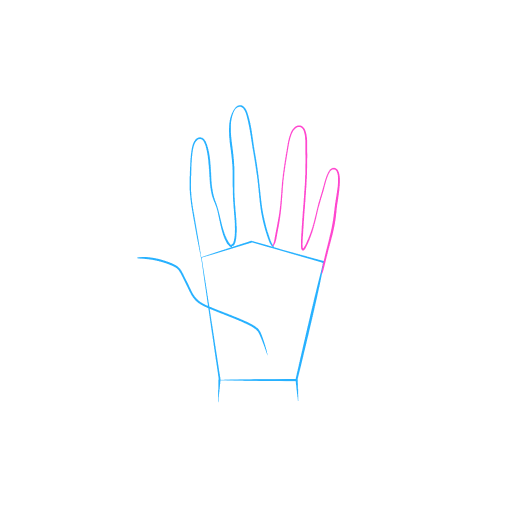
STEP 7 / 7
Step 7
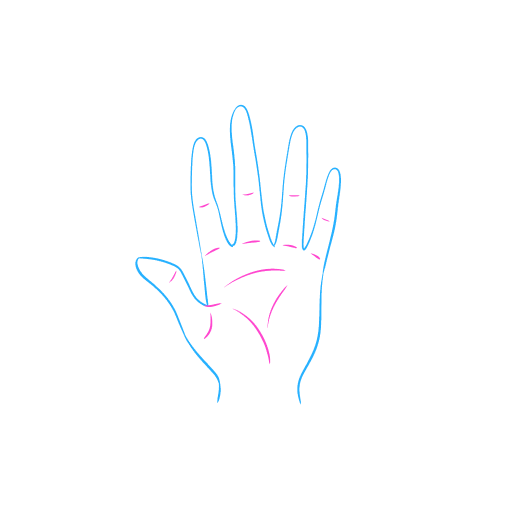
Draw the curved lines of the palm and fingers. The drawing is ready!
Use this image in the tutorial maker →


