ORIGINAL DRAWING LESSON
Hamster
A hamster is a small and fluffy rodent that often becomes a pet. It loves to run on its wheel and stuff food into its cheeks, as if it has a secret pantry. Hamsters come in different breeds, but they are all very cute.
STEP 1 / 12
Step 1
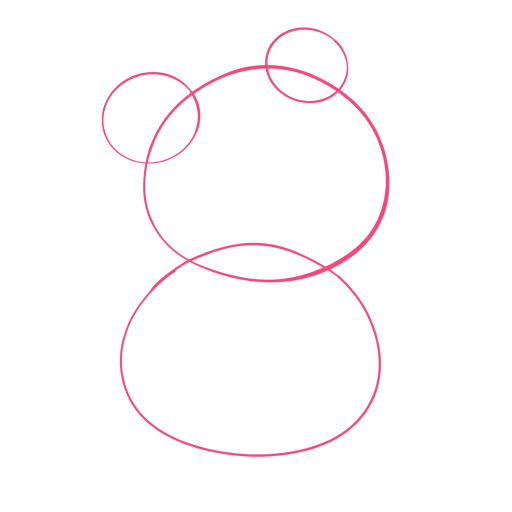
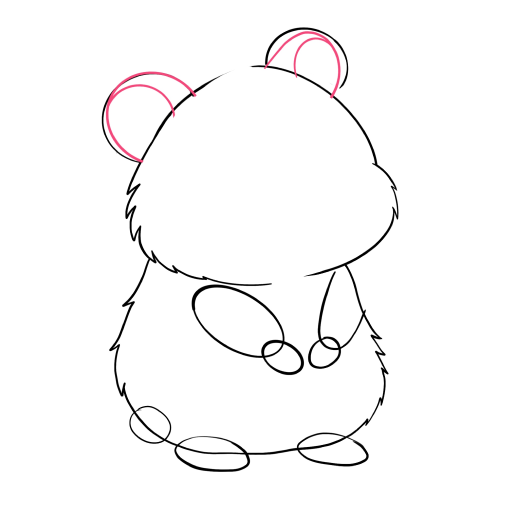
Start with a simple oval for the head and a larger oval for the torso. They overlap slightly. On the upper part of the head oval, draw two round ears.
Use this image in the tutorial maker →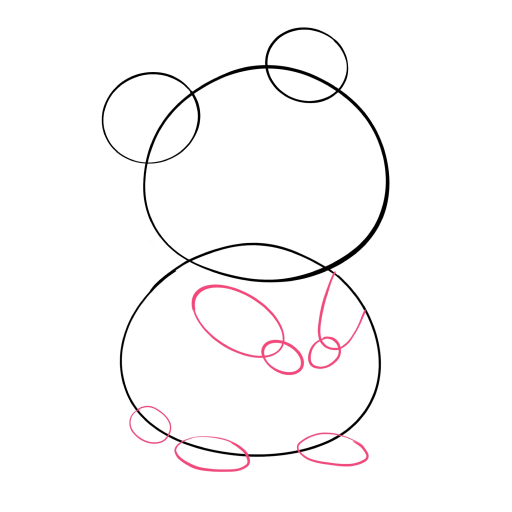
STEP 2 / 12
Step 2
Add the upper paws - two long ovals with 2 small circles at the end. The lower paws are long ovals. The tail is like a small circle.
Use this image in the tutorial maker →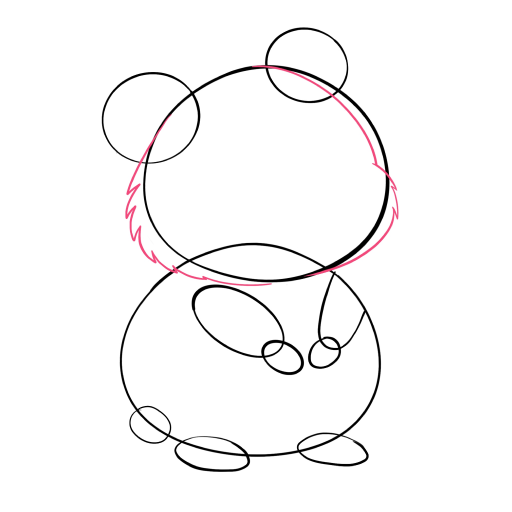
STEP 3 / 12
Step 3
Make the contour of the head fluffier by adding some irregularities along the edges to create a fur effect.
Use this image in the tutorial maker →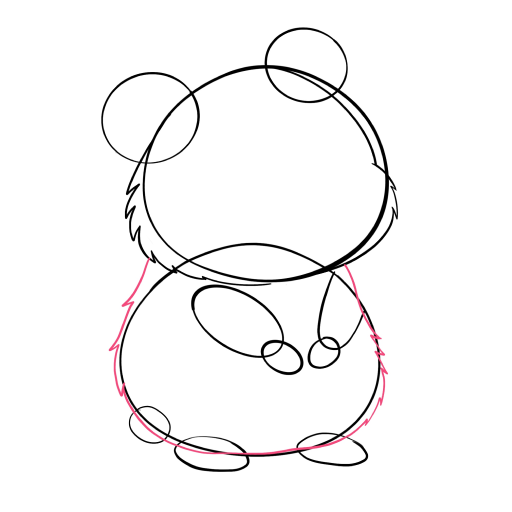
STEP 5 / 12
Step 5
Repeat the same for the torso, adding irregularities to make it look more voluminous and fluffy.
Use this image in the tutorial maker →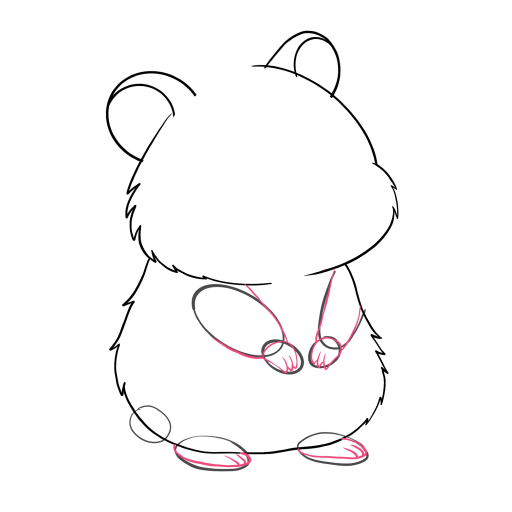
STEP 6 / 12
Step 6
Draw the front paws, folded at the chest. They can be small and rounded. Add the back paws at the bottom of the torso and facing to the right side.
Use this image in the tutorial maker →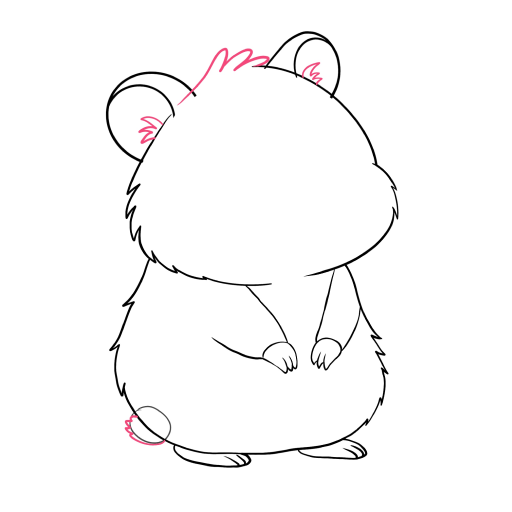
STEP 8 / 12
Step 8
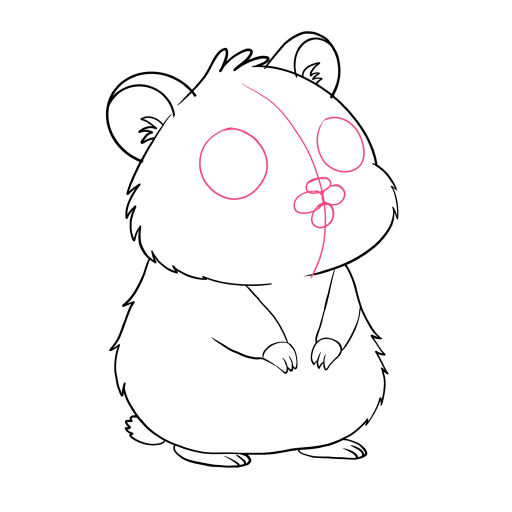
Draw the eyes in the shape of circles. Small ovals for the face, nose, and mouth. Also, a curved line for the mouth to convey a friendly expression.
Use this image in the tutorial maker →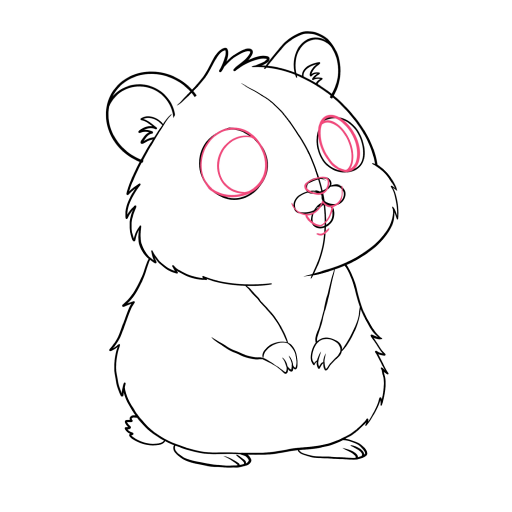
STEP 9 / 12
Step 9
Draw the eyes with an iris inside, a small nose like a triangle, and a smiling mouth.
Use this image in the tutorial maker →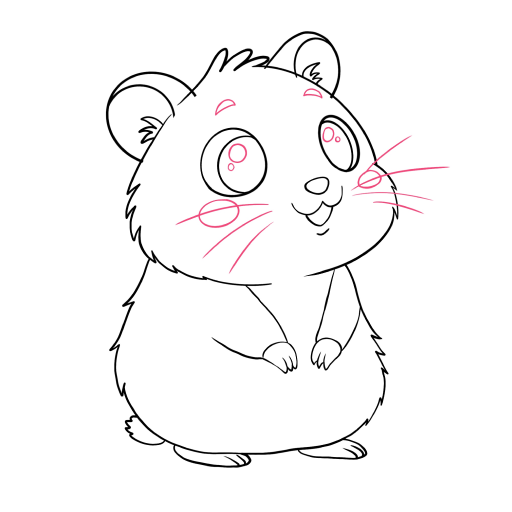
STEP 10 / 12
Step 10
Add highlights to the eyes, small eyebrows, cheeks, and whiskers to make the hamster more real and cute.
Use this image in the tutorial maker →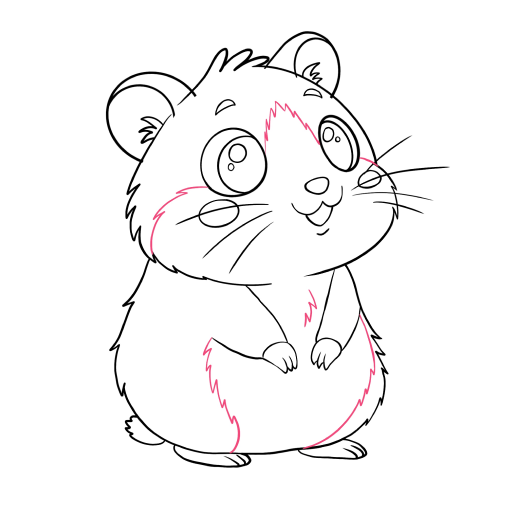
STEP 11 / 12
Step 11
Mark a light area on the belly and head to make it stand out against the fur.
Use this image in the tutorial maker →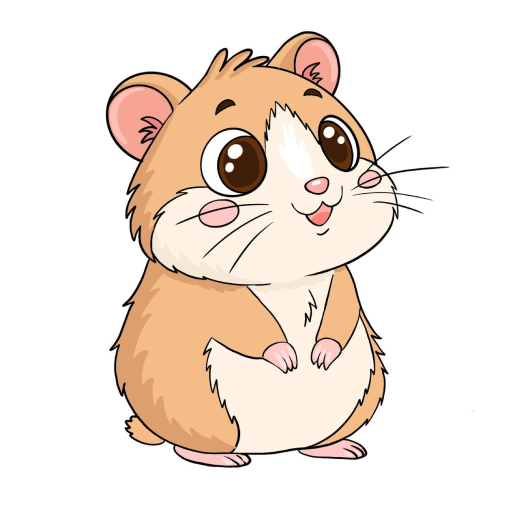
STEP 12 / 12
Step 12
The drawing is complete, color it in according to the example.
Use this image in the tutorial maker →


