ORIGINAL DRAWING LESSON
Golfer
Golfers are the embodiment of concentrated energy: their movements combine powerful swing and refined precision. At the moment of impact, the player's body transforms into a perfectly balanced spring—from a smooth backswing to a lightning-fast swing, ending in an elegant finishing pose. In the drawing, it's important to convey the tension in the back and arm muscles during the backswing, the twisting of the torso that creates torsional force, and the smooth weight transfer from the back leg to the front one.

STEP 1 / 14
Step 1
Using light, short lines, outline the main position of the figure: the head and the support points of the legs, which set a stable pose.
Use this image in the tutorial maker →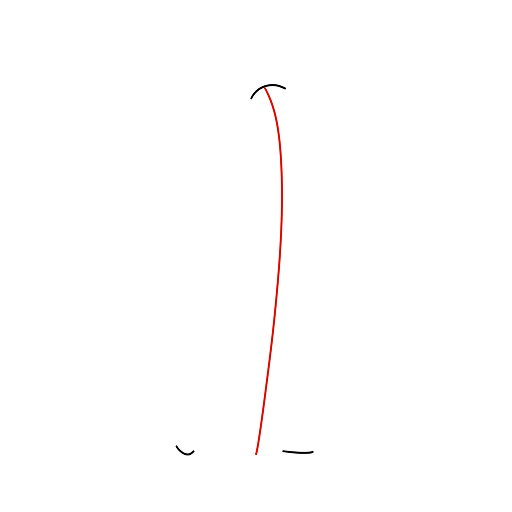
STEP 2 / 14
Step 2
Draw a smooth center line of the body, which will set the balance and dynamics of the movement.
Use this image in the tutorial maker →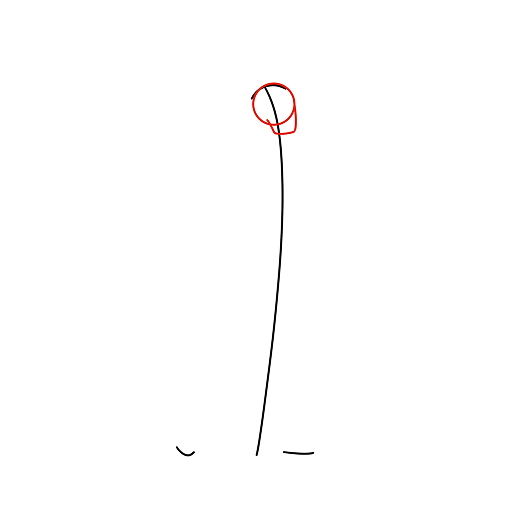
STEP 3 / 14
Step 3
Draw the general outlines of the head and neck, maintaining a calm and focused pose.
Use this image in the tutorial maker →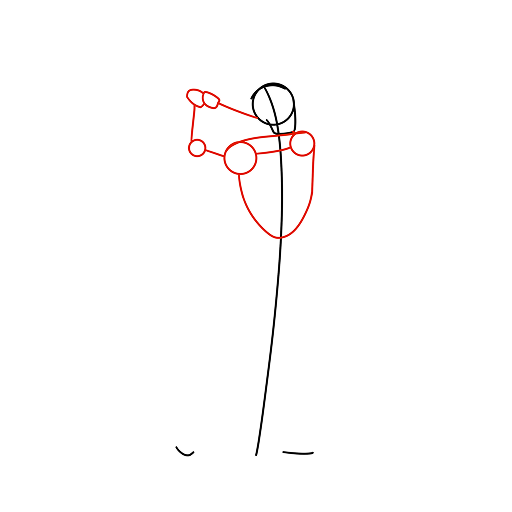
STEP 4 / 14
Step 4
Outline the "skeleton" of the figure: the line of the shoulders, the position of the arms, the torso, and the direction of the club.
Use this image in the tutorial maker →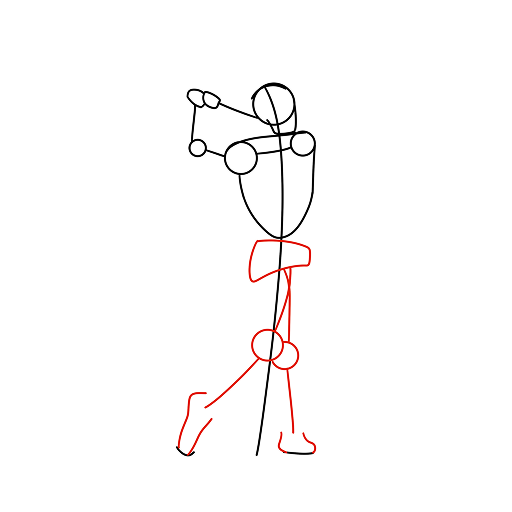
STEP 5 / 14
Step 5
Refine the position of the legs and hips, showing the post-impact pose.
Use this image in the tutorial maker →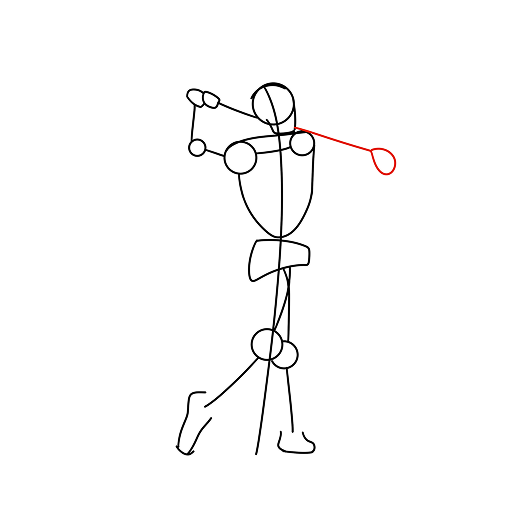
STEP 6 / 14
Step 6
Detail the club: extend its line and draw the club head.
Use this image in the tutorial maker →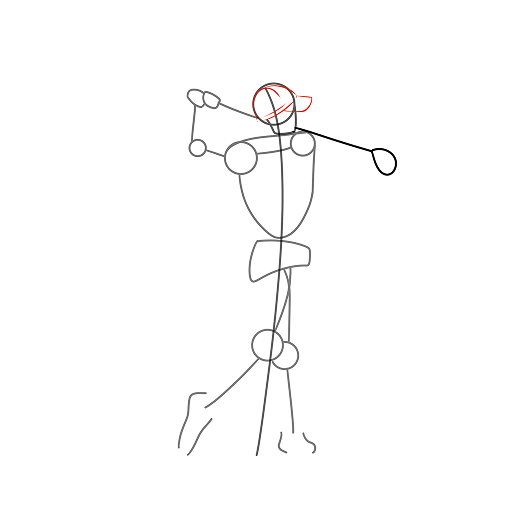
STEP 7 / 14
Step 7
On the head, draw the visor of the golfer's baseball cap.
Use this image in the tutorial maker →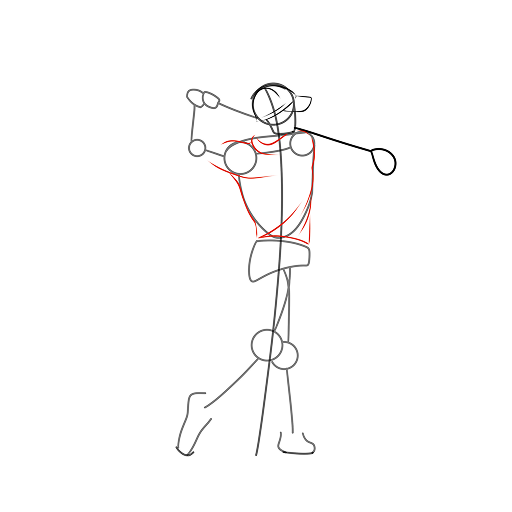
STEP 9 / 14
Step 9
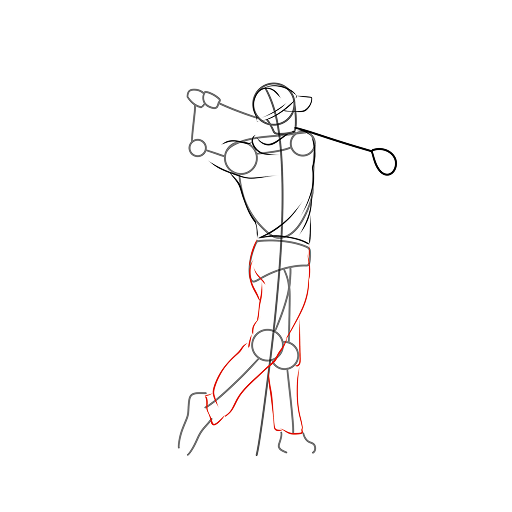
Refine the outlines of the legs dressed in trousers.
Use this image in the tutorial maker →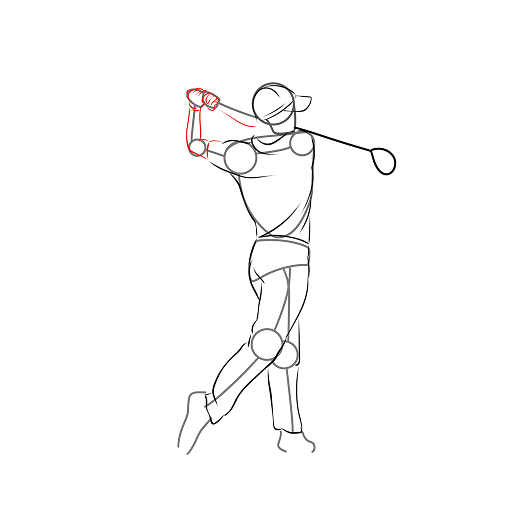
STEP 10 / 14
Step 10
Carefully draw the hands gripping the club, paying attention to the correct grip and the position of the hands.
Use this image in the tutorial maker →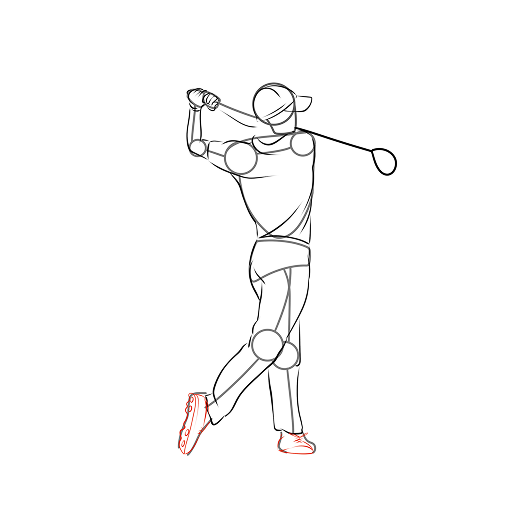
STEP 11 / 14
Step 11
Detail the golfer's shoes, which often have spikes for grip, then carefully erase all the guide lines.
Use this image in the tutorial maker →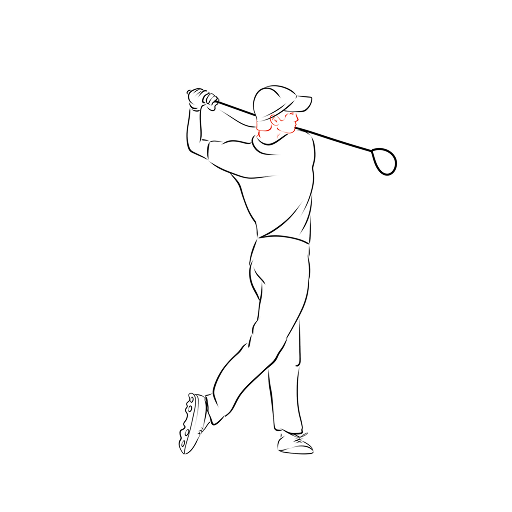
STEP 12 / 14
Step 12
Work on the athlete's facial features - a calm, concentrated gaze fixed on the ball.
Use this image in the tutorial maker →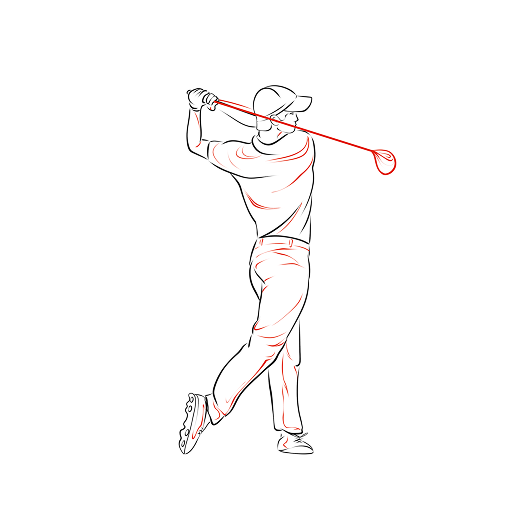
STEP 13 / 14
Step 13
Add realism: add light wrinkles to the clothing, and detail the handle of the club.
Use this image in the tutorial maker →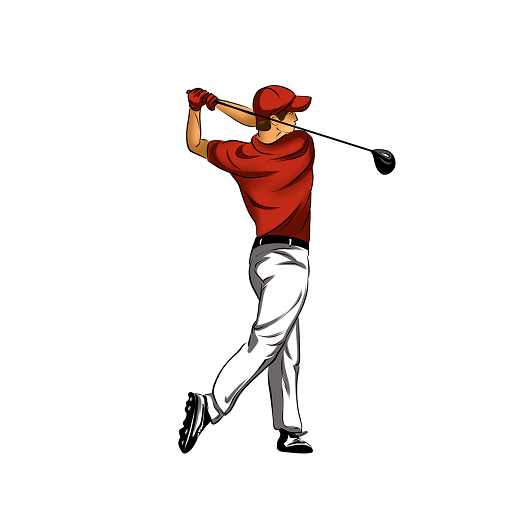
STEP 14 / 14
Step 14
Your drawing is ready! Color it according to the example.
Use this image in the tutorial maker →


