ORIGINAL DRAWING LESSON
Full-Length Girl
In this lesson, we will learn how to draw a full-length human body. The process begins with building a skeleton and musculature to accurately convey the proportions and structure of the body. Then, volume and shapes are applied over this framework, paying attention to the curves and lines characteristic of female anatomy. The final stage involves detailing features such as facial features, hair, and clothing folds to give the drawing liveliness and realism.
STEP 1 / 14
Step 1
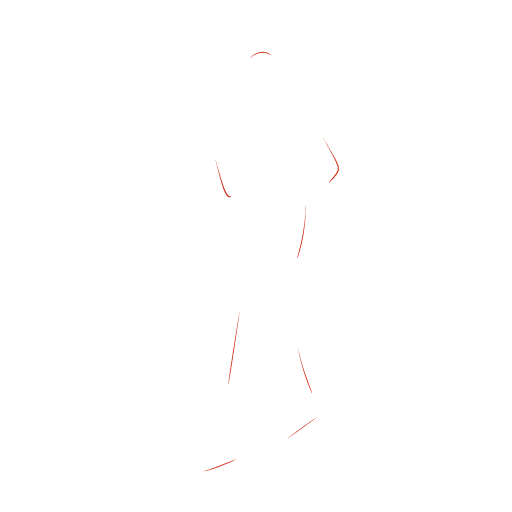
Draw a girl's figure. Use light lines to outline the general shape of the figure, establishing the pose and dynamics.
Use this image in the tutorial maker →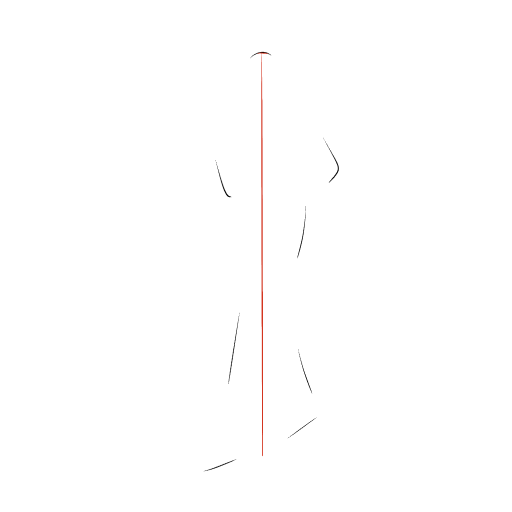
STEP 2 / 14
Step 2
Draw a vertical axis that should coincide with the middle of the supporting foot—this is the basis for the figure's balance.
Use this image in the tutorial maker →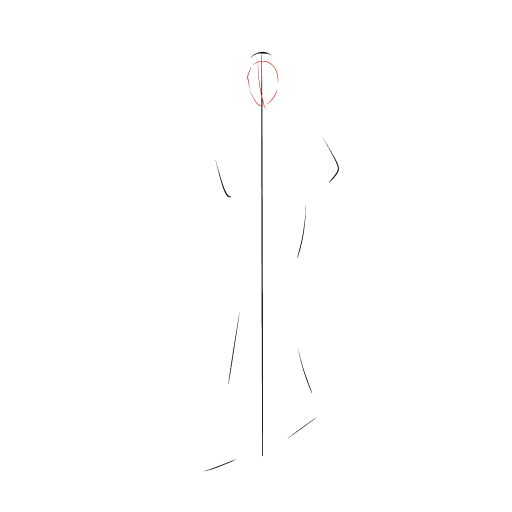
STEP 3 / 14
Step 3
Outline the oval of the head, considering the angle and tilt.
Use this image in the tutorial maker →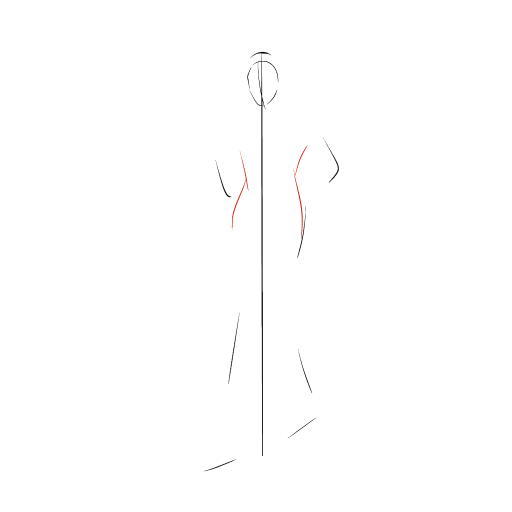
STEP 4 / 14
Step 4
Mark the main masses: the ribcage, waist, and hips.
Use this image in the tutorial maker →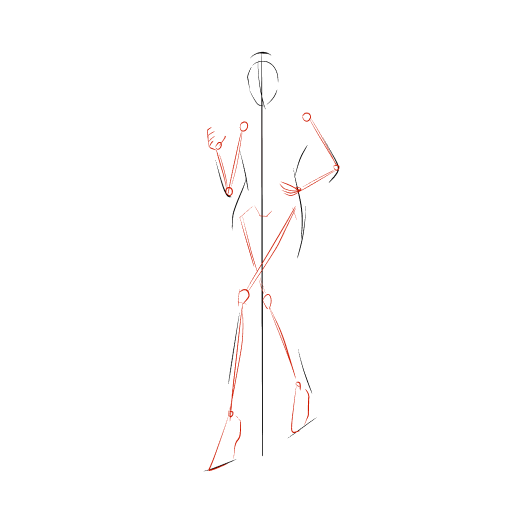
STEP 5 / 14
Step 5
Use schematic lines and circles to mark key joints (shoulders, elbows, knees) to understand the structure.
Use this image in the tutorial maker →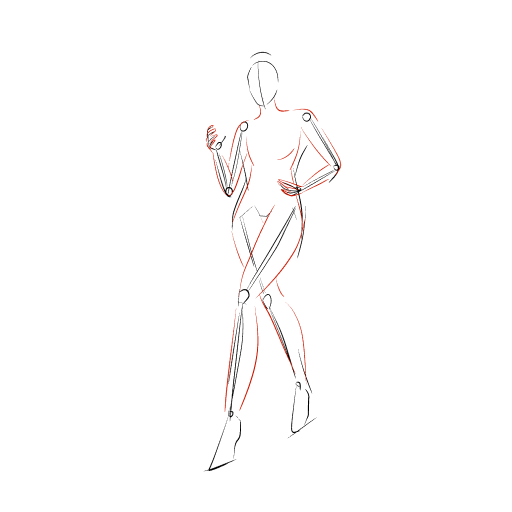
STEP 6 / 14
Step 6
With smooth strokes, build up the form, adding soft curves for muscles and the figure's silhouette.
Use this image in the tutorial maker →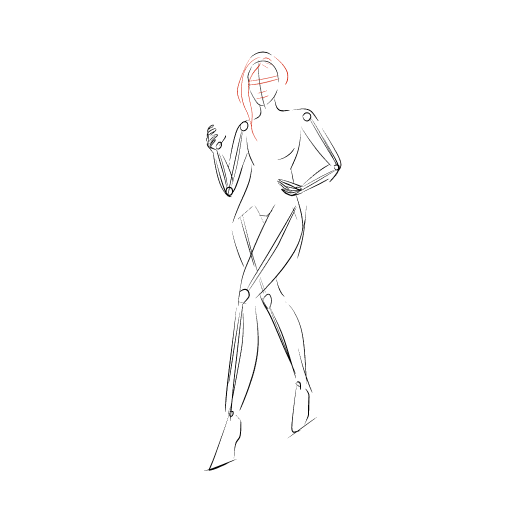
STEP 7 / 14
Step 7
Schematically mark the hairstyle and outline guidelines for the eyes, nose, and mouth, without going into detail.
Use this image in the tutorial maker →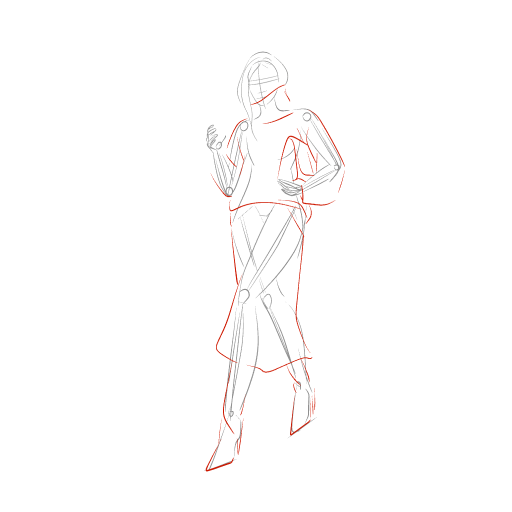
STEP 8 / 14
Step 8
Draw the silhouette of the clothing, adding accessories.
Use this image in the tutorial maker →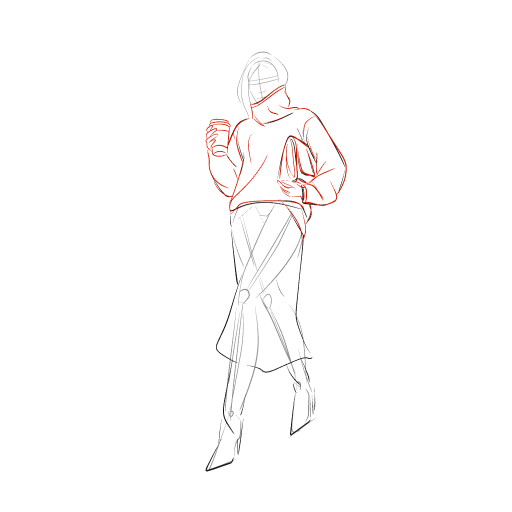
STEP 9 / 14
Step 9
Work on the upper part of the costume, analyzing how the fabric lays on the body. Add fingers, emphasizing the fluidity, and draw the cup.
Use this image in the tutorial maker →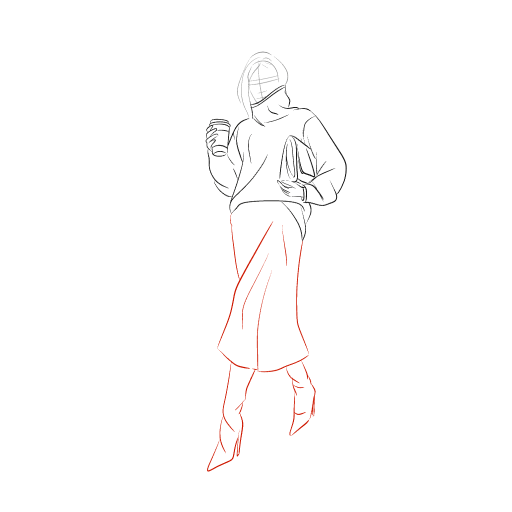
STEP 11 / 14
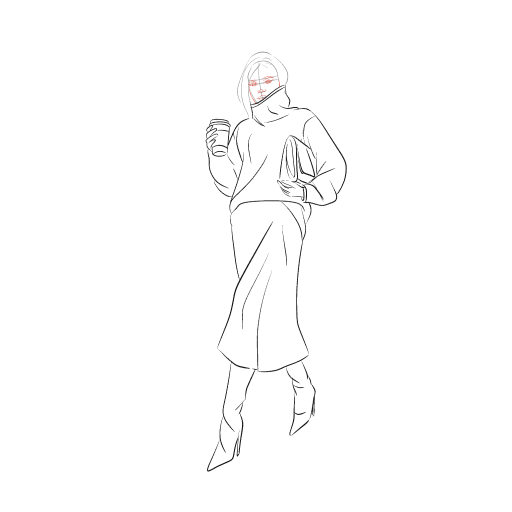
Step 11
Use light strokes to mark the facial features, keeping them generalized—the focus is on the figure, not a portrait resemblance.
Use this image in the tutorial maker →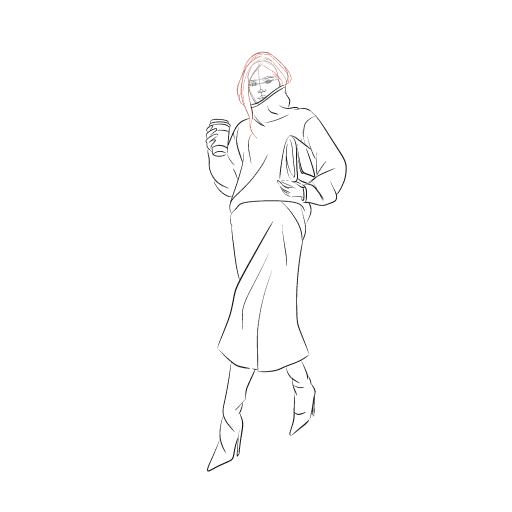
STEP 12 / 14
Step 12
Refine the shape and movement of the hair, adding volume and texture.
Use this image in the tutorial maker →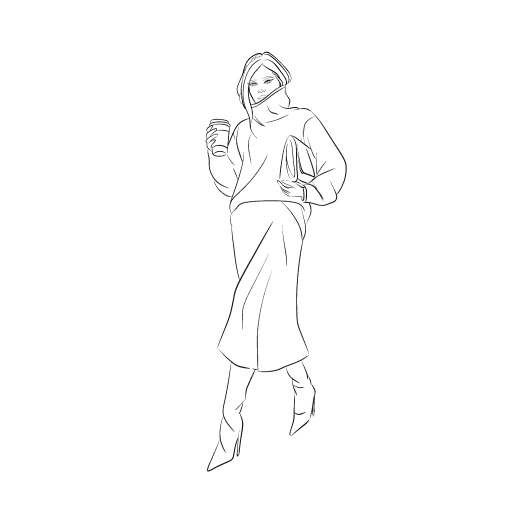
STEP 13 / 14
Step 13
Give the drawing depth with soft-stroke shadows, and draw the light.
Use this image in the tutorial maker →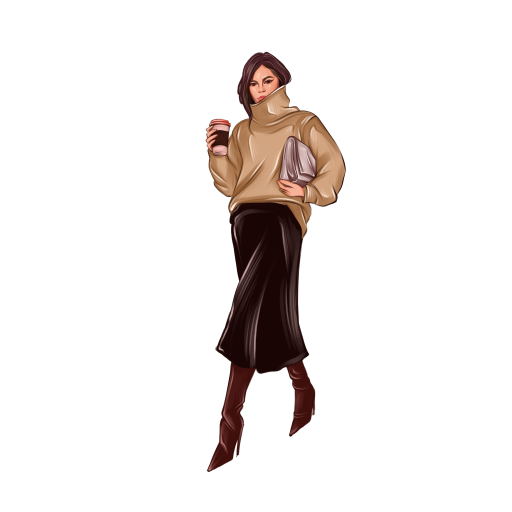
STEP 14 / 14
Step 14
The drawing is ready! You can color it in, following the example.
Use this image in the tutorial maker →


