ORIGINAL DRAWING LESSON
Anatomical Hand
Drawing a clenched fist might seem difficult, but it's actually a very expressive and fascinating process that requires attention to anatomy and the fluidity of shapes. Start with basic geometric figures. Don't forget the key points—the knuckles, which give the fist its dynamic and character—and be sure to work with light and shadow to convey volume and realism.
STEP 1 / 13
Step 1
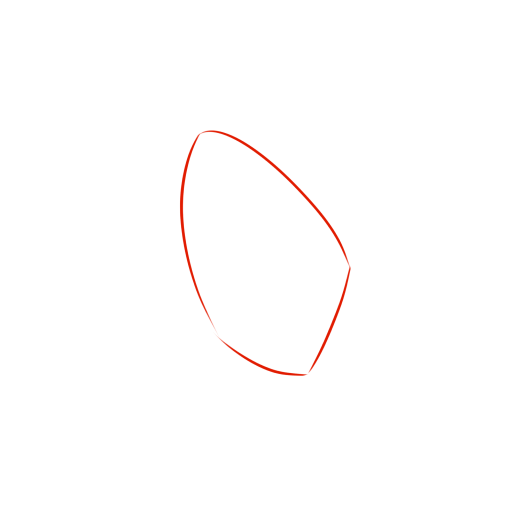
With barely noticeable strokes, sketch the overall composition of the future fist, using a trapezoid shape to determine the main proportions and orientation in space.
Use this image in the tutorial maker →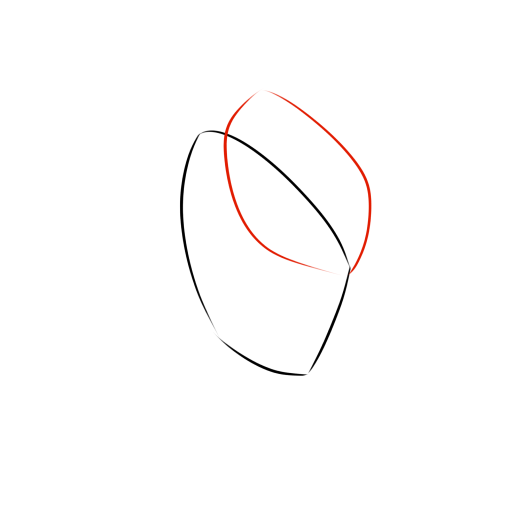
STEP 2 / 13
Step 2
In the upper part of the trapezoid, mark the area where the fingers will be, maintaining the natural curve of the clenched hand.
Use this image in the tutorial maker →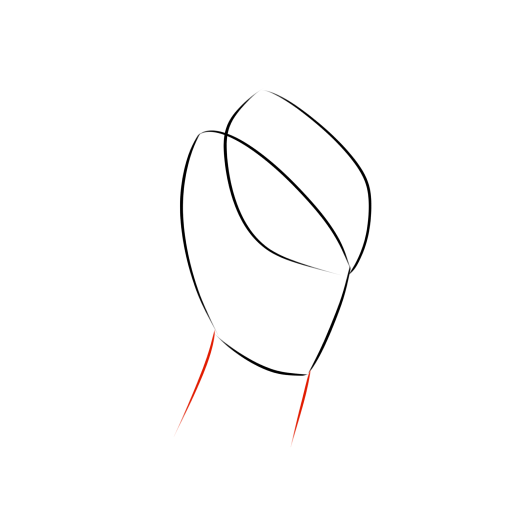
STEP 3 / 13
Step 3
With smooth lines, sketch the transition to the wrist, taking into account the anatomical features of the hand's connection to the forearm.
Use this image in the tutorial maker →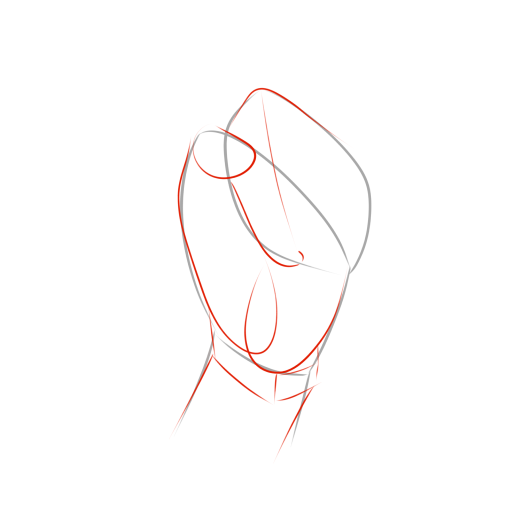
STEP 4 / 13
Step 4
Visually divide the area into three key segments: knuckles, finger phalanges, and the thumb area.
Use this image in the tutorial maker →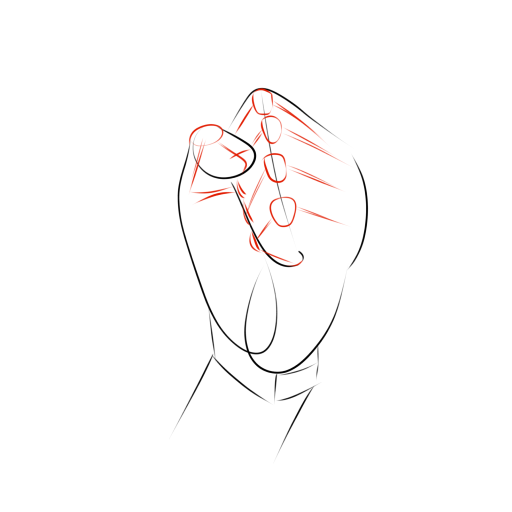
STEP 5 / 13
Step 5
Draw the joints as arcs of circles, conveying the natural curvature of the clenched fingers.
Use this image in the tutorial maker →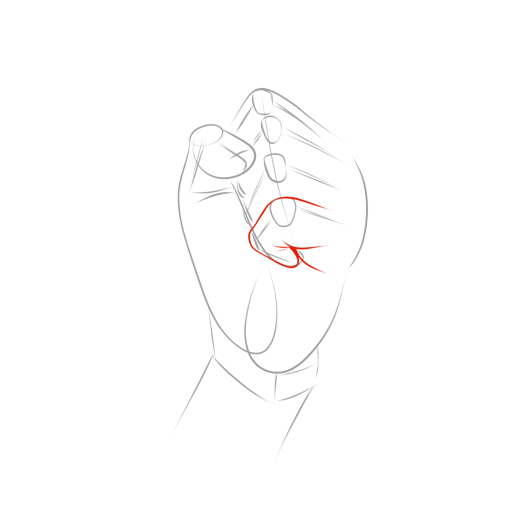
STEP 6 / 13
Step 6
Detail the little finger, carefully working on its two phalanges and the line connecting it to the edge of the palm.
Use this image in the tutorial maker →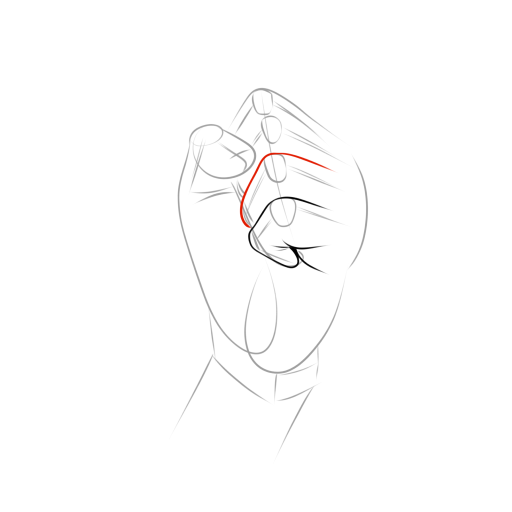
STEP 7 / 13
Step 7
Move on to refining the shape of the ring finger, maintaining the unity of form with the already drawn elements.
Use this image in the tutorial maker →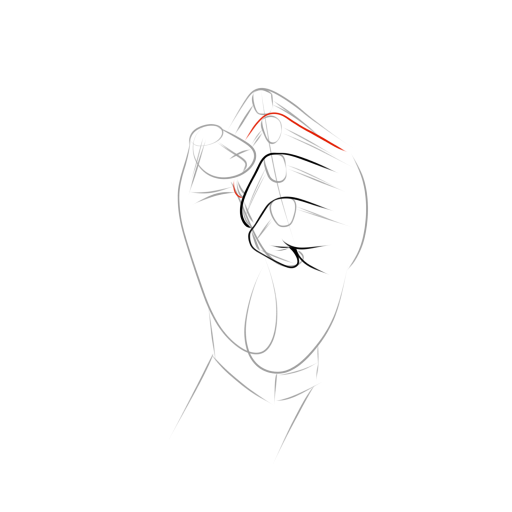
STEP 8 / 13
Step 8
Work on the middle finger, connecting the joints with smooth, anatomically accurate lines.
Use this image in the tutorial maker →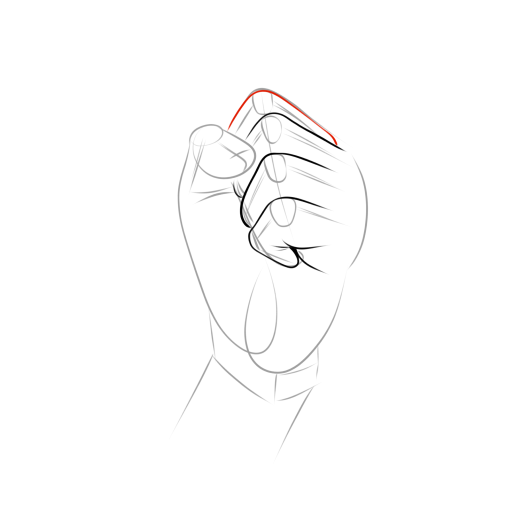
STEP 9 / 13
Step 9
Detail the index finger, following the general principle of construction and maintaining proportional correspondence to the other fingers.
Use this image in the tutorial maker →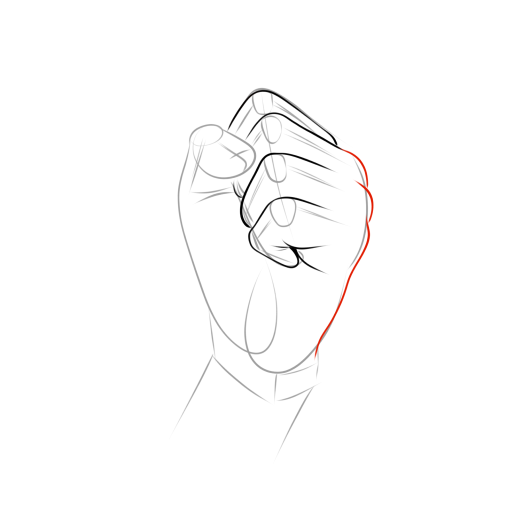
STEP 10 / 13
Step 10
Refine the line of the knuckles, emphasizing the characteristic relief of a clenched fist.
Use this image in the tutorial maker →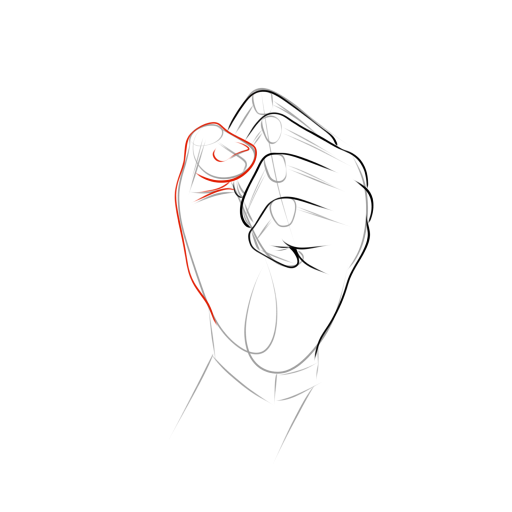
STEP 11 / 13
Step 11
Work on the thumb, highlighting its two phalanges and clearly indicating the line separating it from the palm.
Use this image in the tutorial maker →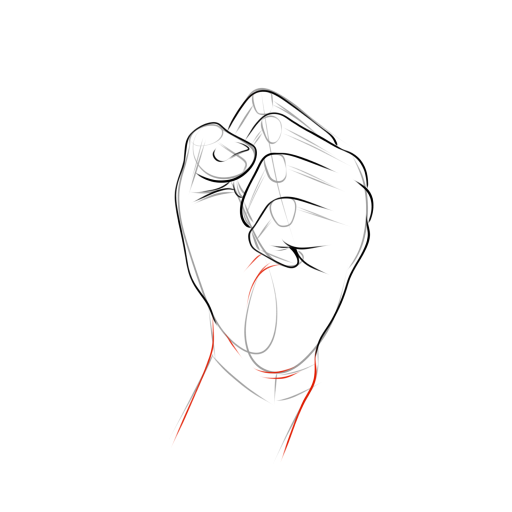
STEP 12 / 13
Step 12
Refine the contours of the palm and wrist, adding natural muscle relief and skin folds for realism. Carefully erase the auxiliary lines, keeping only the main, meaningful contours.
Use this image in the tutorial maker →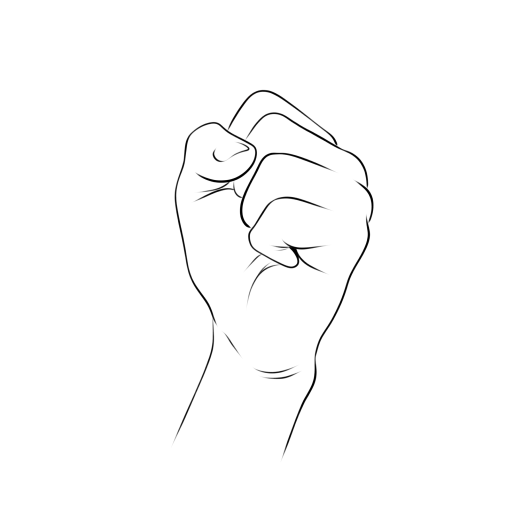
STEP 13 / 13
Step 13
Finish the drawing by adding tonal modeling: darken the area under the fingers, the depressions between the knuckles, and the side surfaces of the palm to create a sense of volume. The drawing is ready!
Use this image in the tutorial maker →


