ORIGINAL DRAWING LESSON
Feet
Drawing feet may seem complex, but it's actually an exciting process that requires attention to detail. Start with basic shapes, like an oval for the heel and a more elongated shape for the front of the foot, then gradually add curves and contours to convey volume and anatomy. Don't forget the toes, each with its unique shape and position, and remember to add shadows and light to give the drawing realism.
STEP 1 / 14
Step 1
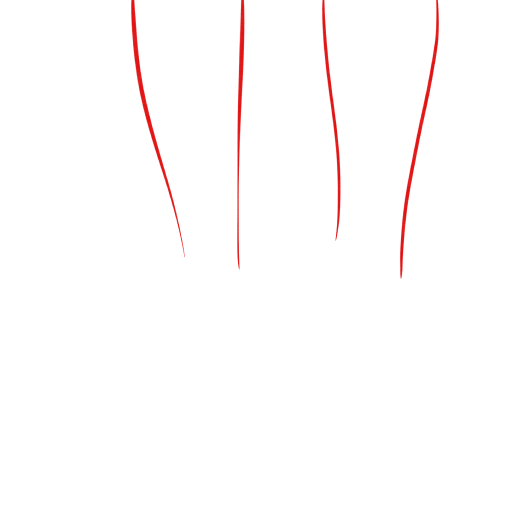
Draw four elegant lines: these are the lines for the legs.
Use this image in the tutorial maker →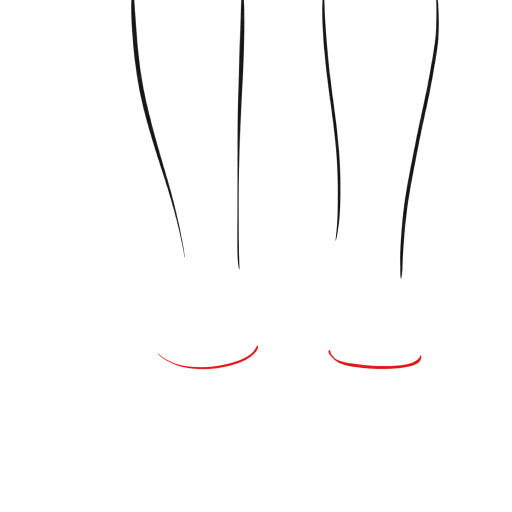
STEP 2 / 14
Step 2
Lower down, draw arcs perpendicular to the first lines.
Use this image in the tutorial maker →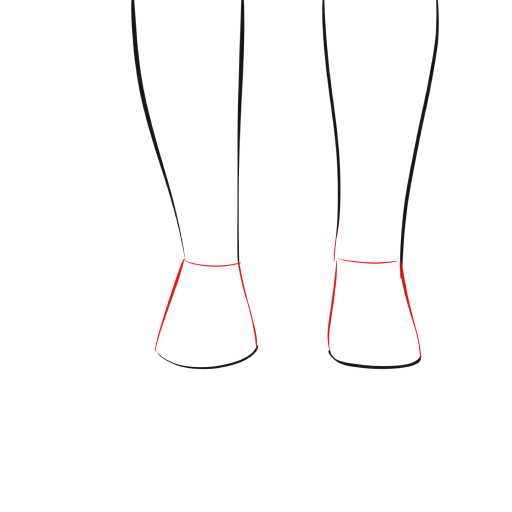
STEP 3 / 14
Step 3
Connect them to the legs with these 'trapezoids.' This is a sketch of the heels.
Use this image in the tutorial maker →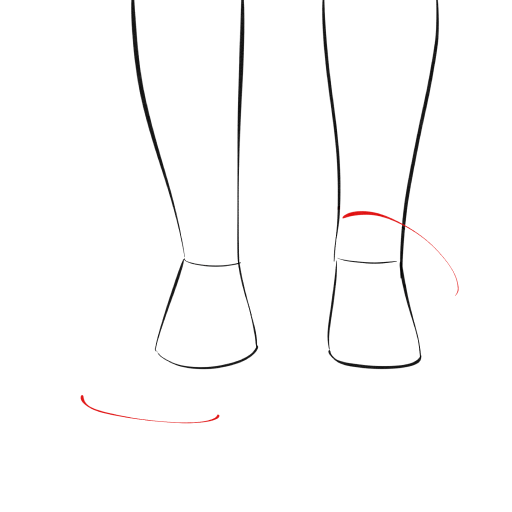
STEP 4 / 14
Step 4
On the right foot, draw an arc from below, and on the right foot, draw a similar one from above. These are the directions of the feet.
Use this image in the tutorial maker →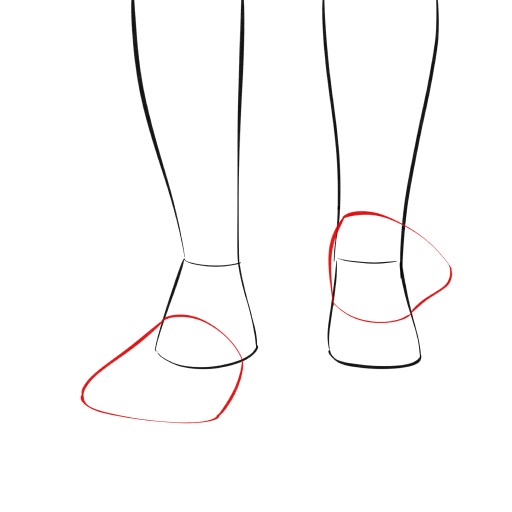
STEP 5 / 14
Step 5
Connect the shape of the feet and you'll get a sketch like this.
Use this image in the tutorial maker →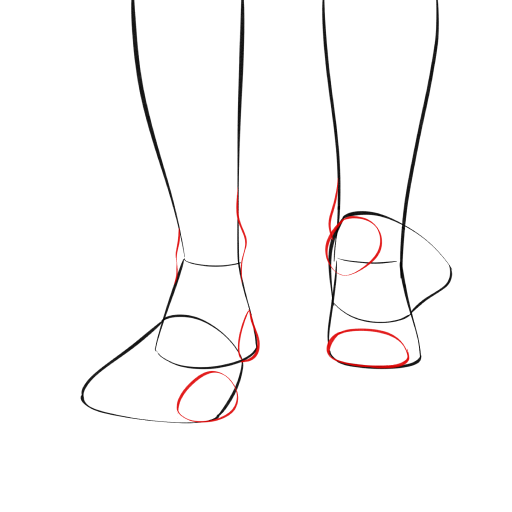
STEP 6 / 14
Step 6
Mark the protruding bones on the feet with semicircles.
Use this image in the tutorial maker →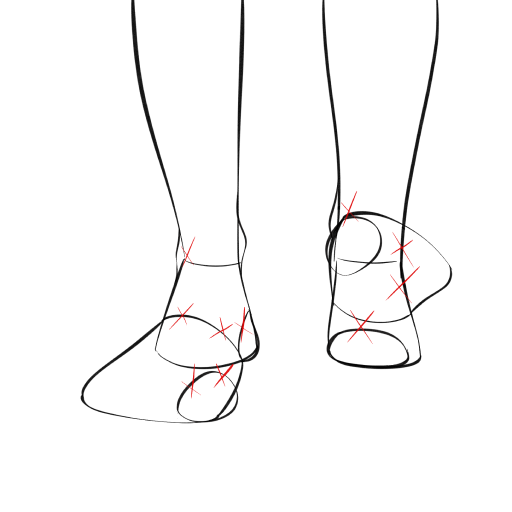
STEP 7 / 14
Step 7
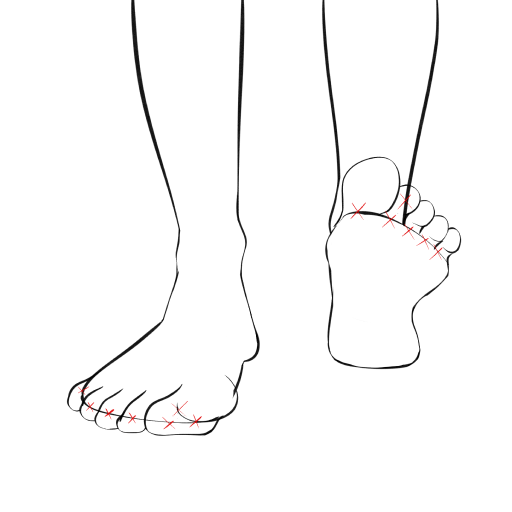
These lines, marked with crosses, need to be erased.
Use this image in the tutorial maker →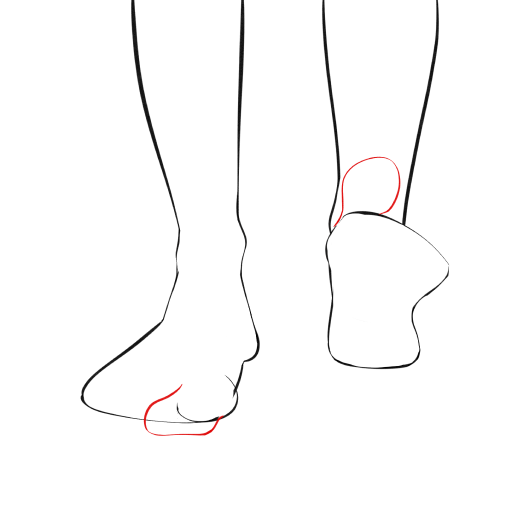
STEP 8 / 14
Step 8
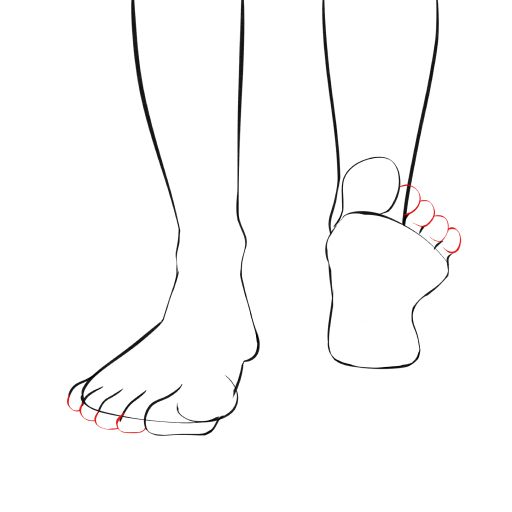
On the cleaned-up drawing, add the shape of the big toe.
Use this image in the tutorial maker →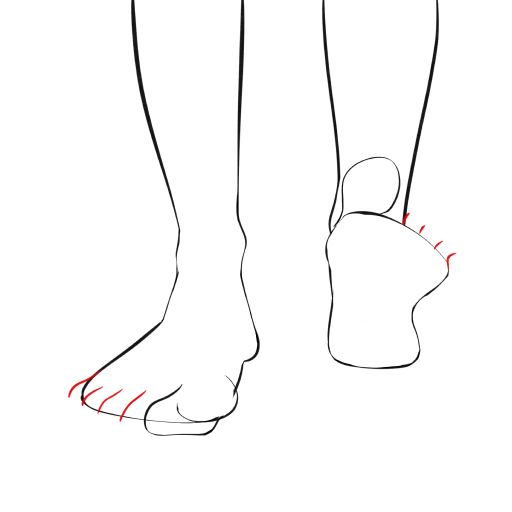
STEP 12 / 14
Step 12
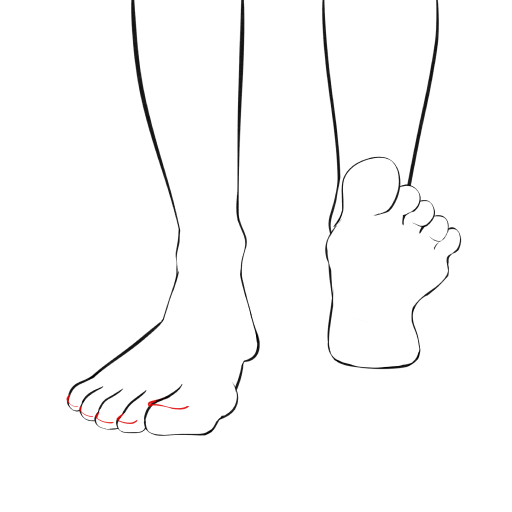
On the foot that is on the ground, draw nails on the toes.
Use this image in the tutorial maker →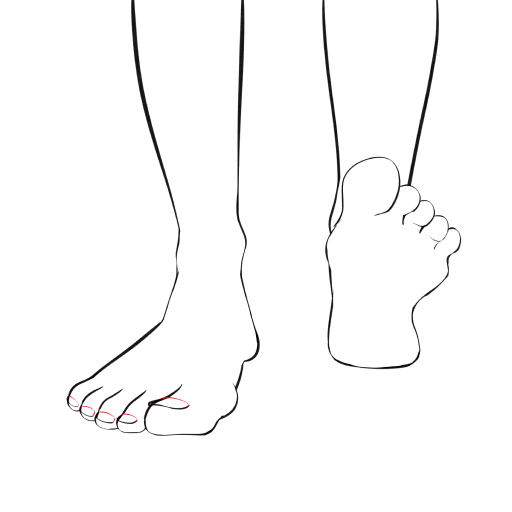
STEP 14 / 14
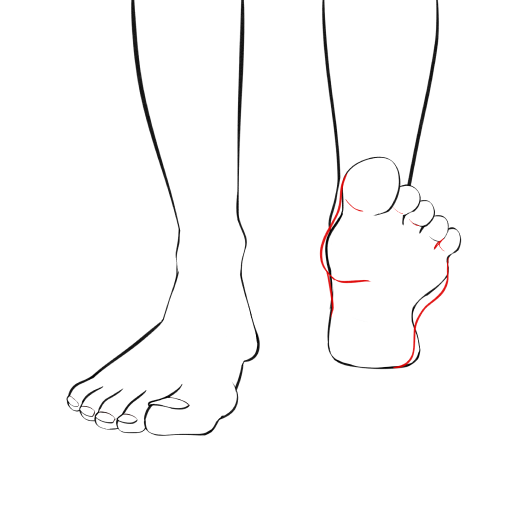
Step 14
If necessary, make any corrections on either foot. The drawing is ready!
Use this image in the tutorial maker →


