ORIGINAL DRAWING LESSON
Eye
Today we'll learn how to draw an eye from a 3/4 perspective—that is, slightly from the side, where the eye looks more elongated. This angle makes the gaze lively and natural. Interesting fact: The shape of the eye changes significantly from different angles, and Renaissance artists paid special attention to this to make their portraits look as realistic as possible.
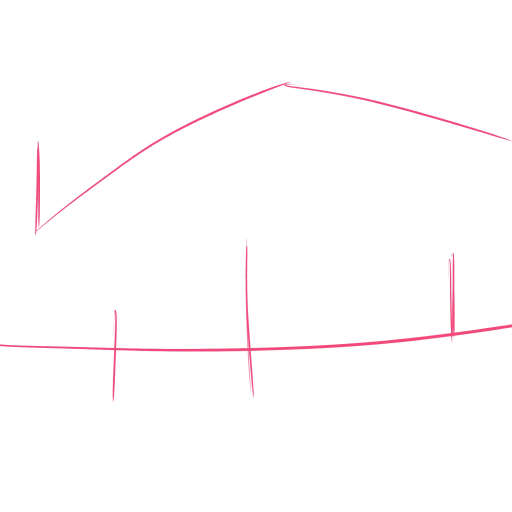
STEP 1 / 12
Step 1
Outline the basic shape of the eye. Draw slightly curved top and bottom lines, and add vertical guidelines for width. This will help you keep the proportions right.
Use this image in the tutorial maker →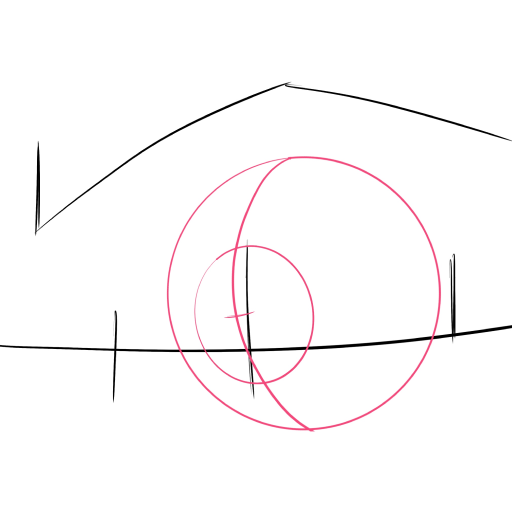
STEP 2 / 12
Step 2
Draw the contour of the upper eyelid and outline the circle of the iris. Since the eye is in a 3/4 view, the circle will not be perfectly round but will be slightly elongated, like an oval.
Use this image in the tutorial maker →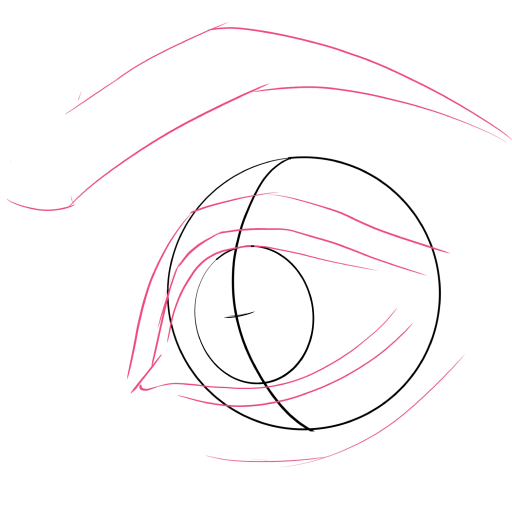
STEP 3 / 12
Step 3
Add the lower eyelid and the arc for the future eyebrow. Mark the pupil to immediately set the direction of the gaze.
Use this image in the tutorial maker →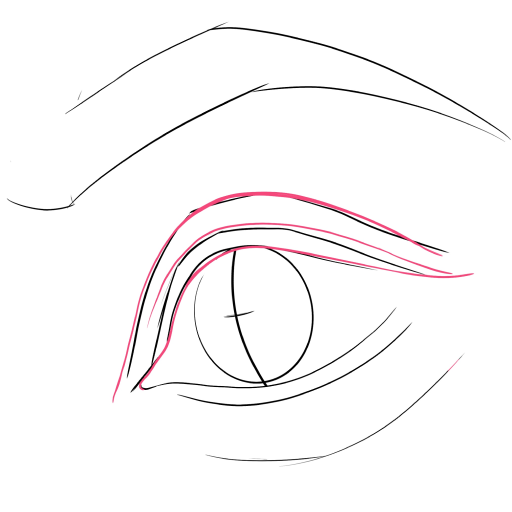
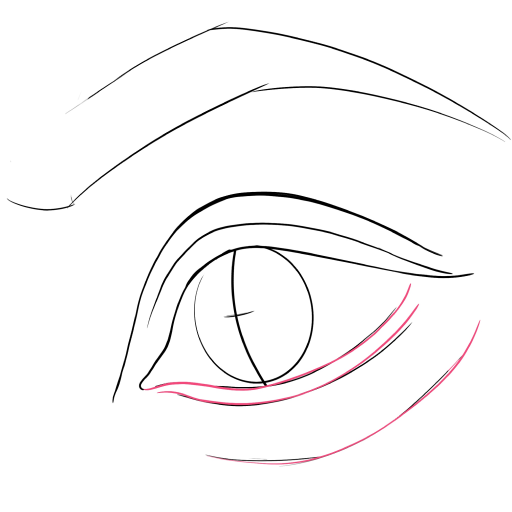
STEP 5 / 12
Step 5
Draw the lower eyelid. Add a crease under the eye and the inner corner. These details make the eye more lively and anatomically correct.
Use this image in the tutorial maker →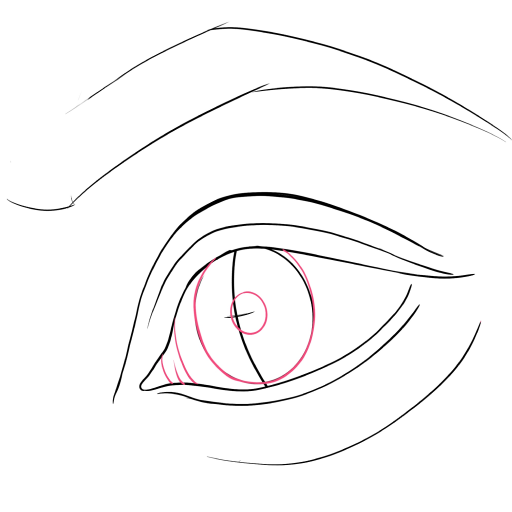
STEP 6 / 12
Step 6
Refine the iris: draw the pupil and the inner lines.
Use this image in the tutorial maker →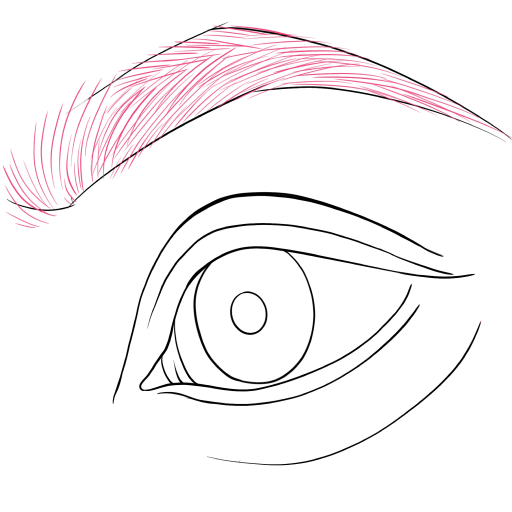
STEP 7 / 12
Step 7
Make the eyebrow thicker and more expressive by adding more strokes of different lengths.
Use this image in the tutorial maker →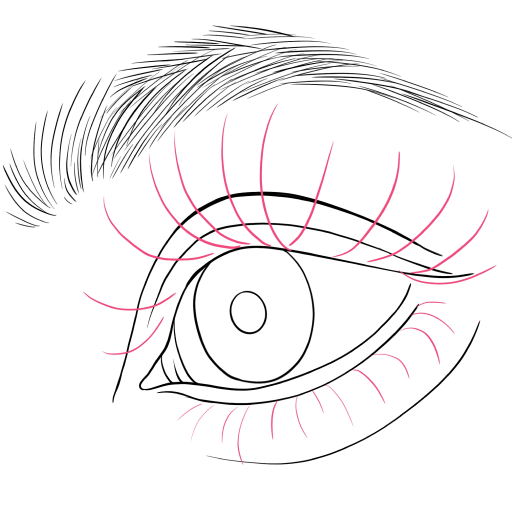
STEP 8 / 12
Step 8
Add guidelines for the eyelashes on the upper and lower eyelids.
Use this image in the tutorial maker →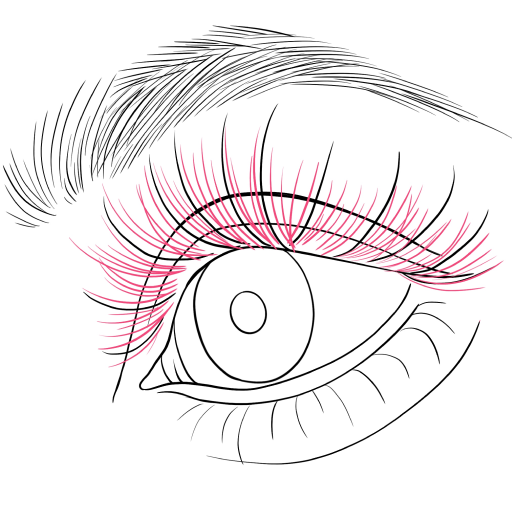
STEP 9 / 12
Step 9
Draw the upper eyelashes more thickly. They are long, curved, and directed upward, following the curve of the eyelid.
Use this image in the tutorial maker →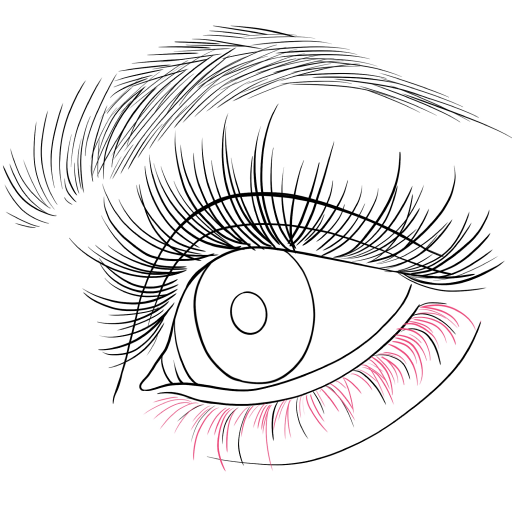
STEP 10 / 12
Step 10
Add the lower eyelashes. They are shorter and spaced farther apart than the upper ones.
Use this image in the tutorial maker →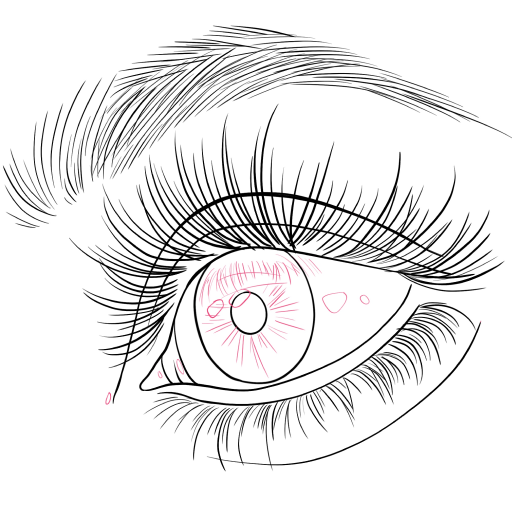
STEP 11 / 12
Step 11
Add a light texture and highlights to the iris. Also, add the reflection of the eyelashes.
Use this image in the tutorial maker →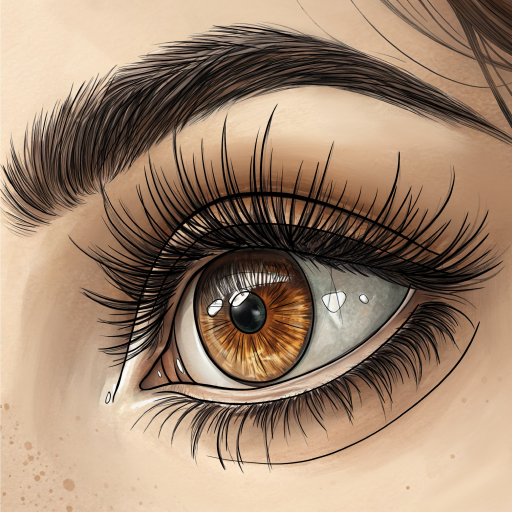
STEP 12 / 12
Step 12
Color the drawing according to the example.
Use this image in the tutorial maker →


