ORIGINAL DRAWING LESSON
Elephant
Today we will learn the basics of drawing an elephant. First, sketch the main shapes of the elephant's body: a large oval for the torso, a circle for the head, and long curved lines for the legs and trunk. Then, add details such as large ears, tusks, eyes, and skin folds to give it a realistic look. Finally, work on the shadows and highlights to create volume and texture, bringing your elephant to life on paper.
STEP 1 / 16
Step 1
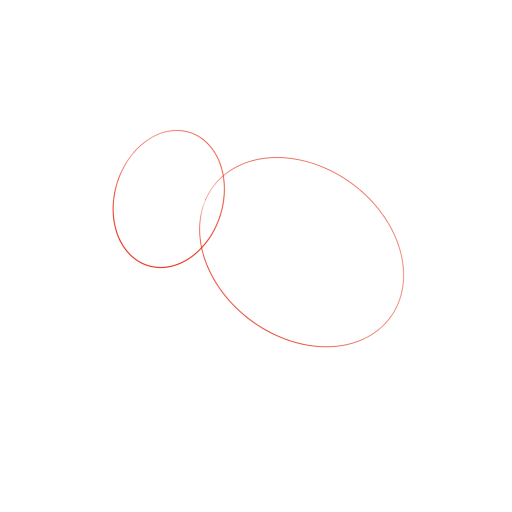
Start by drawing two ovals of different sizes. The smaller oval will be the base for the head, and the larger one will be for the elephant's massive torso, setting the main proportions for the future drawing.
Use this image in the tutorial maker →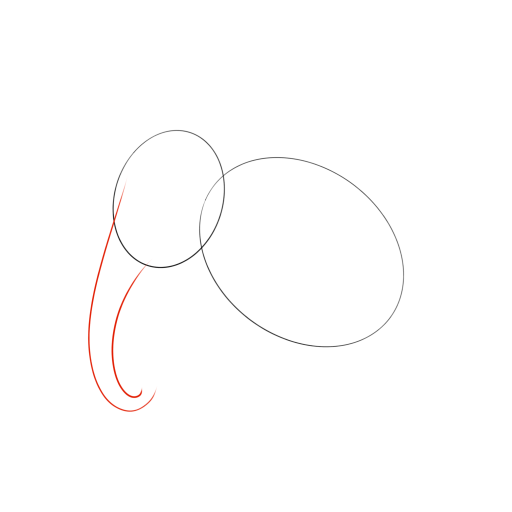
STEP 2 / 16
Step 2
From the smaller oval, smoothly extend a curved line to form the animal's powerful and flexible trunk.
Use this image in the tutorial maker →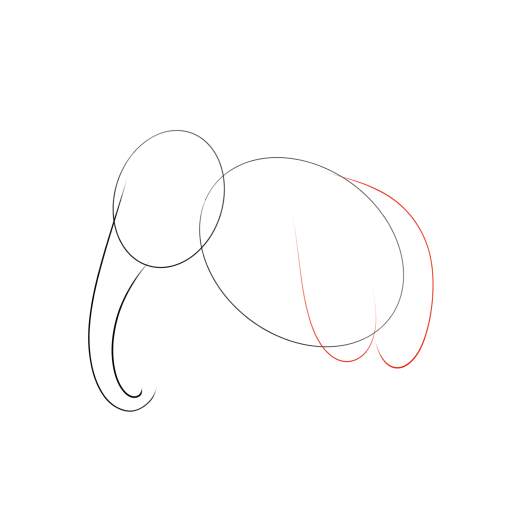
STEP 3 / 16
Step 3
With light arched lines, we'll sketch the position and shape of the upper parts of the hind legs, indicating their power and volume.
Use this image in the tutorial maker →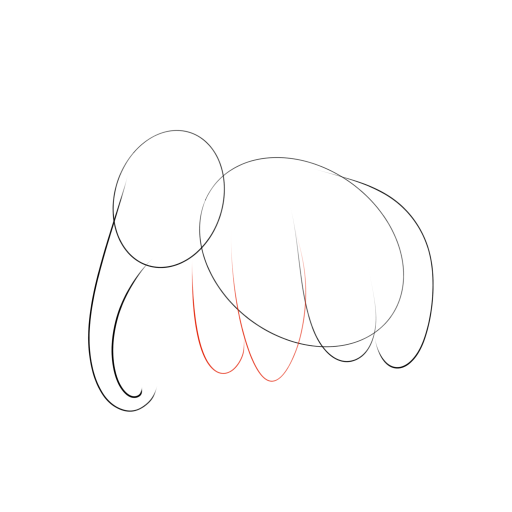
STEP 4 / 16
Step 4
In the same way, we'll draw guide lines for the upper parts of the front legs, maintaining symmetry and considering the supportive stance.
Use this image in the tutorial maker →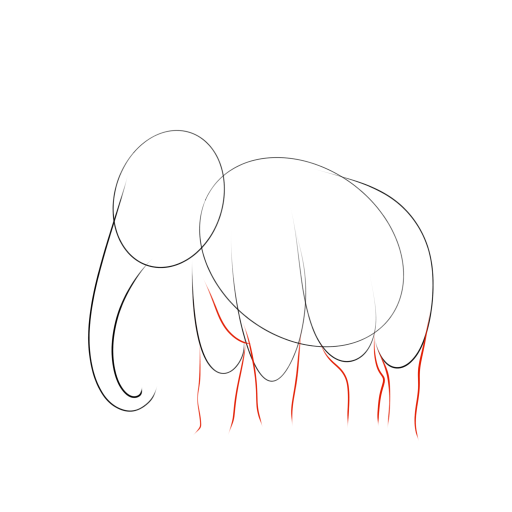
STEP 5 / 16
Step 5
We'll transform the sketched lines into full, voluminous forms of the limbs, drawing the correct shape of the legs, tapering towards the bottom.
Use this image in the tutorial maker →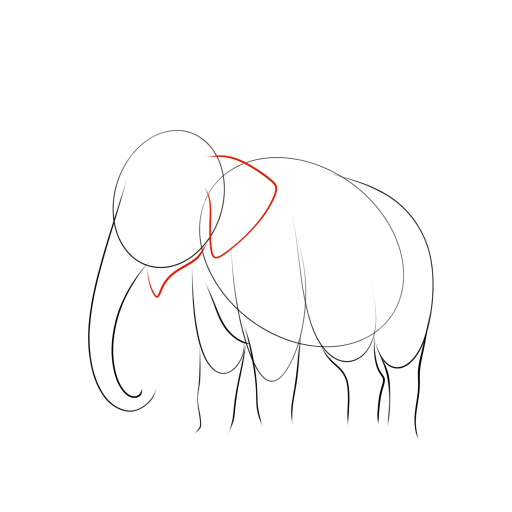
STEP 6 / 16
Step 6
On the sides of the head, we'll sketch the bases of the large elephant ears with large rounded shapes.
Use this image in the tutorial maker →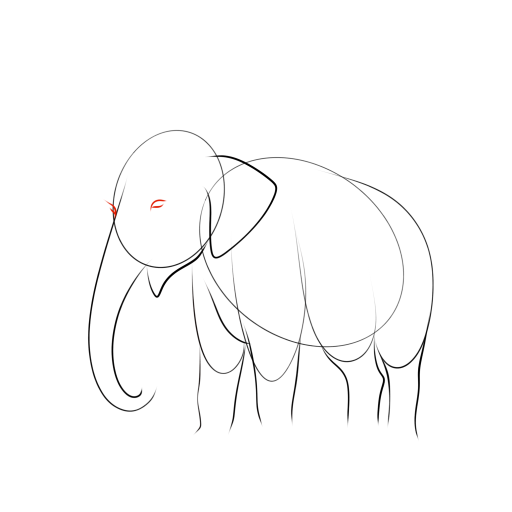
STEP 7 / 16
Step 7
Add the eyes, placing them on the head and giving the gaze a characteristic calm expression.
Use this image in the tutorial maker →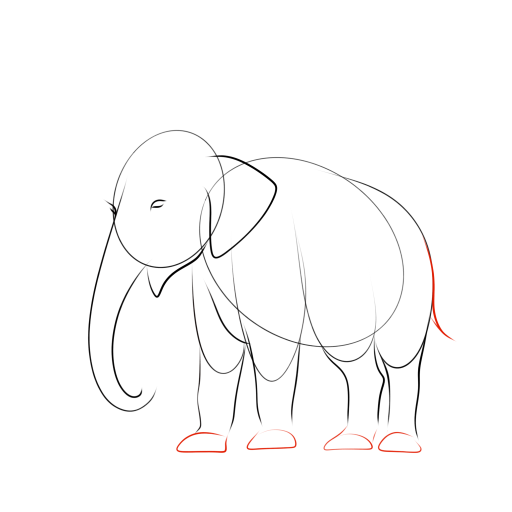
STEP 8 / 16
Step 8
Draw the massive feet with toes and add a short tail, completing the main silhouette.
Use this image in the tutorial maker →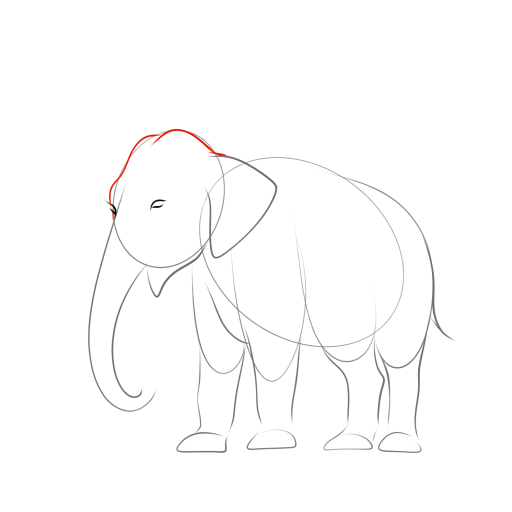
STEP 9 / 16
Step 9
Let's refine the contour of the head, connecting it to the trunk and adding the characteristic curve of the forehead.
Use this image in the tutorial maker →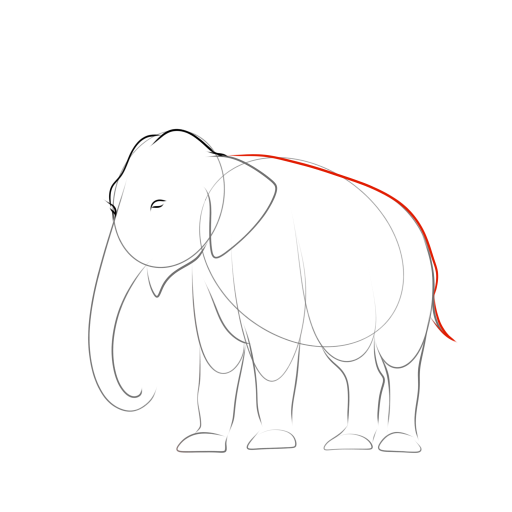
STEP 10 / 16
Step 10
With a smooth curved line, we'll draw the line of the back, emphasizing the monumentality and weight of the figure.
Use this image in the tutorial maker →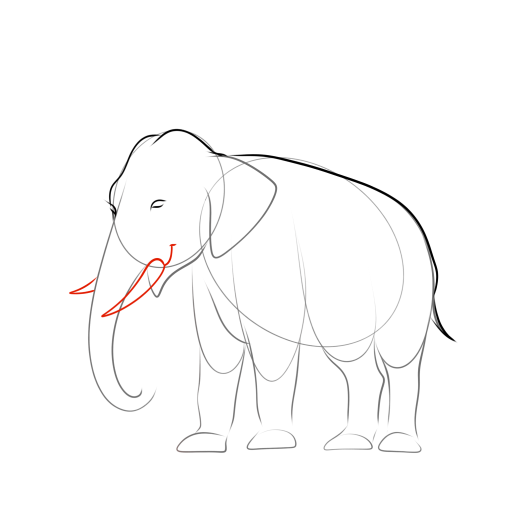
STEP 11 / 16
Step 11
Let's add recognizable details to our elephant: curved tusks and a smiling mouth, enhancing the benevolent expression of the face.
Use this image in the tutorial maker →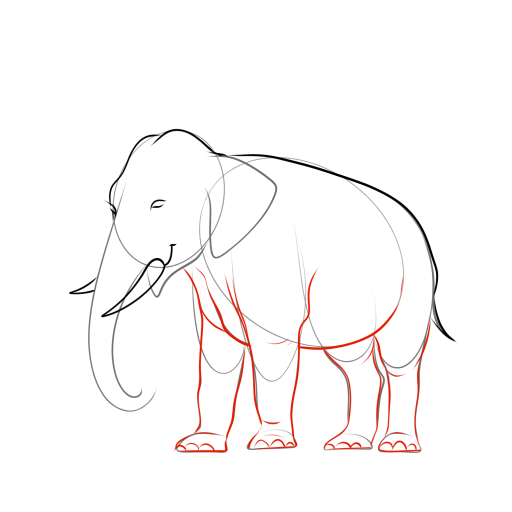
STEP 12 / 16
Step 12
Let's detail the shape of the limbs, drawing the toes on the feet and adding texture to the skin folds to convey the rough skin. Also, draw the line of the belly and refine the chest.
Use this image in the tutorial maker →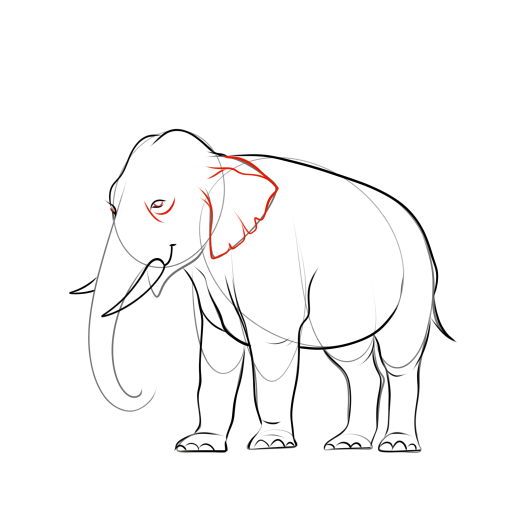
STEP 13 / 16
Step 13
Let's refine the shape of the ears, making their contours natural and realistic, and add a fold under the eye for more expressiveness.
Use this image in the tutorial maker →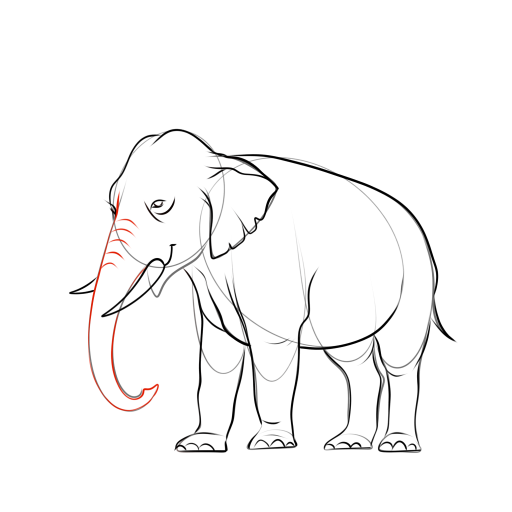
STEP 14 / 16
Step 14
Let's work on the texture of the trunk, adding transverse ring-like folds along its length to convey flexibility and structure.
Use this image in the tutorial maker →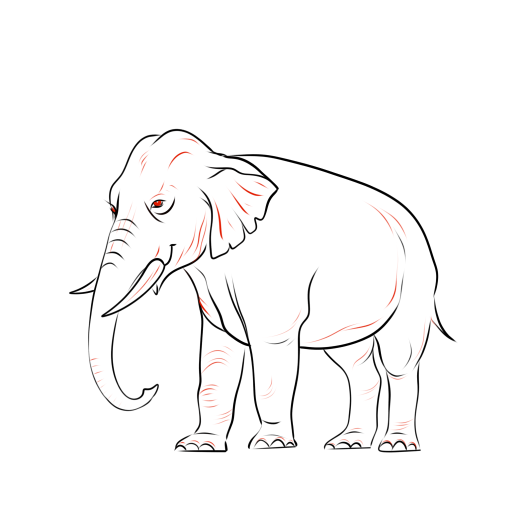
STEP 15 / 16
Step 15
Draw the pupils, and then use short, broken strokes all over the body to add the texture of the elephant's coarse, wrinkled skin.
Use this image in the tutorial maker →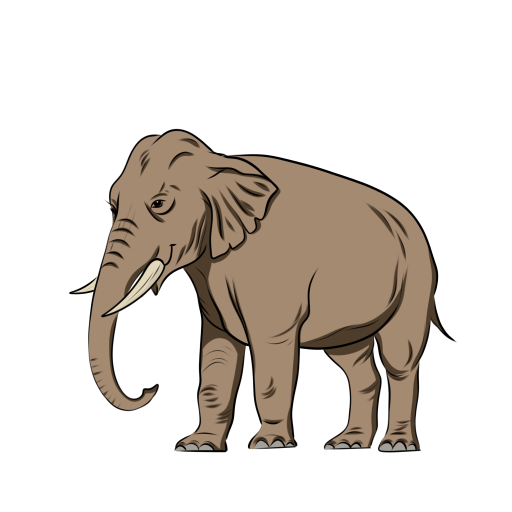
STEP 16 / 16
Step 16
Let's color our elephant, softly adding shadows in the skin folds, under the belly, and on the limbs to create volume, and the drawing is ready!
Use this image in the tutorial maker →


