ORIGINAL DRAWING LESSON
Earring on the Ear
First, outline the body and earlobe and determine the location of the earring. Then, with light strokes, draw the earring itself, considering its shape, size, and details, such as stones or patterns. Finally, add shadows and highlights to give the earring volume and realism, and show how it interacts with light on the ear.
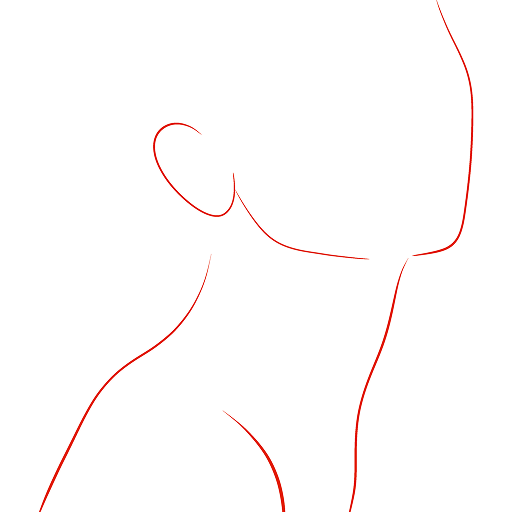
STEP 1 / 10
Step 1
Let's draw an elegant silhouette of a girl up to her shoulders, turned to her right side facing the viewer. It's important to show the ear, as it will be the base for the earring.
Use this image in the tutorial maker →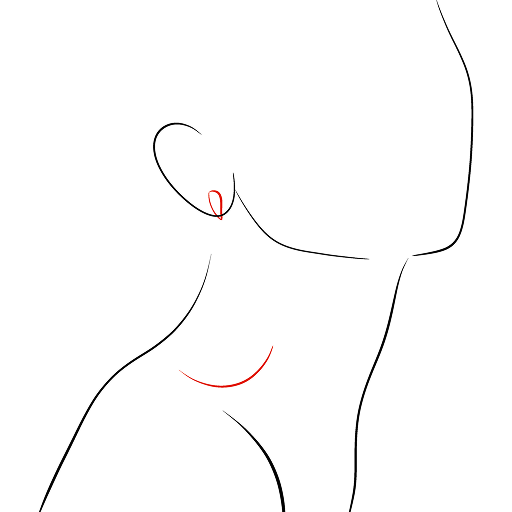
STEP 2 / 10
Step 2
On the earlobe, draw an inverted teardrop, and slightly below the shoulder, outline the lower edge of the future earring with a light arc.
Use this image in the tutorial maker →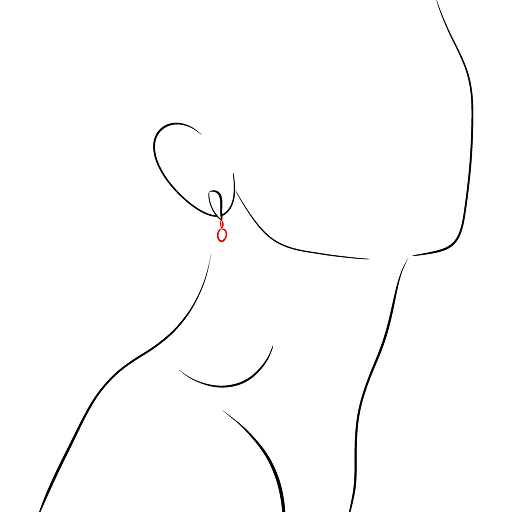
STEP 3 / 10
Step 3
In the upper part of the teardrop, draw a neat little circle — this will be the fastener and the top decorative element.
Use this image in the tutorial maker →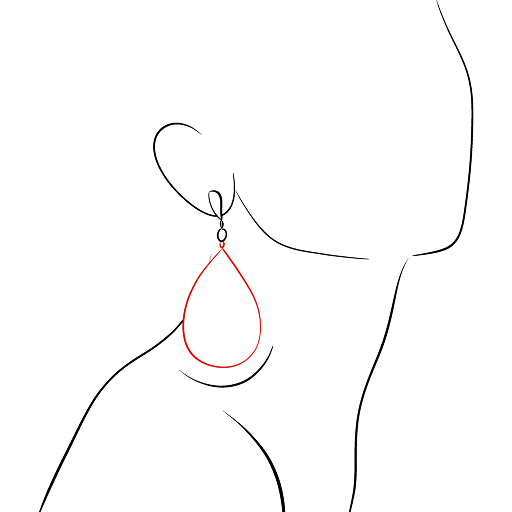
STEP 4 / 10
Step 4
From the circle, draw a large teardrop with a smooth line that will extend almost to the arc outlined earlier.
Use this image in the tutorial maker →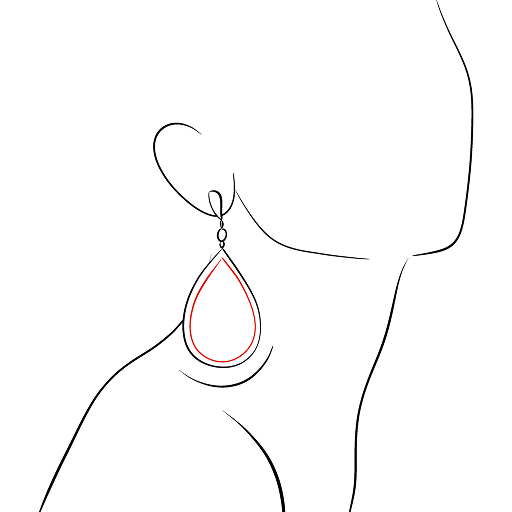
STEP 5 / 10
Step 5
Inside the large teardrop, draw a similar, smaller shape, creating a double-outline effect.
Use this image in the tutorial maker →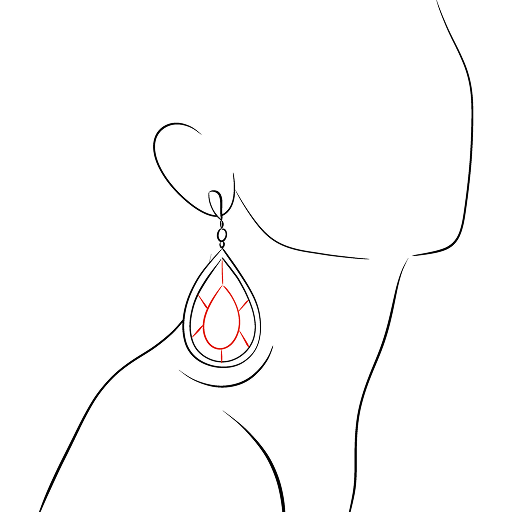
STEP 7 / 10
Step 7
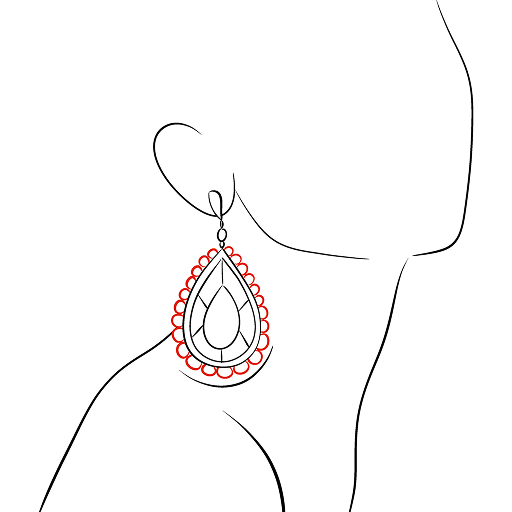
Along the outer outline of the large teardrop, place a row of elegant semicircles, resembling small beads or pearls.
Use this image in the tutorial maker →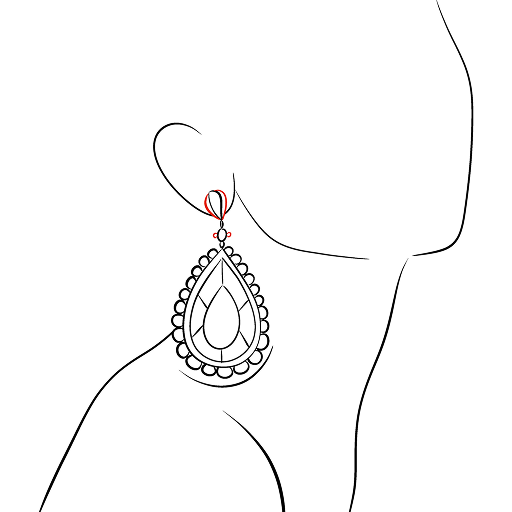
STEP 8 / 10
Step 8
Let's work on the top part of the earring: add details to the circle, depicting a clasp and a decorative fastening element.
Use this image in the tutorial maker →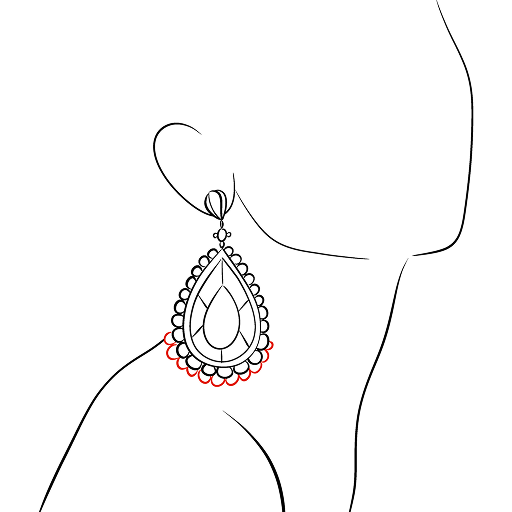
STEP 9 / 10
Step 9
Along the outer contour of the bottom of the large teardrop, add a second row of semicircles, repeating the shape of the earring.
Use this image in the tutorial maker →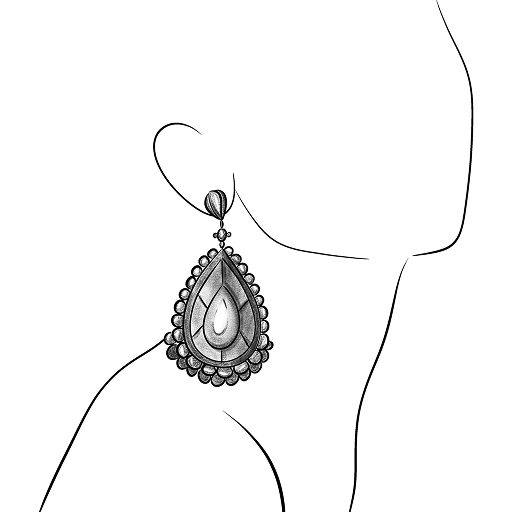
STEP 10 / 10
Step 10
Let's add light and shadows to the earring. Our elegant piece of jewelry is ready!
Use this image in the tutorial maker →


