ORIGINAL DRAWING LESSON
Ear
Drawing an ear is an interesting and useful skill that can significantly improve your understanding of anatomy and drawing technique. Start with simple shapes and gradually move to details, trying to accurately convey all the curves and structural features of the auricle. Carefully monitor the smooth transitions between elements to achieve naturalness, and don't forget to work with light and shadow — this will give your drawing volume and realism.

STEP 1 / 8
Step 1
Draw a circle — it will be the base for the upper part of the ear.
Use this image in the tutorial maker →
STEP 2 / 8
Step 2
Below it, draw a smaller circle, which will represent the earlobe.
Use this image in the tutorial maker →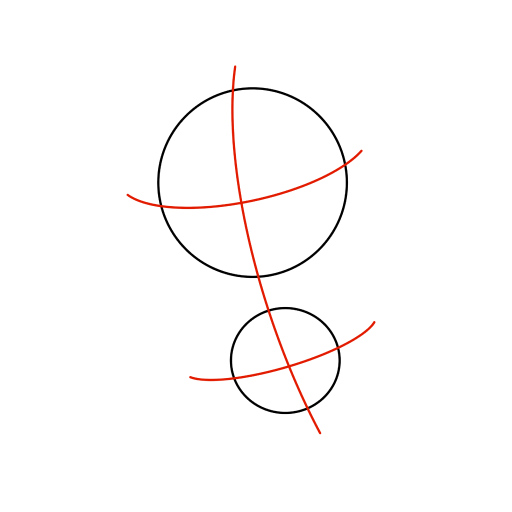
STEP 3 / 8
Step 3
Draw smooth guide arcs through the centers of the circles: two horizontal and one vertical, to indicate symmetry and proportions.
Use this image in the tutorial maker →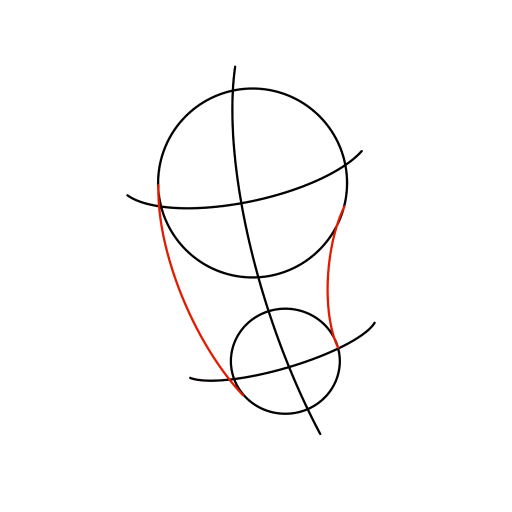
STEP 4 / 8
Step 4
Carefully connect the edges of the circles with smooth curved lines, forming a single silhouette of the ear.
Use this image in the tutorial maker →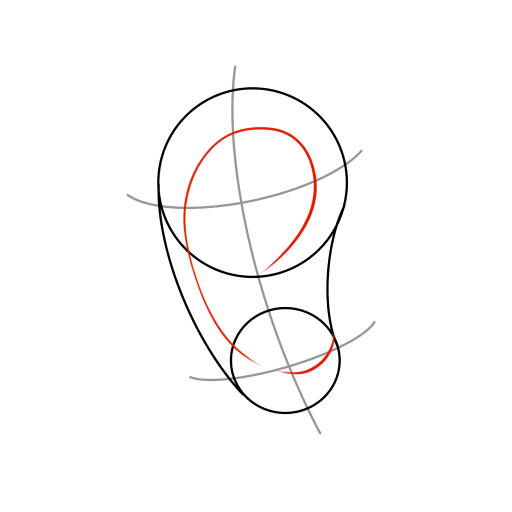
STEP 5 / 8
Step 5
Inside the silhouette, use an arc to outline the inner part of the auricle.
Use this image in the tutorial maker →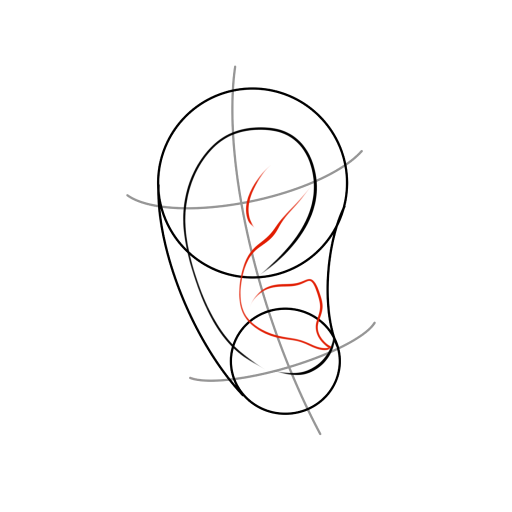
STEP 6 / 8
Step 6
Add a few curves and lines to show the complex structure and depth of the ear.
Use this image in the tutorial maker →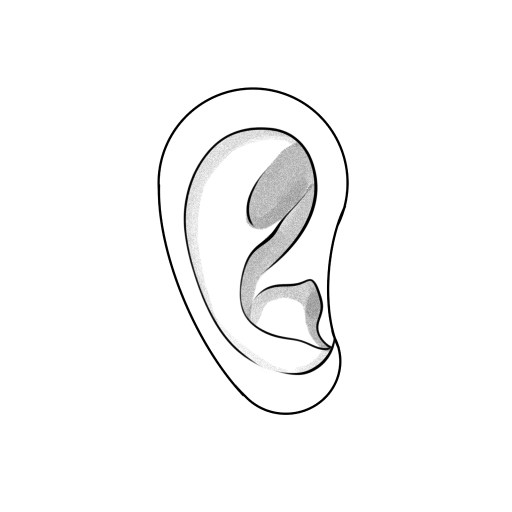
STEP 7 / 8
Step 7
With light hatching, outline the main shaded areas, creating an initial volume.
Use this image in the tutorial maker →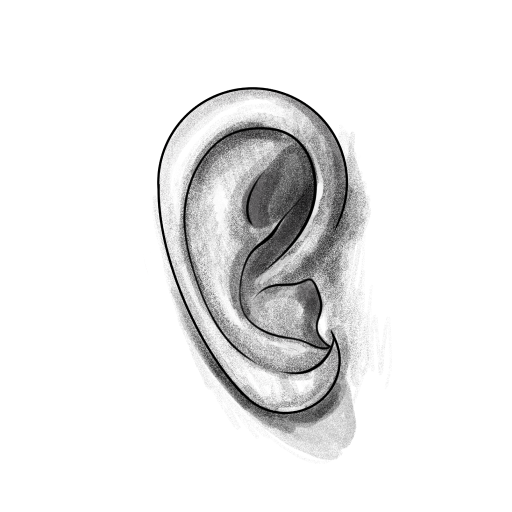
STEP 8 / 8
Step 8
Enhance the contrast and work on the transitions between light and shadow for realism. The drawing is ready!
Use this image in the tutorial maker →


