ORIGINAL DRAWING LESSON
Cylinder
Drawing a cylinder is easy and fun if you master the basics of perspective and working with light. Start with basic shapes, such as a rectangle for the sides and ovals for the top and bottom bases. Don't forget about the accuracy of the construction, which is the key to the correct shape, and also don't forget about shadows and light to give the drawing realism and volume.
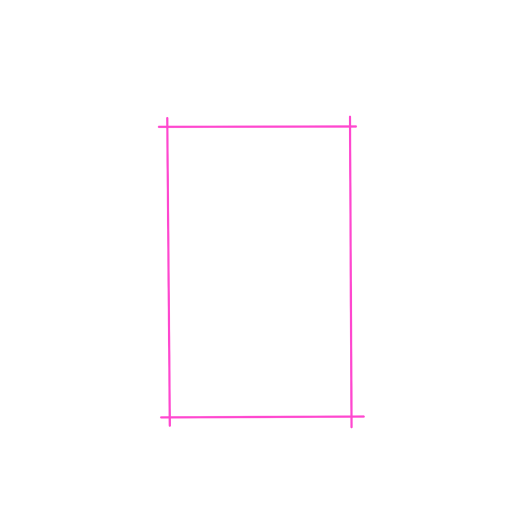
STEP 1 / 7
Step 1
Draw four lines, connecting them to form a tall rectangle. This will be the framework of our cylinder.
Use this image in the tutorial maker →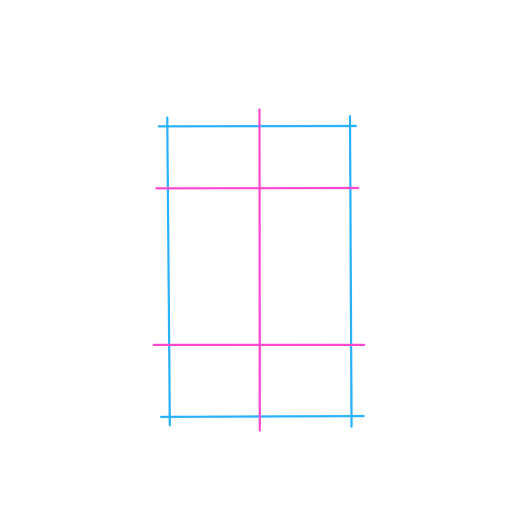
STEP 2 / 7
Step 2
Draw a vertical axis through the center of the rectangle. Mark perpendicular lines to it at the top and bottom—these will be the future bases of the cylinder.
Use this image in the tutorial maker →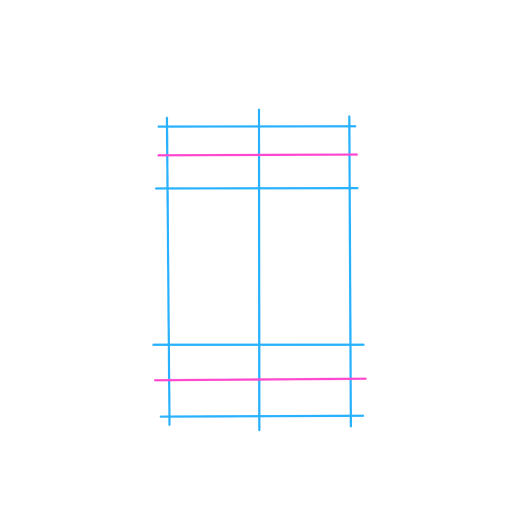
STEP 3 / 7
Step 3
Divide the top and bottom parts of the rectangle in half with additional lines. This will help us find the centers for the ovals.
Use this image in the tutorial maker →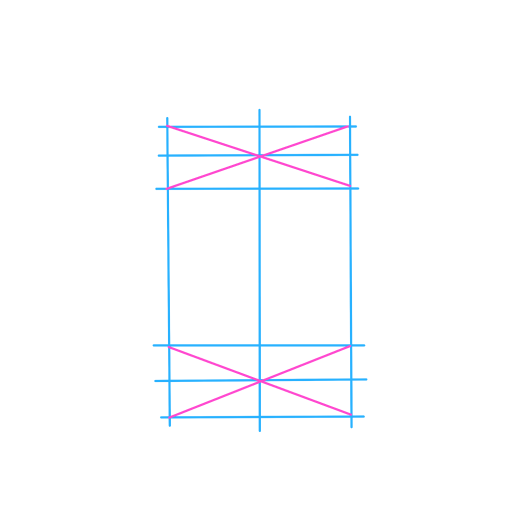
STEP 4 / 7
Step 4
Draw diagonals in the resulting rectangles. The point of their intersection will tell you where the center for the ellipses is.
Use this image in the tutorial maker →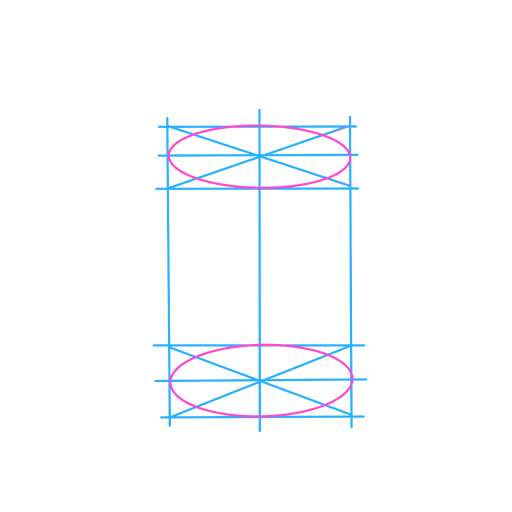
STEP 5 / 7
Step 5
Carefully draw two ellipses in the designated spots—on top and on the bottom.
Use this image in the tutorial maker →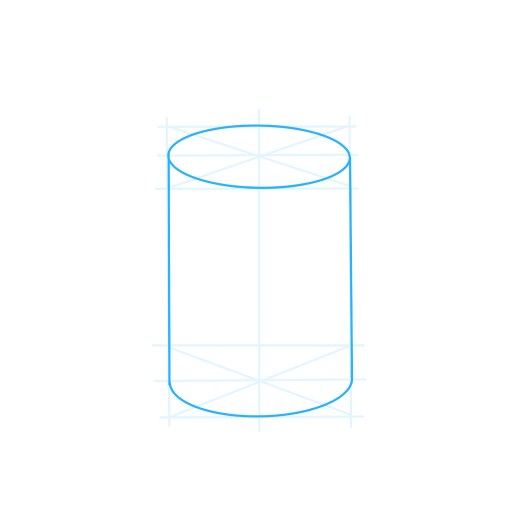
STEP 6 / 7
Step 6
Carefully erase all auxiliary lines and confidently outline the clean contour of the cylinder.
Use this image in the tutorial maker →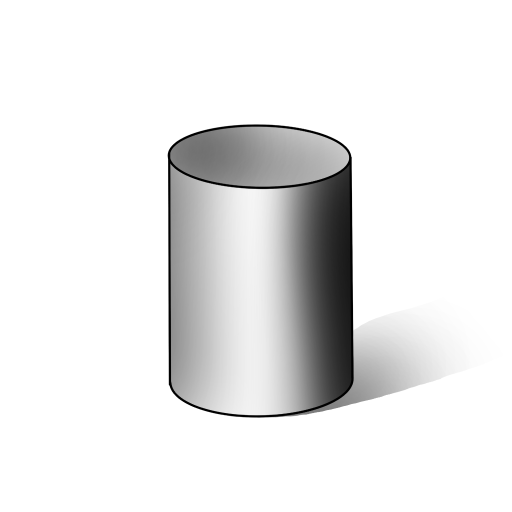
STEP 7 / 7
Step 7
Give your cylinder volume: outline the shadow, a smooth half-tone, and a highlight. Add a cast shadow from the object. The drawing is complete!
Use this image in the tutorial maker →


