ORIGINAL DRAWING LESSON
Cocoa Mug
Creating a drawing of a cozy mug with marshmallows is a meditative and soulful process. Start with a light sketch, outlining the base with an arc and the rim with an oval, and then breathe life into the shape by filling it with smooth lines and soft contours. Bring the mug to life by giving it a cute expression, and complete the magic with a play of light and shadow to add warmth and volume to the drawing.

STEP 1 / 8
Step 1
Draw a U-shaped arc—this will be the base of our mug.
Use this image in the tutorial maker →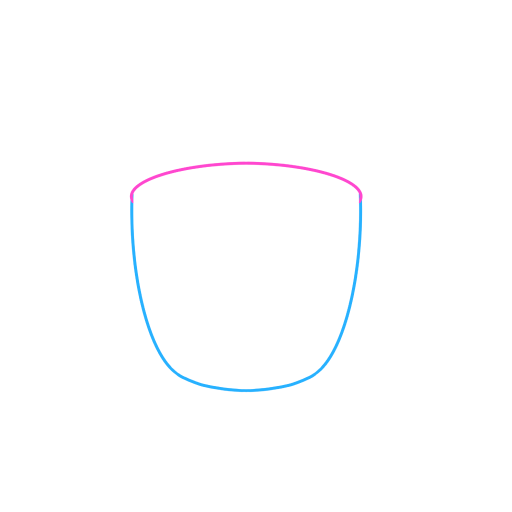
STEP 2 / 8
Step 2
Connect the upper ends of the arc with a smooth line resembling half an oval to mark the mug's rim.
Use this image in the tutorial maker →
STEP 3 / 8
Step 3
On the right side, draw two graceful arcs that will form the handle.
Use this image in the tutorial maker →
STEP 4 / 8
Step 4
With two arcs inside the mug, outline its thickness.
Use this image in the tutorial maker →
STEP 5 / 8
Step 5
In the center of the mug's front side, draw a friendly smile and eyes to give it character.
Use this image in the tutorial maker →
STEP 6 / 8
Step 6
Inside the mug, draw three small marshmallow cylinders, then carefully erase any intersecting lines.
Use this image in the tutorial maker →
STEP 7 / 8
Step 7
On each marshmallow, draw happy faces with small arcs for closed eyes and smiles.
Use this image in the tutorial maker →
STEP 8 / 8
Step 8
The drawing is complete! Color it in according to the example.
Use this image in the tutorial maker →


