ORIGINAL DRAWING LESSON
Chef
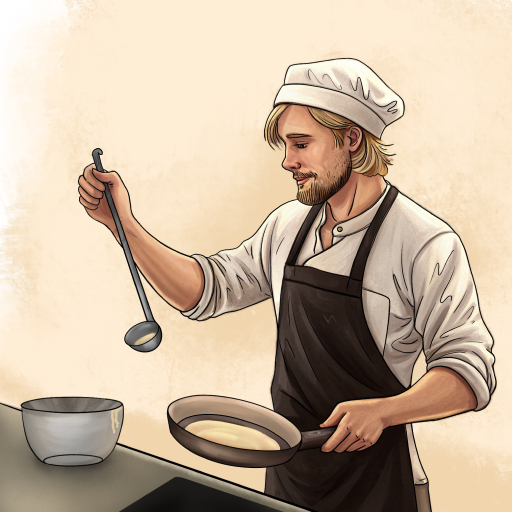
This drawing shows the process of creating an illustration of a chef cooking pancakes. The step-by-step construction helps you understand how a lively, realistic scene is gradually formed from simple shapes and lines. Kitchen scenes are often used in many drawing tutorials to practice poses and gestures because they have a lot of movement and objects.
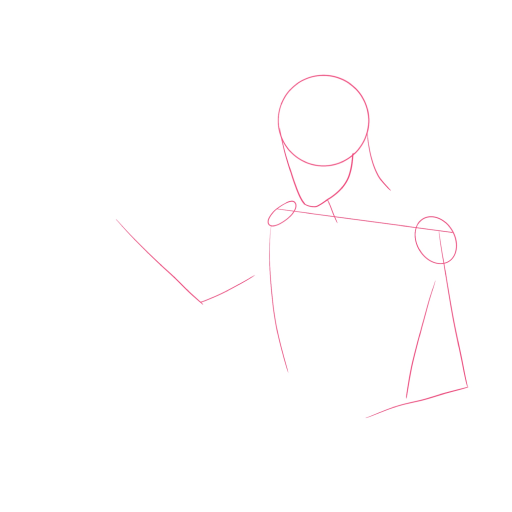
STEP 1 / 13
Step 1
Outline a simple figure of a person: a circle for the head, lines for the neck and torso, and marks for the shoulders and arms.
Use this image in the tutorial maker →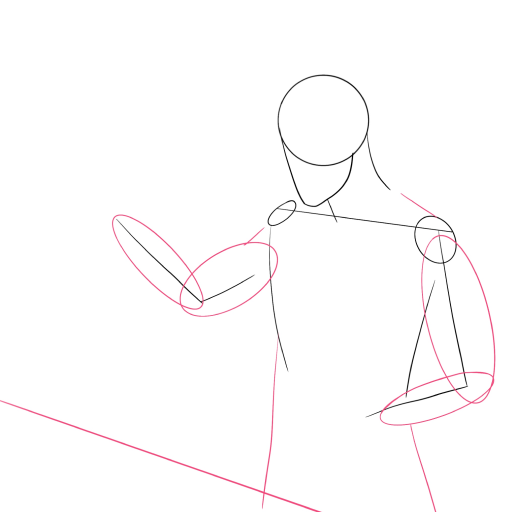
STEP 2 / 13
Step 2
Add ovals for the future hands, as well as a line for the table as a reference.
Use this image in the tutorial maker →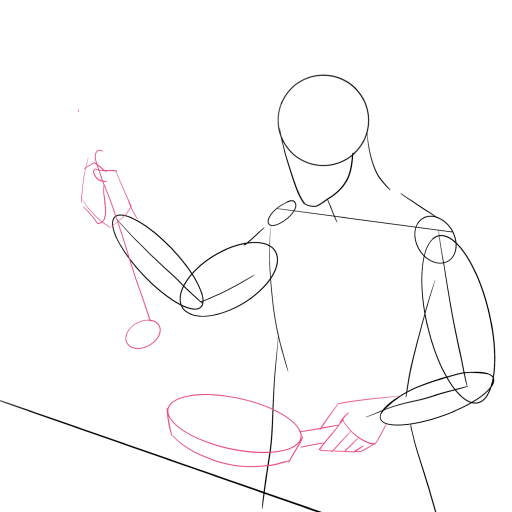
STEP 3 / 13
Step 3
Refine the hands and draw the shapes of the ladle and the frying pan.
Use this image in the tutorial maker →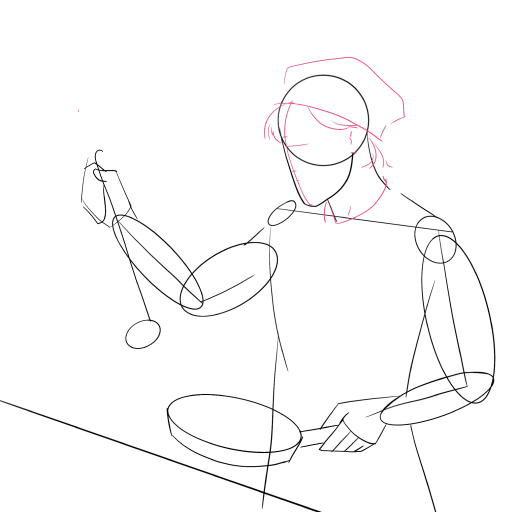
STEP 4 / 13
Step 4
Draw the hair and sketch the chef's hat to set the look immediately.
Use this image in the tutorial maker →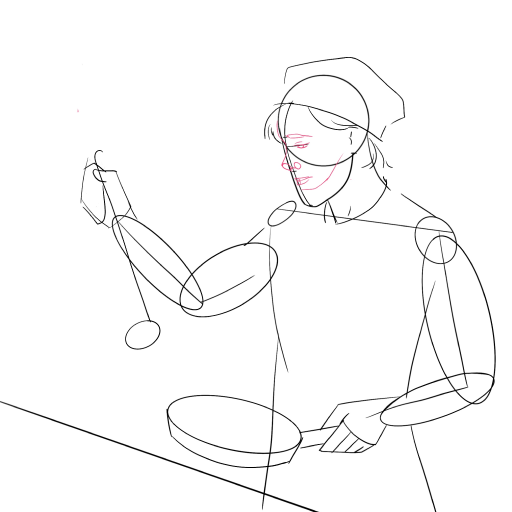
STEP 5 / 13
Step 5
Outline the face: eyes, nose, and mouth. The head is tilted slightly down.
Use this image in the tutorial maker →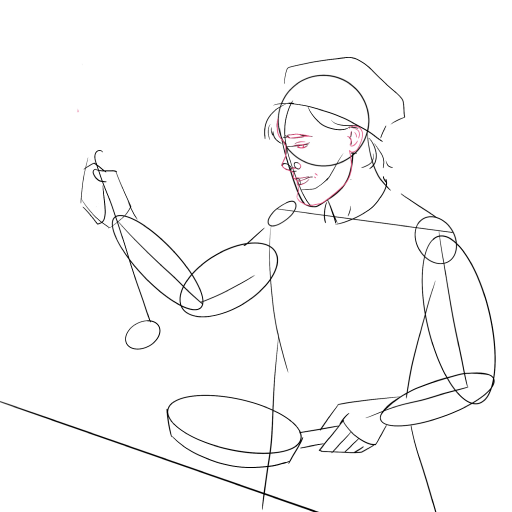
STEP 7 / 13
Step 7
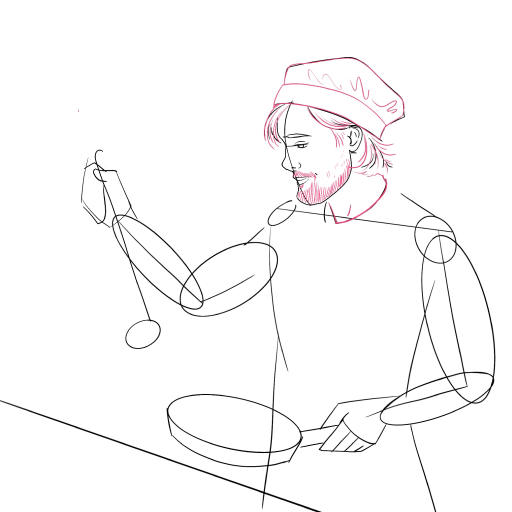
Start working on the hat with its folds, add hair and a beard.
Use this image in the tutorial maker →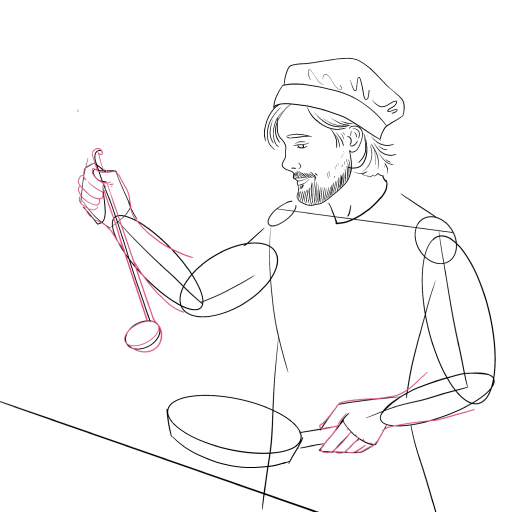
STEP 8 / 13
Step 8
Work on the shapes of the left and right hands with the ladle.
Use this image in the tutorial maker →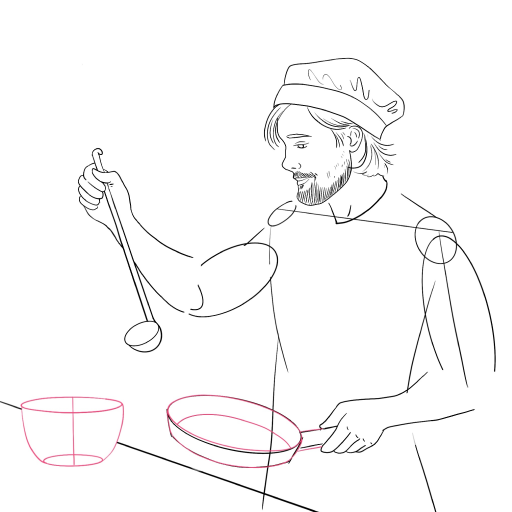
STEP 9 / 13
Step 9
Add the utensils: a bowl of batter on the table and a frying pan in the right hand.
Use this image in the tutorial maker →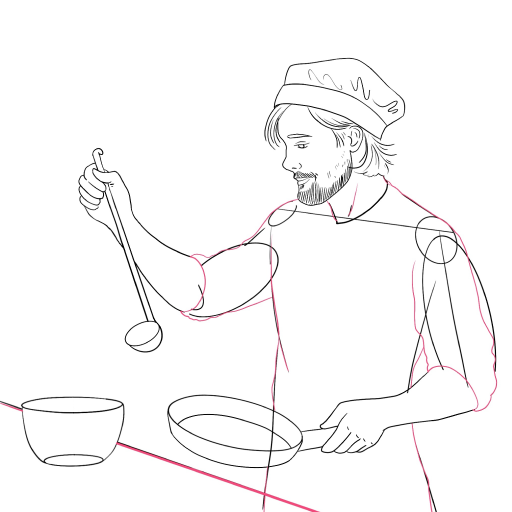
STEP 10 / 13
Step 10
Refine the silhouette of the chef: draw the sleeve, the folds of the clothing, and the line of the table.
Use this image in the tutorial maker →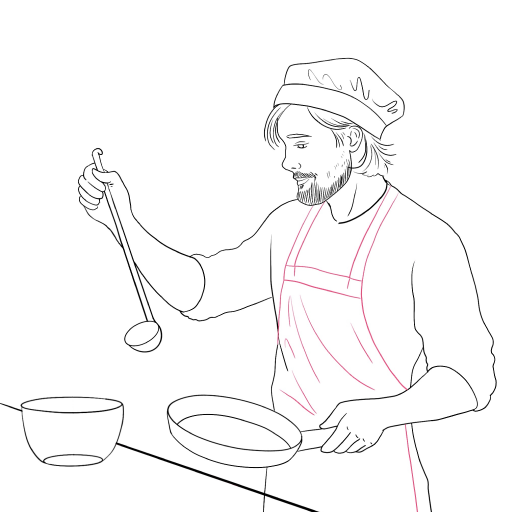
STEP 11 / 13
Step 11
Add more lines to the apron, and add more folds to the clothing.
Use this image in the tutorial maker →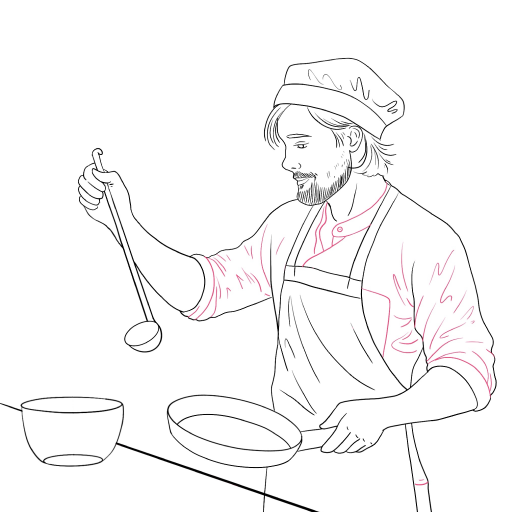
STEP 13 / 13
Step 13
Your drawing is ready, color it according to the example!
Use this image in the tutorial maker →


