ORIGINAL DRAWING LESSON
Chair
Let's draw a chair! It will be quite easy. We are sure that by the end of the lesson you will be proud of your drawing!
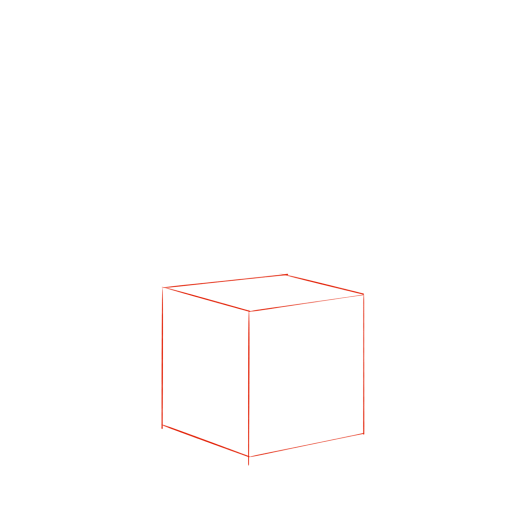
STEP 1 / 11
Step 1
Let's start by building the frame. With light, thin lines, draw a transparent cube that will define the main boundaries and proportions of our future chair.
Use this image in the tutorial maker →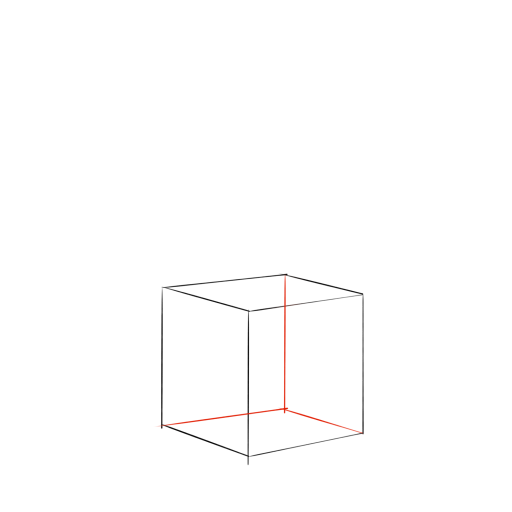
STEP 2 / 11
Step 2
Show the internal, invisible faces of the cube to better orient ourselves in space and understand the volume of the structure.
Use this image in the tutorial maker →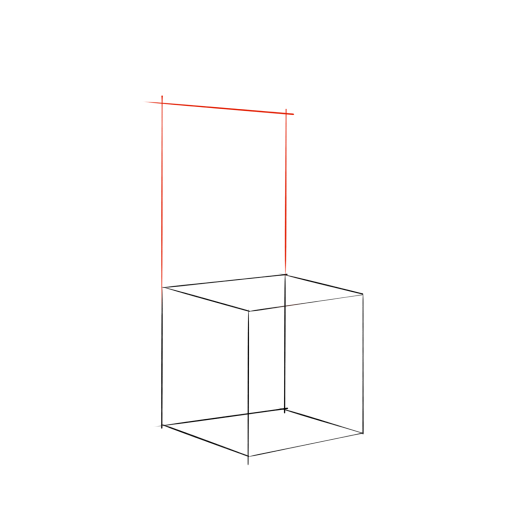
STEP 3 / 11
Step 3
To the top back face of the cube, add a vertical rectangle. This will be the base for the high backrest of our chair.
Use this image in the tutorial maker →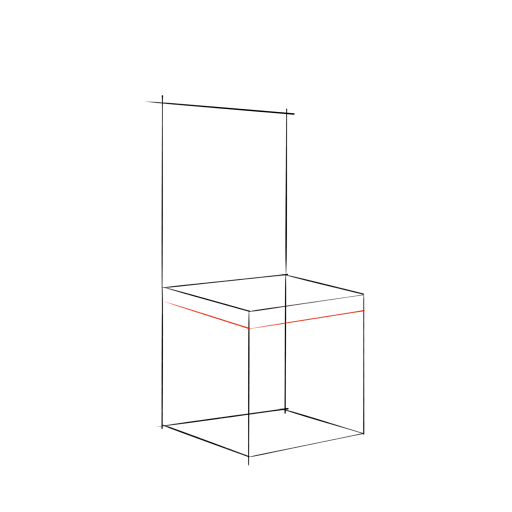
STEP 4 / 11
Step 4
Outline the seat by drawing two lines inside the top face of the cube, parallel to its edges, and lowering them slightly to give it thickness.
Use this image in the tutorial maker →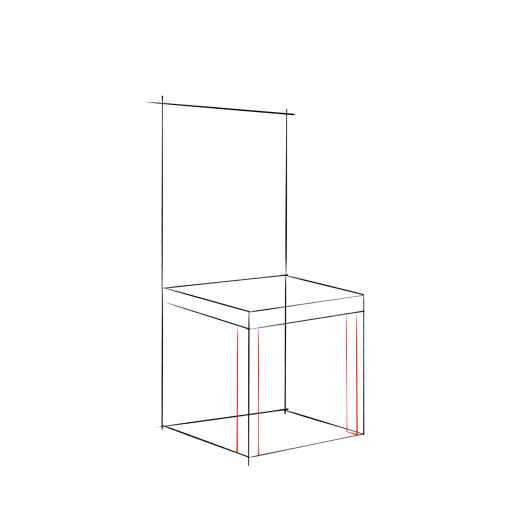
STEP 5 / 11
Step 5
Let's move on to the legs. Draw the two front legs by extending vertical lines from the corners of the seat down to the floor line.
Use this image in the tutorial maker →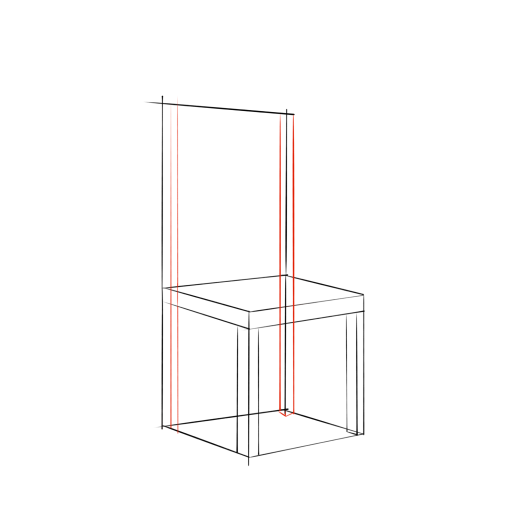
STEP 6 / 11
Step 6
Draw the two back legs, which will smoothly transition into the vertical uprights of the backrest, creating a solid and sturdy structure.
Use this image in the tutorial maker →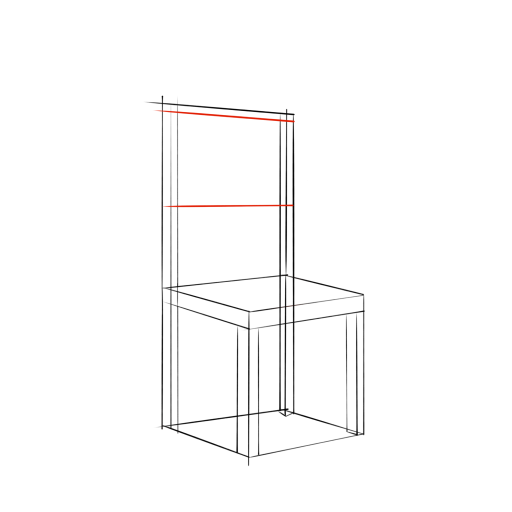
STEP 7 / 11
Step 7
On the backrest of the chair, add a horizontal crossbar-support by drawing two parallel lines between the vertical uprights.
Use this image in the tutorial maker →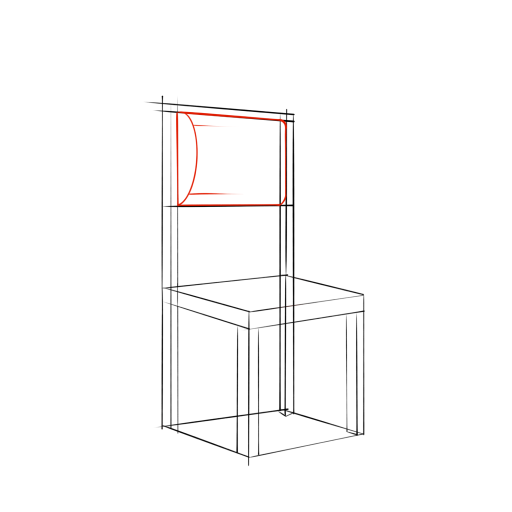
STEP 8 / 11
Step 8
Give the backrest a soft shape by outlining the support with smooth, convex lines to show that it is a soft cushion.
Use this image in the tutorial maker →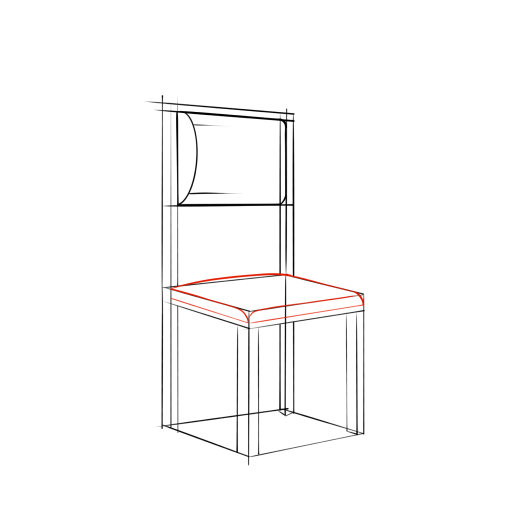
STEP 9 / 11
Step 9
Similarly, shape the seat by rounding its corners and adding a slight bulge to convey the volume of the soft upholstery.
Use this image in the tutorial maker →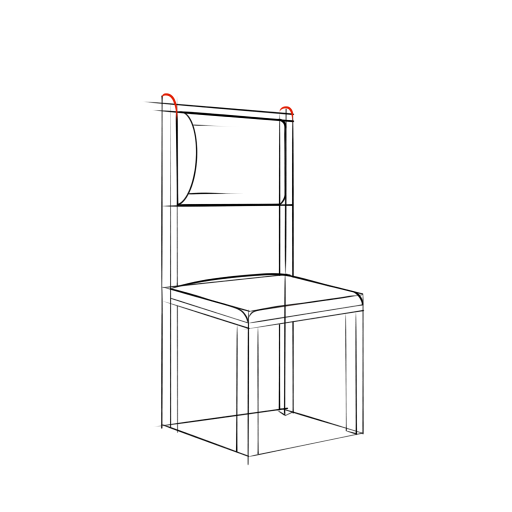
STEP 10 / 11
Step 10
Soften the sharp corners on the back legs, giving them a slight roundness.
Use this image in the tutorial maker →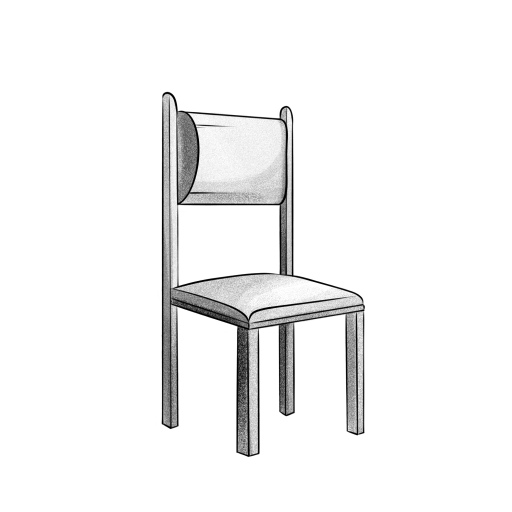
STEP 11 / 11
Step 11
Carefully remove all auxiliary construction lines, then add shadows and highlights to make the chair look three-dimensional and realistic. The drawing is ready!
Use this image in the tutorial maker →


