ORIGINAL DRAWING LESSON
Cake with Berries
In this lesson, we'll learn how to draw an appetizing cake with berries. Imagine tender cream, soft sponge cake, and bright berries that add vibrancy and sweetness. It will be a fun activity, full of colorful details and delicious ideas!
STEP 1 / 12
Step 1
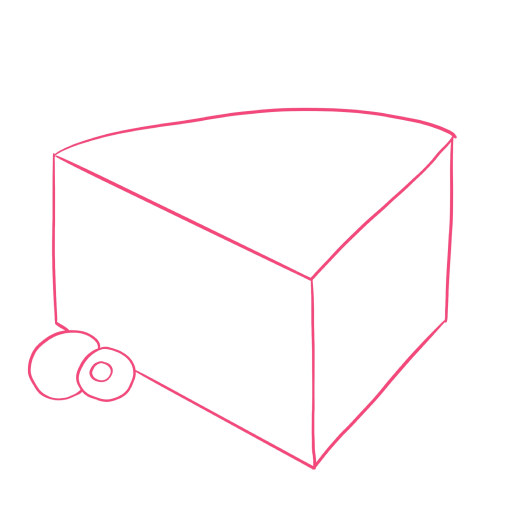
Draw the cake base as a triangular slice with side faces. Add small ovals on the front for future berries. Try not to press too hard on the pencil.
Use this image in the tutorial maker →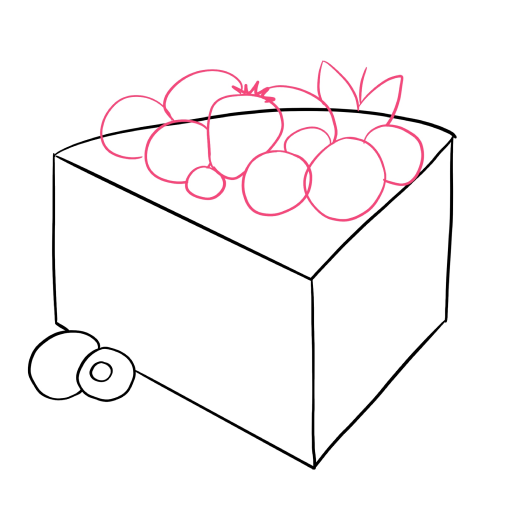
STEP 2 / 12
Step 2
On top of the cake, outline round berries — a few balls arranged in a cluster, and a couple of leaves for decoration.
Use this image in the tutorial maker →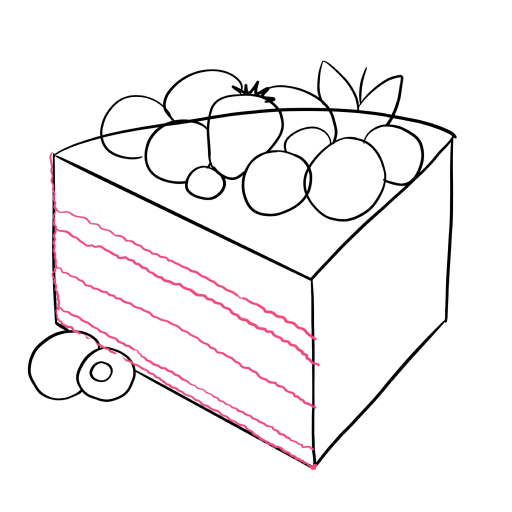
STEP 3 / 12
Step 3
Draw the cake layers on the side: draw horizontal lines to show the cake layers and cream.
Use this image in the tutorial maker →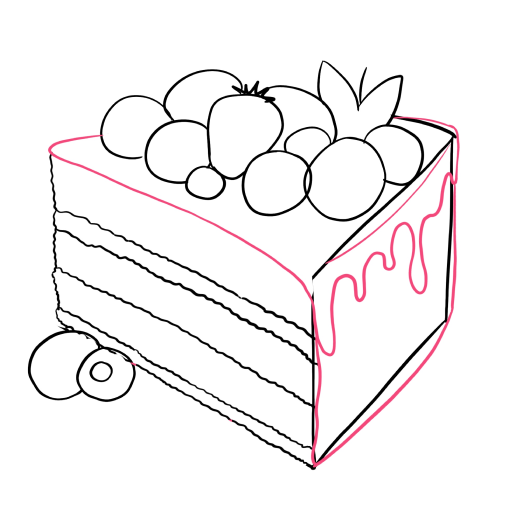
STEP 4 / 12
Step 4
Add cream dripping down the edges of the slice, make the cream drops more expressive.
Use this image in the tutorial maker →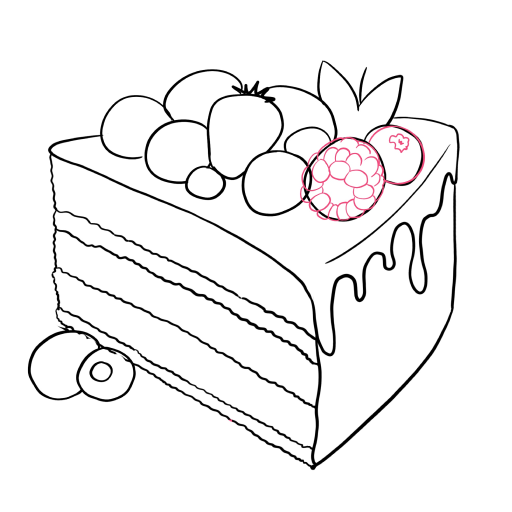
STEP 5 / 12
Step 5
Detail the berries on top, draw the texture of the raspberries and blueberries.
Use this image in the tutorial maker →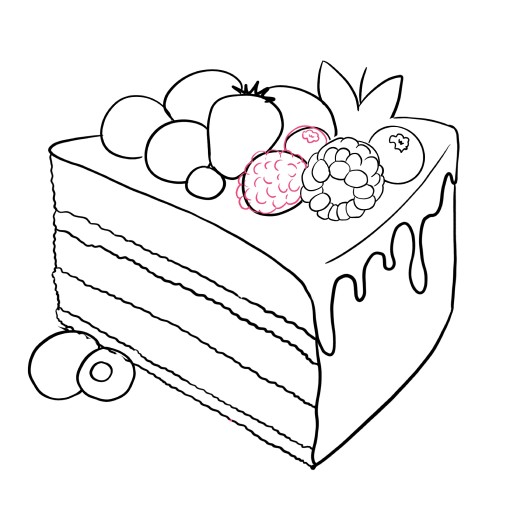
STEP 6 / 12
Step 6
Add more blackberries with texture and blueberries, draw the segments.
Use this image in the tutorial maker →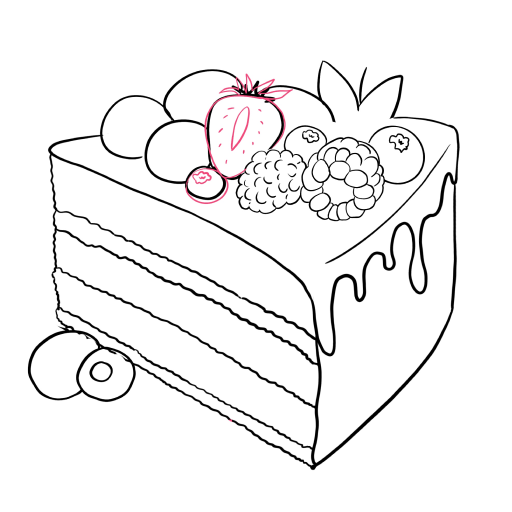
STEP 7 / 12
Step 7
Draw a sliced strawberry with a small stem. And a blueberry next to it.
Use this image in the tutorial maker →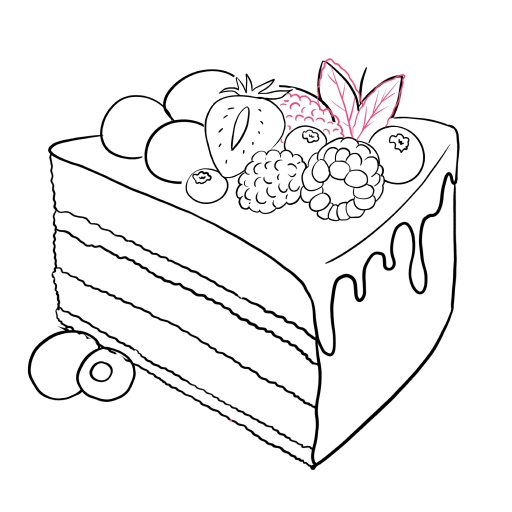
STEP 8 / 12
Step 8
Add leaves on top next to the fruits to make the composition look brighter. Draw the segments of the blackberry.
Use this image in the tutorial maker →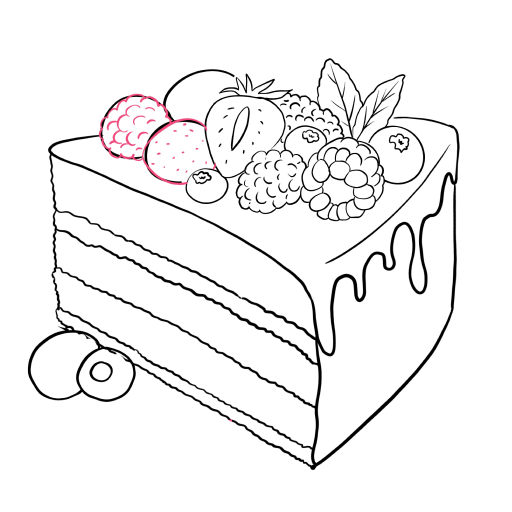
STEP 9 / 12
Step 9
Continue to add details — new strawberries and blackberries.
Use this image in the tutorial maker →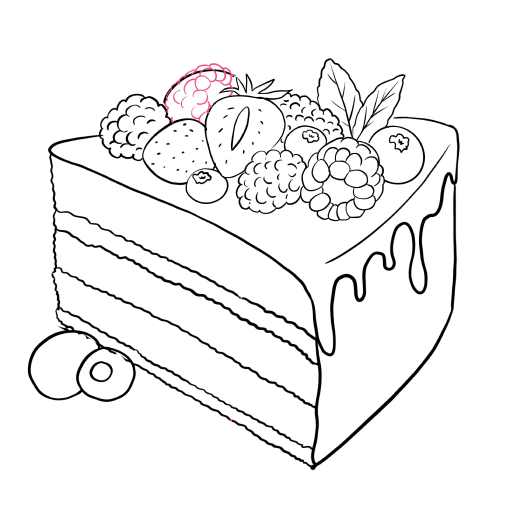
STEP 10 / 12
Step 10
Draw another raspberry, and our berry composition is ready.
Use this image in the tutorial maker →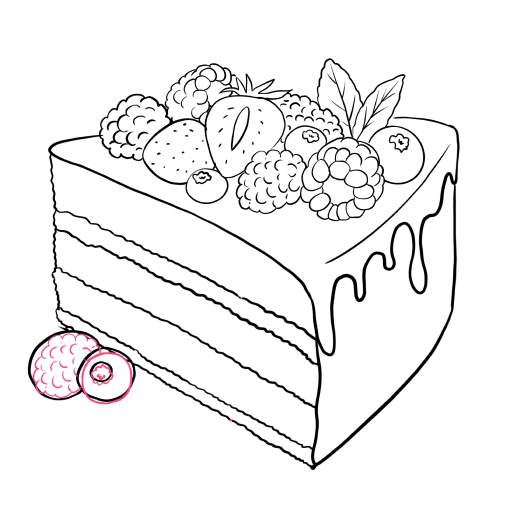
STEP 11 / 12
Step 11
Complete the drawing with a berry at the base of the cake and refine the decorative lines.
Use this image in the tutorial maker →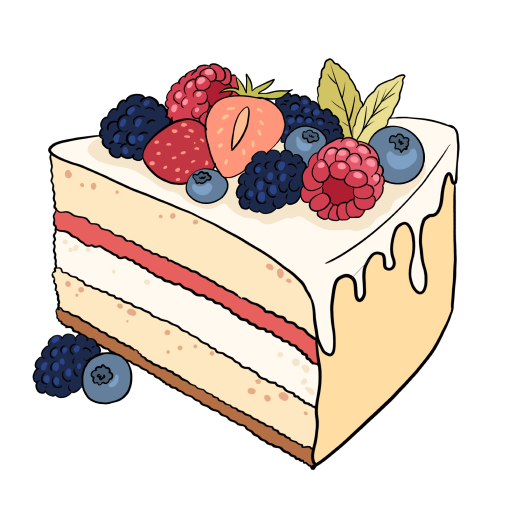
STEP 12 / 12
Step 12
The drawing is ready, color the cake according to the example.
Use this image in the tutorial maker →


