ORIGINAL DRAWING LESSON
Brachiosaurus
This drawing shows the step-by-step process of depicting a Brachiosaurus — the dinosaur with the longest neck. These giants could reach a length of more than 25 meters, and their necks allowed them to reach foliage even from the tallest trees.
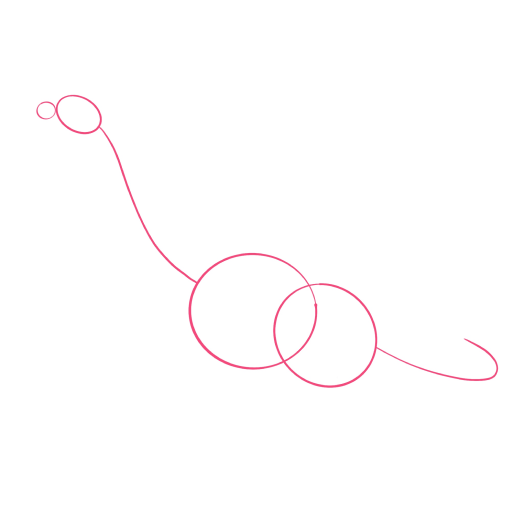
STEP 1 / 8
Step 1
Draw the base: a small circle for the head, an elongated curved line for the neck, two large intersecting ovals for the torso, and a long curve for the tail.
Use this image in the tutorial maker →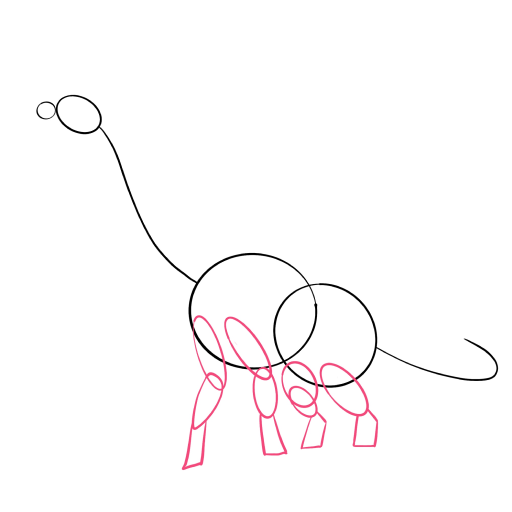
STEP 2 / 8
Step 2
Add the legs, using ovals and straight lines for the joints and feet. Now the silhouette begins to resemble a massive animal.
Use this image in the tutorial maker →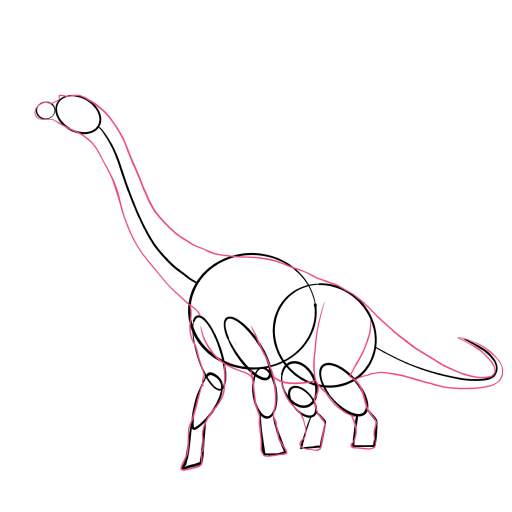
STEP 3 / 8
Step 3
Connect all the lines into a single contour. Make the legs more realistic, with a hint of knee and ankle joints.
Use this image in the tutorial maker →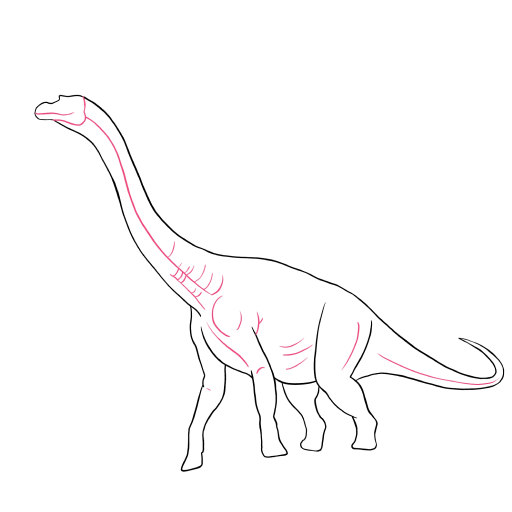
STEP 4 / 8
Step 4
Erase the auxiliary circles and ovals. Add details to the torso.
Use this image in the tutorial maker →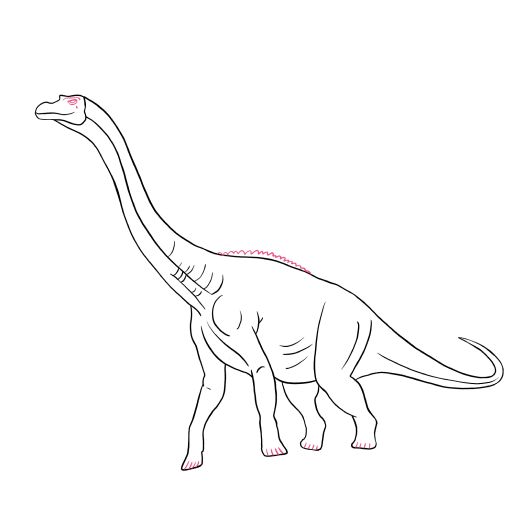
STEP 5 / 8
Step 5
Add details: an eye, separated toes, and serrated plates on the back.
Use this image in the tutorial maker →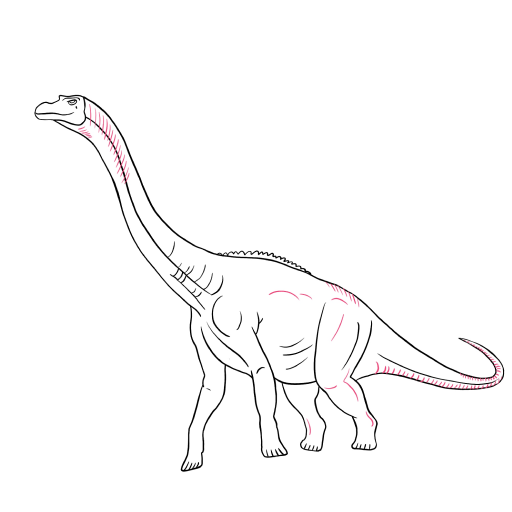
STEP 6 / 8
Step 6
Draw texture on the back and neck — small lines and skin folds to show powerful musculature.
Use this image in the tutorial maker →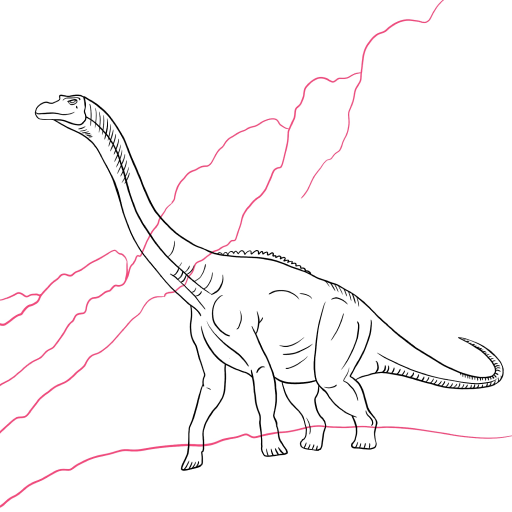
STEP 7 / 8
Step 7
Add a background: sketch lines of mountains or plains to emphasize the scale of the dinosaur.
Use this image in the tutorial maker →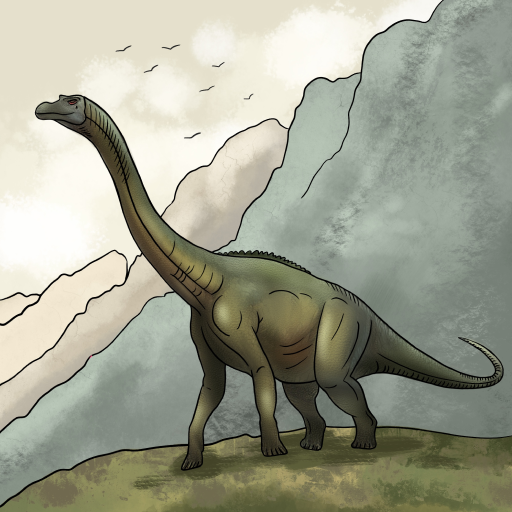
STEP 8 / 8
Step 8
Your drawing is ready, color the dinosaur according to the example.
Use this image in the tutorial maker →


