ORIGINAL DRAWING LESSON
Bouquet of Flowers
Drawing a bouquet of flowers is an incredibly exciting journey into the world of colors and shapes! You just need to start with light strokes, sketching the main lines, and you'll immediately feel how harmony is born on the blank page!

STEP 1 / 9
Step 1
With light strokes, outline seven small ovals in the center of the page, tilting them slightly in different directions. This is the basis of the future flowers.
Use this image in the tutorial maker →
STEP 2 / 9
Step 2
Under the buds, draw curved lines that form the shape of a cute wrapper, like the edges of unfolded paper or a decorative cup.
Use this image in the tutorial maker →
STEP 3 / 9
Step 3
Draw two graceful lines that tie the packaging together—this will be the ribbon that secures your bouquet.
Use this image in the tutorial maker →
STEP 4 / 9
Step 4
Draw the free ends of the packaging and the ribbon, adding smooth curves and folds to create the effect of light movement.
Use this image in the tutorial maker →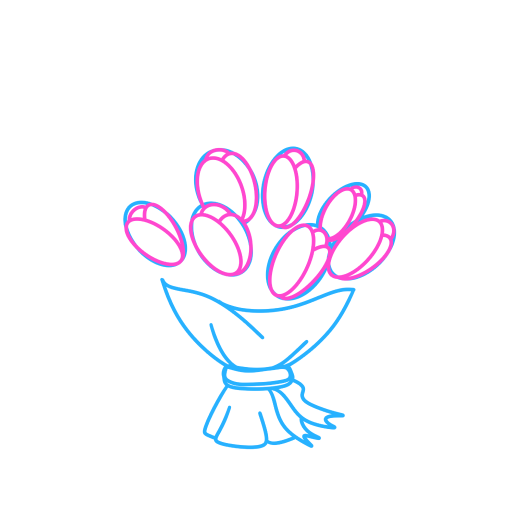
STEP 5 / 9
Step 5
Transform each oval into a tulip by drawing characteristic petals with rounded tips.
Use this image in the tutorial maker →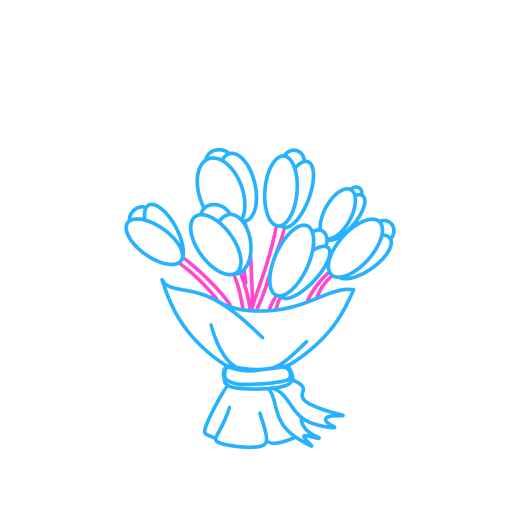
STEP 6 / 9
Step 6
From each flower, draw smooth lines-stems downwards.
Use this image in the tutorial maker →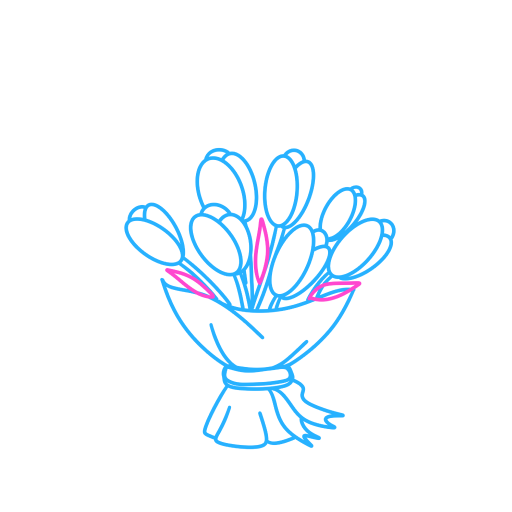
STEP 7 / 9
Step 7
Add leaves that peek out picturesquely from the bouquet.
Use this image in the tutorial maker →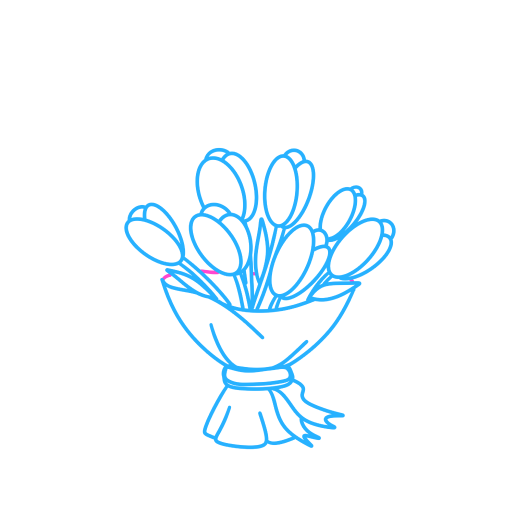
STEP 8 / 9
Step 8
Draw the inner edge of the packaging, emphasizing its volume.
Use this image in the tutorial maker →
STEP 9 / 9
Step 9
The drawing is ready! Color it according to the example.
Use this image in the tutorial maker →


