ORIGINAL DRAWING LESSON
Bicycle
The process of drawing a bicycle is a graceful dance of lines, where every detail finds its harmony and rhythm. It's important to feel the balance of the structure: the smooth curves of the frame, the roundness of the wheels, the intricacy of the spokes — everything should be well thought out.

STEP 1 / 14
Step 1
Start with two perfectly even circles, placed parallel to each other — this will be the foundation of your bicycle.
Use this image in the tutorial maker →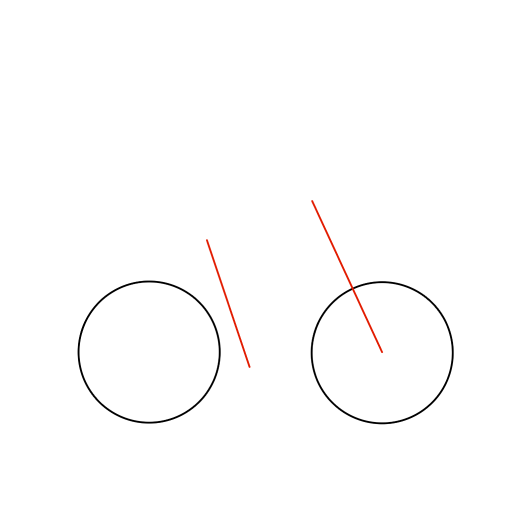
STEP 2 / 14
Step 2
Draw two graceful parallel lines at a slight angle, setting the dynamism for the future frame.
Use this image in the tutorial maker →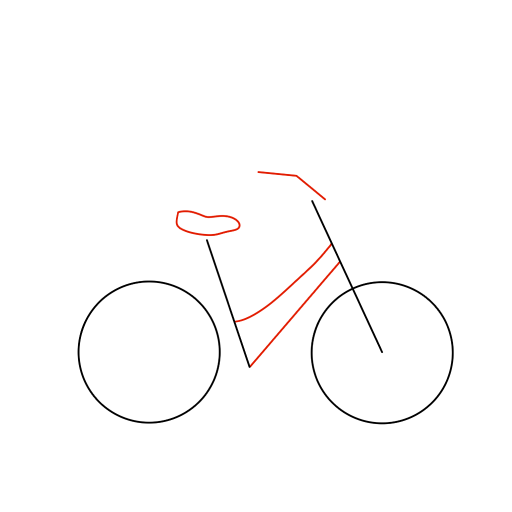
STEP 3 / 14
Step 3
Connect the lines to create the closed geometry of the frame. Draw a curved handlebar with smooth bends and place a neat saddle on the frame.
Use this image in the tutorial maker →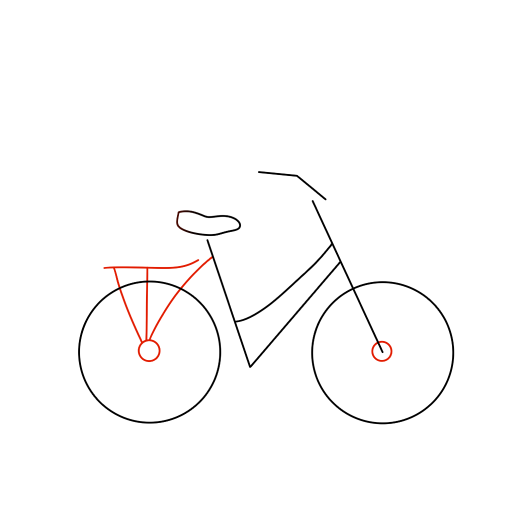
STEP 4 / 14
Step 4
Mark the central hubs in the wheels. Above the rear wheel, sketch a graceful luggage rack in the shape of a light arc.
Use this image in the tutorial maker →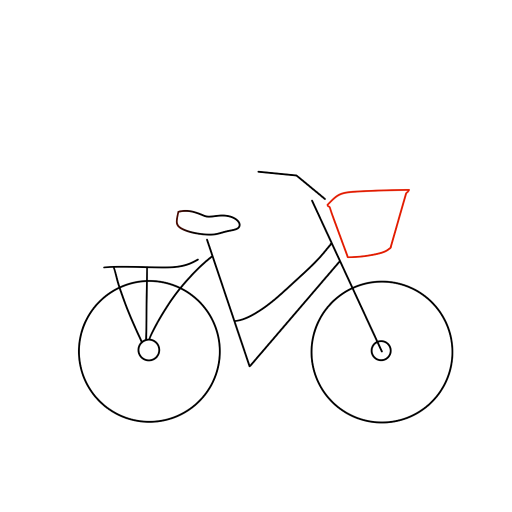
STEP 5 / 14
Step 5
Depict a voluminous basket on the handlebar stem.
Use this image in the tutorial maker →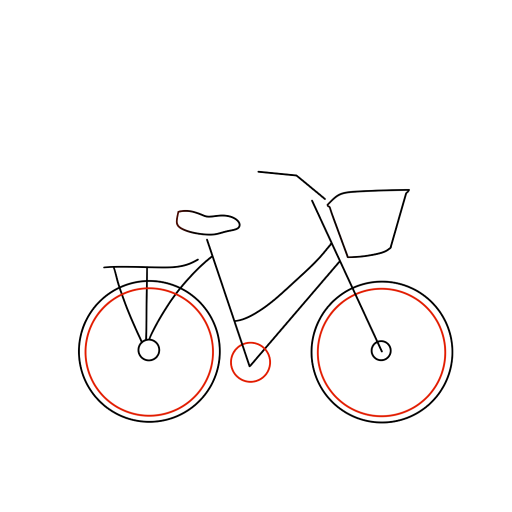
STEP 6 / 14
Step 6
Draw the pedal system: the central bottom bracket and two symmetrical crank arms. Add the inner rims of the wheels.
Use this image in the tutorial maker →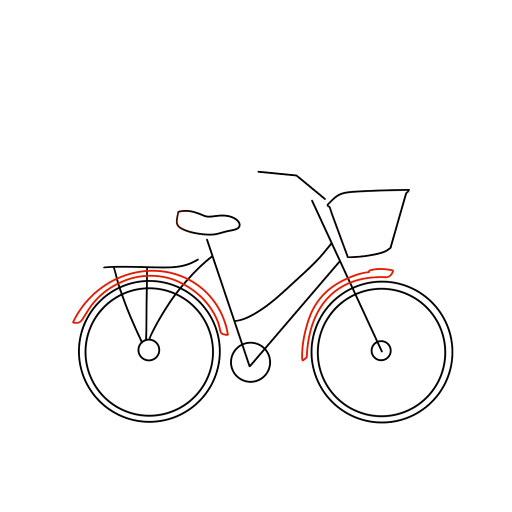
STEP 7 / 14
Step 7
Draw curved fender lines above both wheels, following the shape of the wheels.
Use this image in the tutorial maker →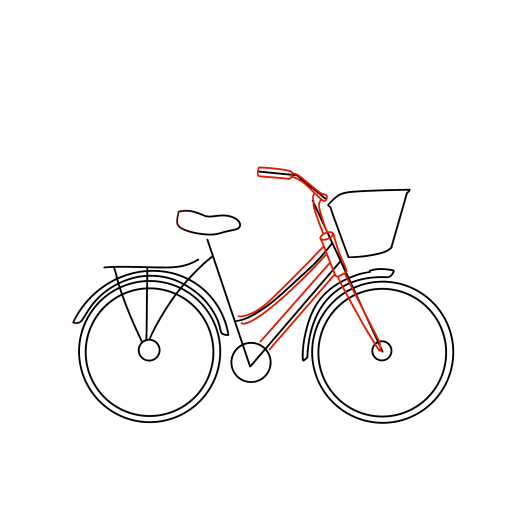
STEP 8 / 14
Step 8
Make the frame and handlebars more voluminous by adding thickness to the lines and emphasizing the curves.
Use this image in the tutorial maker →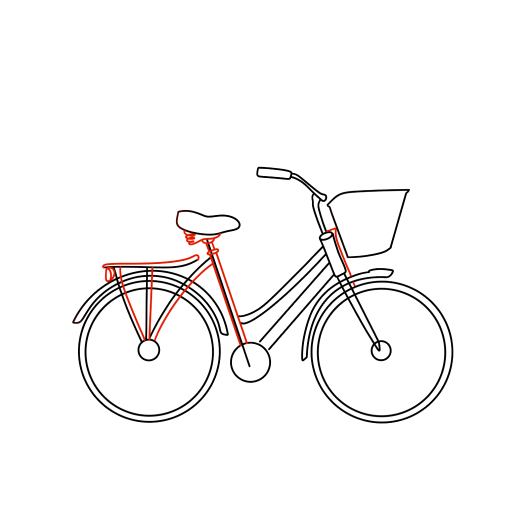
STEP 9 / 14
Step 9
Erase the auxiliary lines. Turn the sketched arc into a graceful luggage rack with clear contours and thickness. Add a spring under the saddle.
Use this image in the tutorial maker →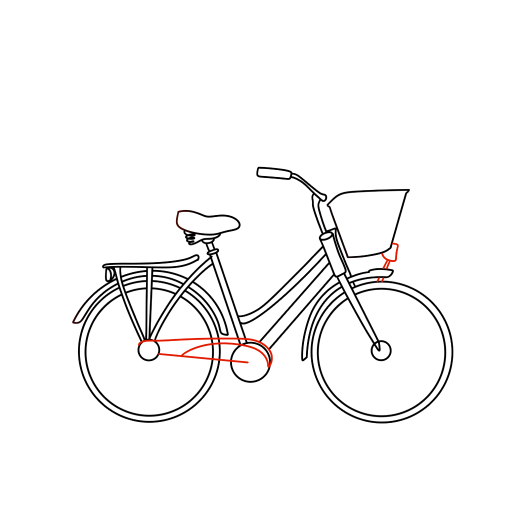
STEP 10 / 14
Step 10
Draw the chain guard with a smooth curved line. Place a round headlight on the front wheel.
Use this image in the tutorial maker →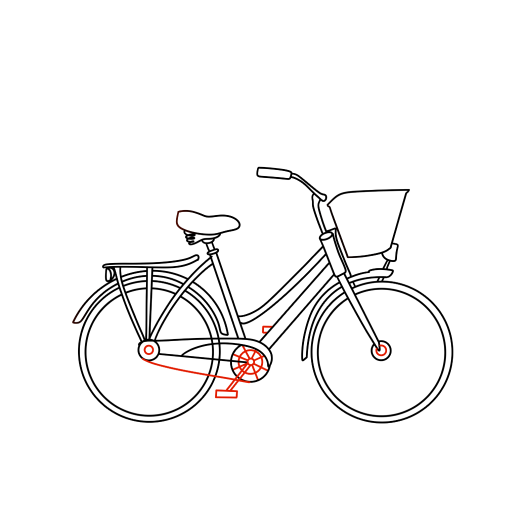
STEP 11 / 14
Step 11
Detail the pedals and connect the sprockets with a chain.
Use this image in the tutorial maker →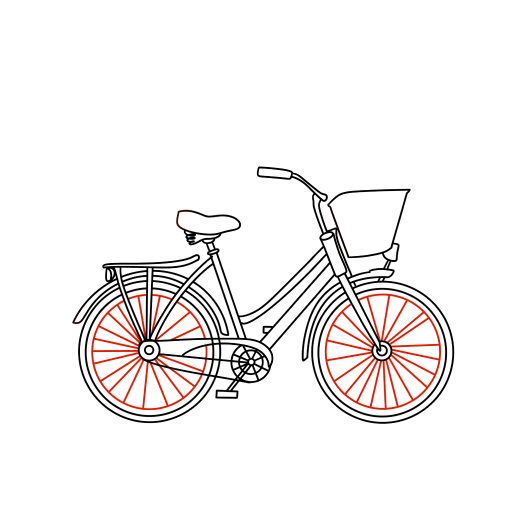
STEP 12 / 14
Step 12
Fill the wheels with life by drawing thin lines of spokes from the center to the rim at the same angle.
Use this image in the tutorial maker →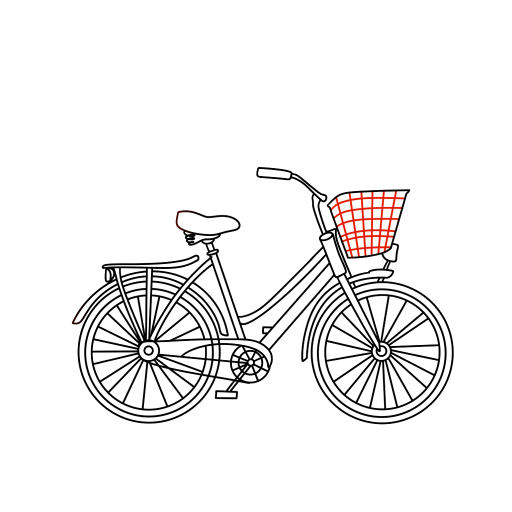
STEP 13 / 14
Step 13
Turn the basket into a woven one by applying a neat pattern of intersecting lines.
Use this image in the tutorial maker →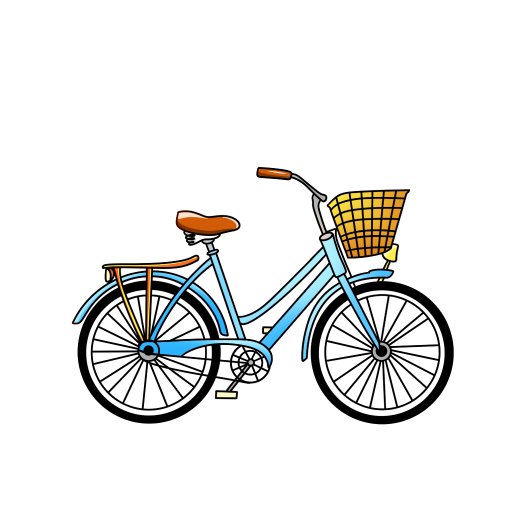
STEP 14 / 14
Step 14
Your drawing is ready! All that's left is to fill it with color according to the example.
Use this image in the tutorial maker →


