ORIGINAL DRAWING LESSON
Ballerina-Cappuccino
Drawing a ballerina-cappuccino is a fascinating combination of creativity and technique that will allow you to master the basics of composition and working with details. Start with simple shapes, gradually moving to complex elements, trying to accurately convey graceful lines and proportions. Carefully monitor the smooth transitions between the ballerina's figure and the cup's shape to achieve a harmonious combination.

STEP 1 / 13
Step 1
Draw a U-shaped arc — this will be the base of the cup.
Use this image in the tutorial maker →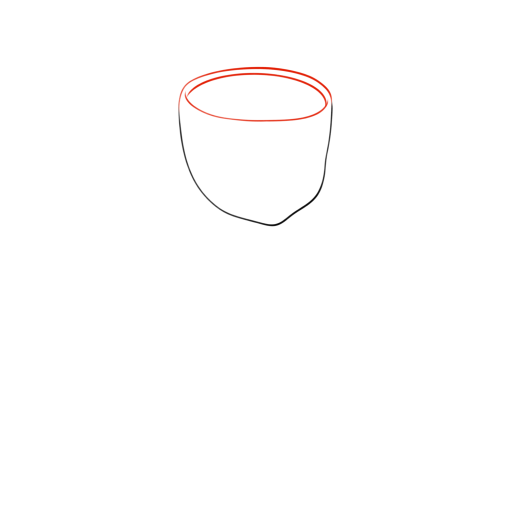
STEP 2 / 13
Step 2
Connect the top ends of the arc with a smooth line resembling half an oval to mark the rim of the cup. Outline its thickness with two arcs inside.
Use this image in the tutorial maker →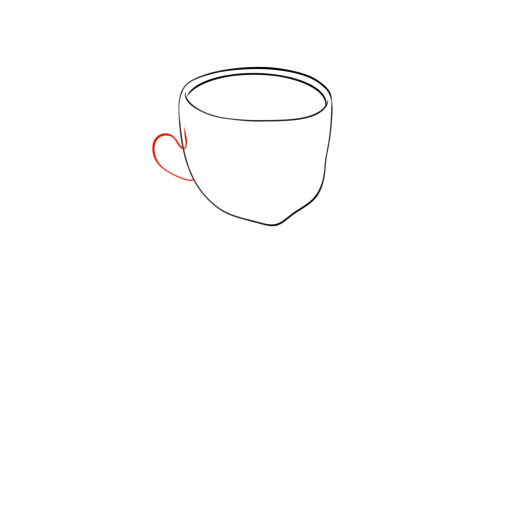
STEP 3 / 13
Step 3
On the left side, draw a graceful arc that will indicate the position of the handle.
Use this image in the tutorial maker →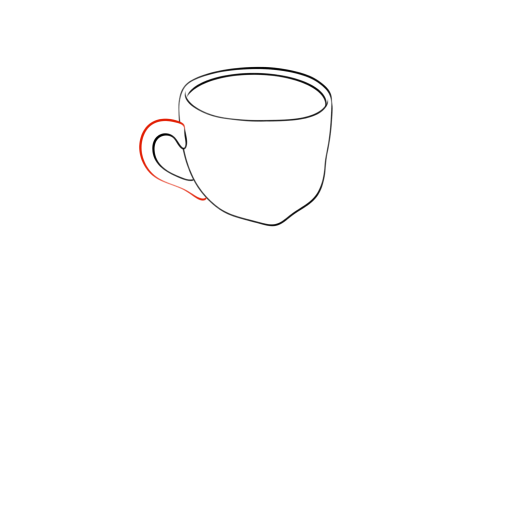
STEP 4 / 13
Step 4
Draw the second arc of the handle to give it its final shape and volume.
Use this image in the tutorial maker →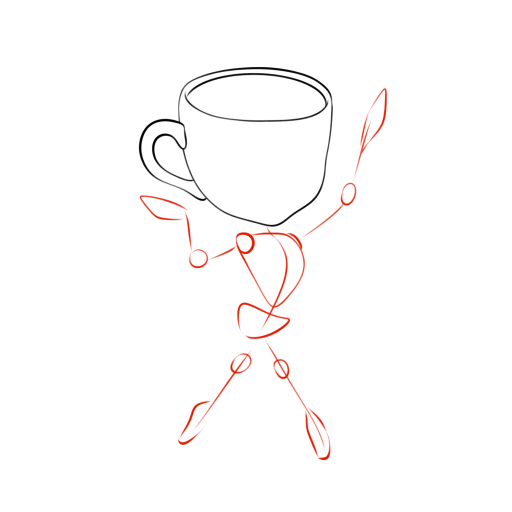
STEP 5 / 13
Step 5
Outline the ballerina's pose, marking the position of the body, arms, and legs, as well as the bends of the joints.
Use this image in the tutorial maker →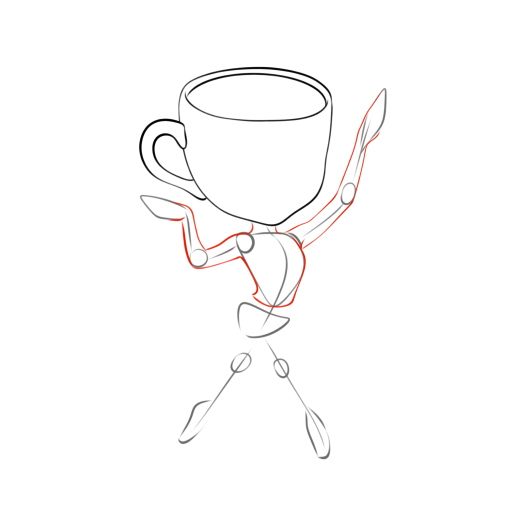
STEP 6 / 13
Step 6
Give the upper body volume by working on the muscle structure of the arms and torso.
Use this image in the tutorial maker →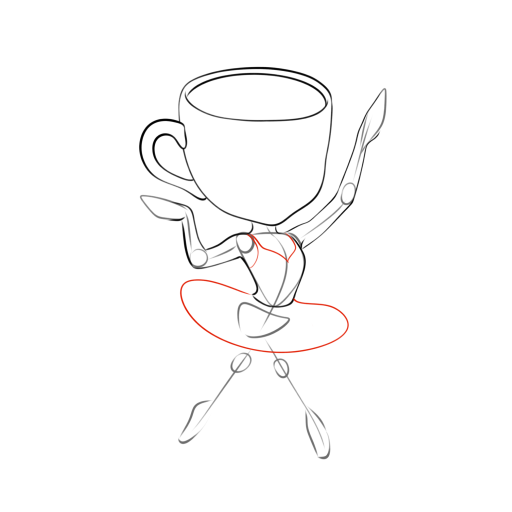
STEP 7 / 13
Step 7
Outline the light and airy shape of the dress.
Use this image in the tutorial maker →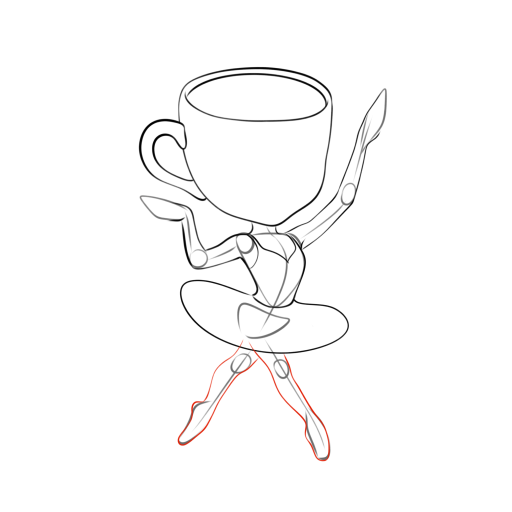
STEP 8 / 13
Step 8
Add volume to the legs, while maintaining their graceful proportions.
Use this image in the tutorial maker →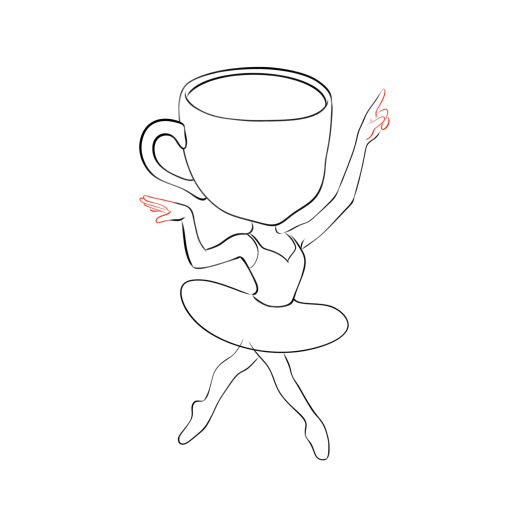
STEP 9 / 13
Step 9
Draw the fingers on the hands and carefully erase all guide lines.
Use this image in the tutorial maker →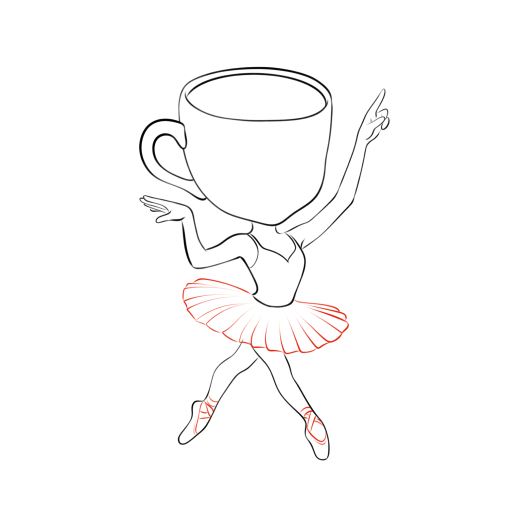
STEP 10 / 13
Step 10
Convey the texture of the fluffy part of the dress and draw the ballet flats on the feet in detail.
Use this image in the tutorial maker →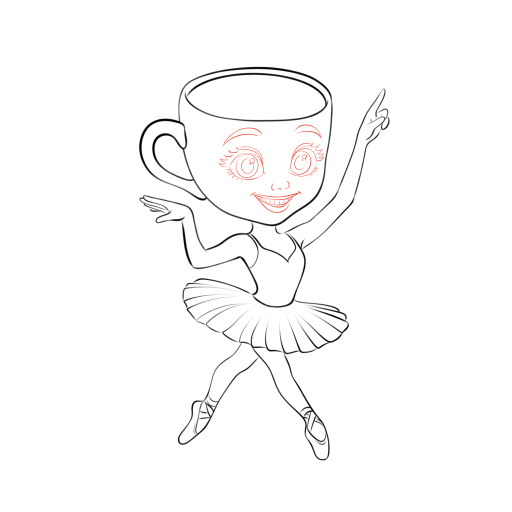
STEP 11 / 13
Step 11
Draw a cute and expressive face of the ballerina on the front of the cup.
Use this image in the tutorial maker →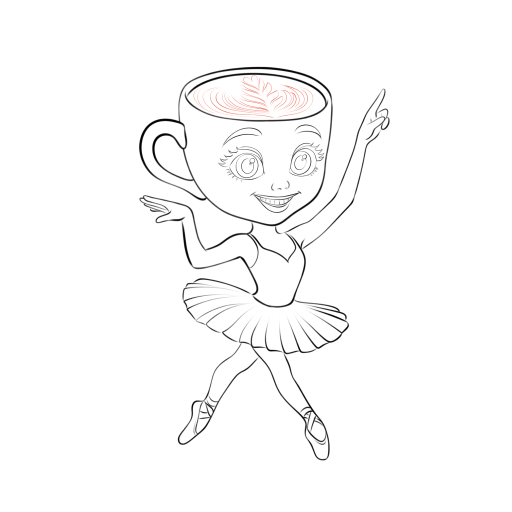
STEP 12 / 13
Step 12
Inside the cup, draw a pattern on the foam.
Use this image in the tutorial maker →
STEP 13 / 13
Step 13
The drawing is ready! Color it, paying attention to shadows and light areas to enhance volume and realism.
Use this image in the tutorial maker →


