ORIGINAL DRAWING LESSON
Ballerina
The ballerina is an artistic image that embodies the ideal of grace, discipline, and sublime beauty. Its formation began in the Romantic era (19th century), when dancers first rose en pointe to create the illusion of weightlessness and lightness. In art, the ballerina became a symbol of the harmony of body and spirit, of overcoming earthly gravity through art. Her image is associated with elegance, rigor, and sacrifice.

STEP 1 / 12
Step 1
With light, almost transparent lines, outline the top and bottom boundaries of the drawing, defining its overall composition.
Use this image in the tutorial maker →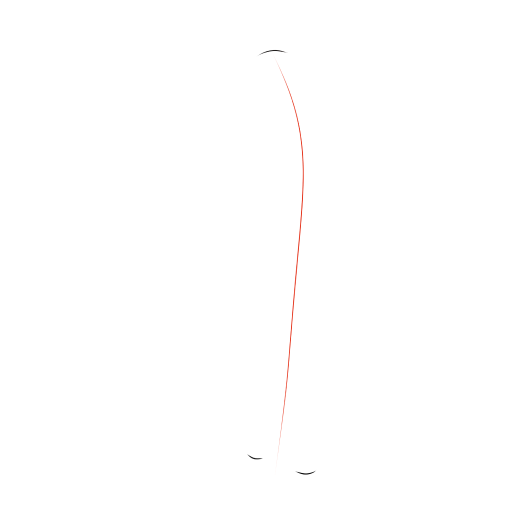
STEP 2 / 12
Step 2
Draw a central vertical axis to maintain symmetry and proportions.
Use this image in the tutorial maker →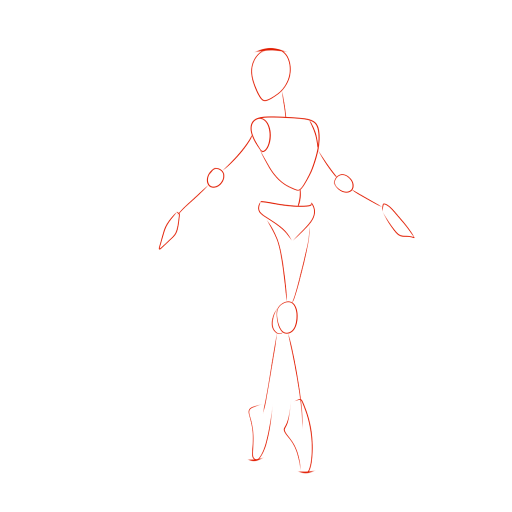
STEP 3 / 12
Step 3
Schematically outline the basic forms: head, torso, and pelvis. Indicate the dynamics of the pose by showing the direction of the arms, legs, and the position of the joints.
Use this image in the tutorial maker →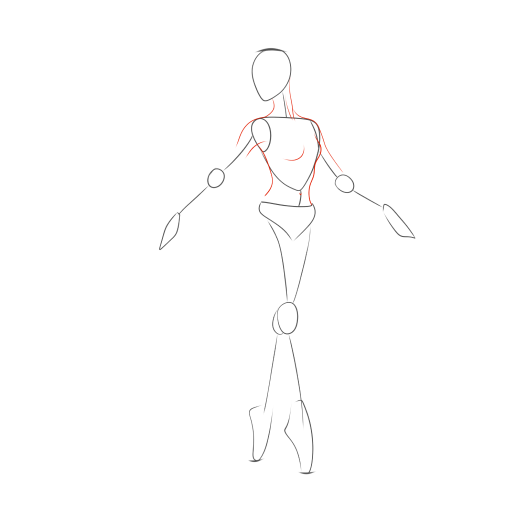
STEP 4 / 12
Step 4
Refine the outlines of the torso, add an elegant curve to the neck.
Use this image in the tutorial maker →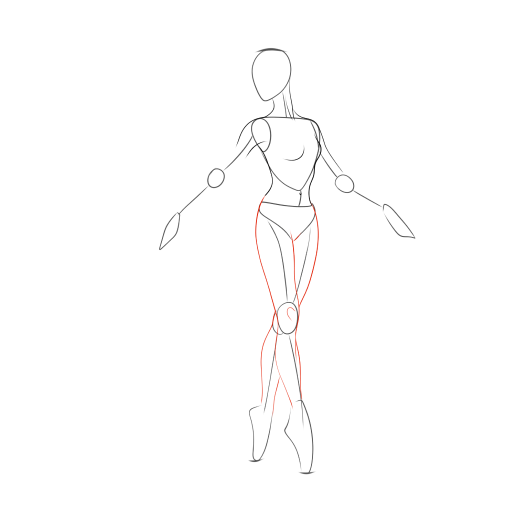
STEP 5 / 12
Step 5
Draw the elongated lines of the legs, conveying the graceful fluidity characteristic of a ballerina.
Use this image in the tutorial maker →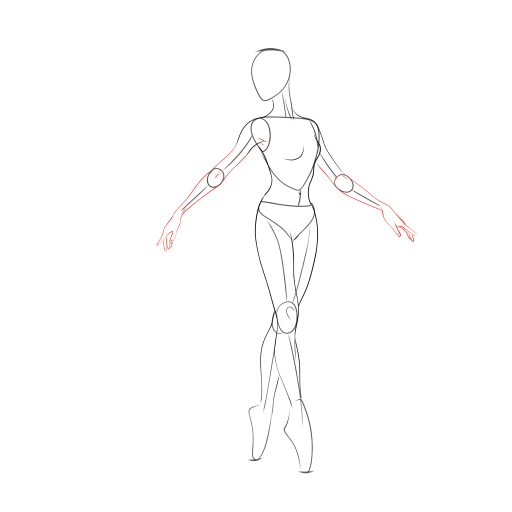
STEP 6 / 12
Step 6
Depict thin arms with elongated fingers and graceful wrists, maintaining the lightness of the lines.
Use this image in the tutorial maker →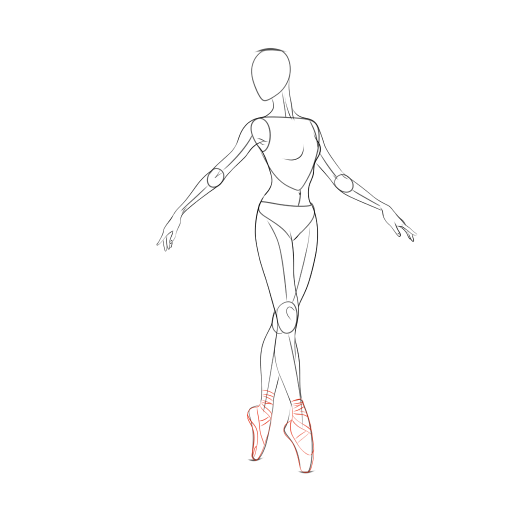
STEP 7 / 12
Step 7
Detail the feet, indicating the pointe shoes.
Use this image in the tutorial maker →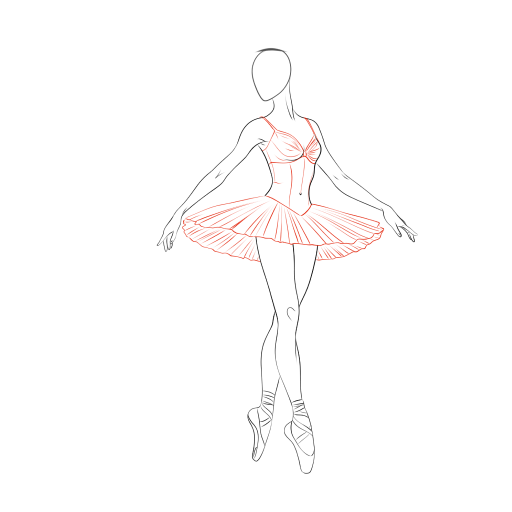
STEP 8 / 12
Step 8
Remove the auxiliary lines, detail the dress: add folds and curves.
Use this image in the tutorial maker →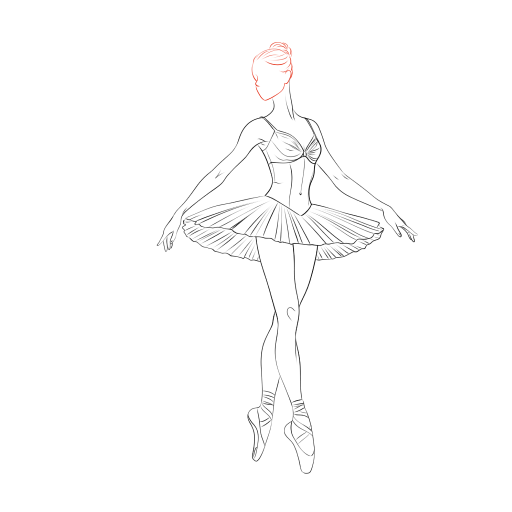
STEP 9 / 12
Step 9
Determine the turn of the head and add the hairstyle.
Use this image in the tutorial maker →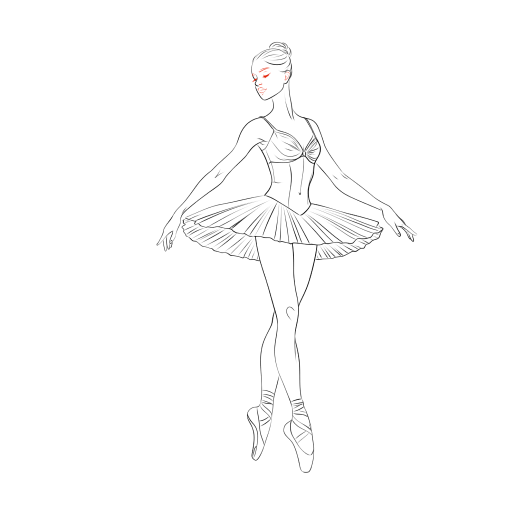
STEP 10 / 12
Step 10
Concisely outline the facial features: eyes, eyebrows, nose, and mouth.
Use this image in the tutorial maker →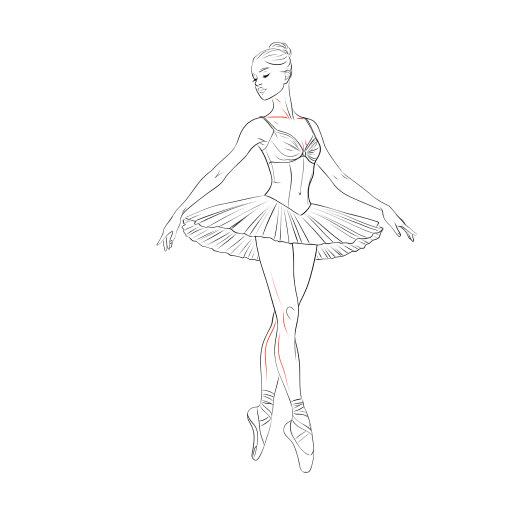
STEP 11 / 12
Step 11
Emphasize anatomical features: collarbones, chest, and leg muscles for expressiveness.
Use this image in the tutorial maker →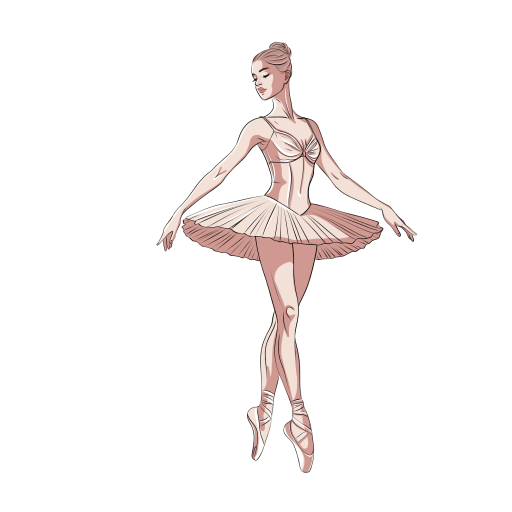
STEP 12 / 12
Step 12
The drawing is complete! All that remains is to color it according to the sample.
Use this image in the tutorial maker →


