ORIGINAL DRAWING LESSON
Ariana Grande
Ariana Grande is a global pop icon and one of the most influential artists of her generation, whose voice is recognized as one of the best in modern music. A recognizable feature of her image is her high ponytail and 60s-style dresses, which have become her trademark and a subject of adoration for fans.
STEP 1 / 15
Step 1
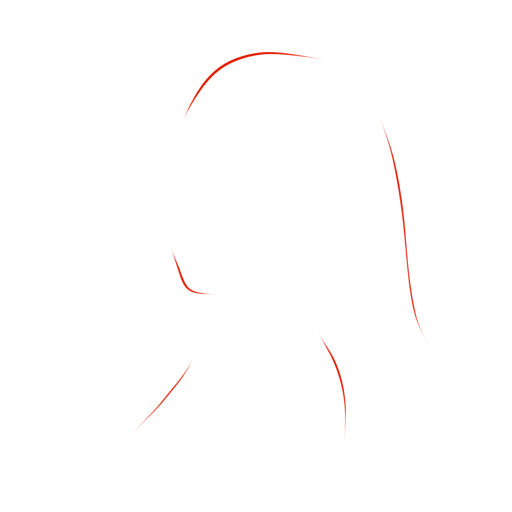
With light lines, outline the general proportions of the portrait: the oval of the face, the graceful neck, and the lush volume of the future hairstyle.
Use this image in the tutorial maker →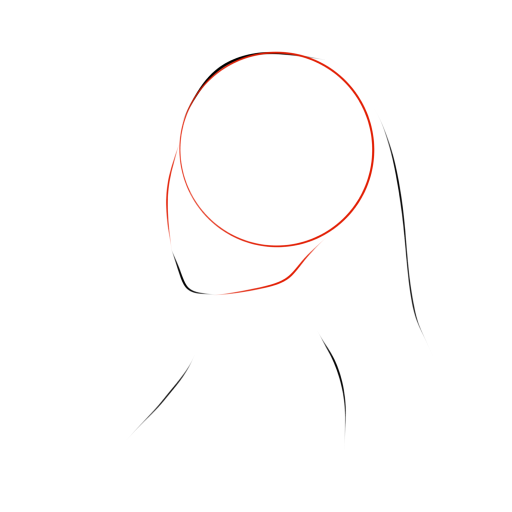
STEP 2 / 15
Step 2
To accurately convey facial features, draw a reference circle for the upper part of the head and smoothly narrow the lines towards the chin, forming a perfect oval.
Use this image in the tutorial maker →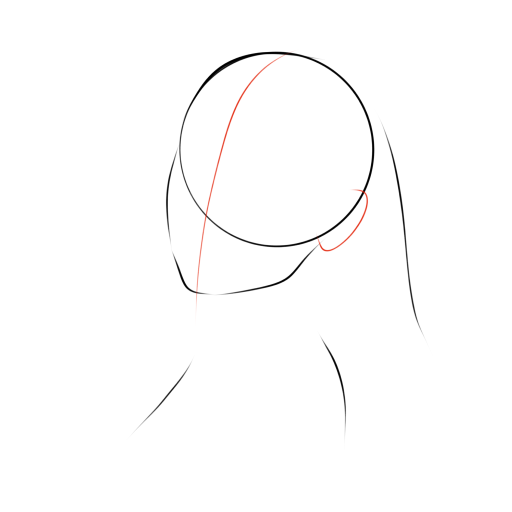
STEP 3 / 15
Step 3
Draw a vertical midline of the face—an axis of symmetry that will help maintain proportions. Outline the location of the ear.
Use this image in the tutorial maker →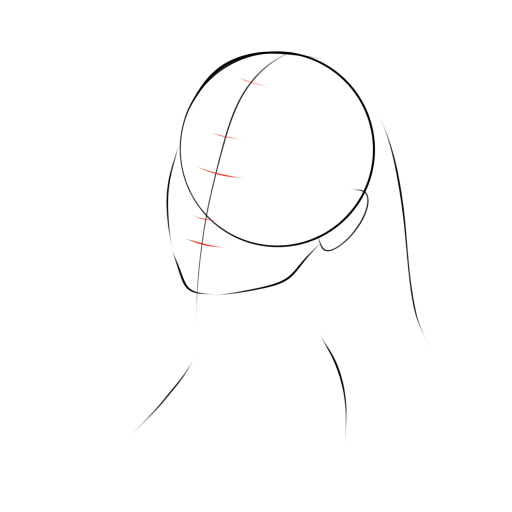
STEP 4 / 15
Step 4
Divide the midline into several conditional segments for precise feature marking. In the lower part, outline the line of the mouth.
Use this image in the tutorial maker →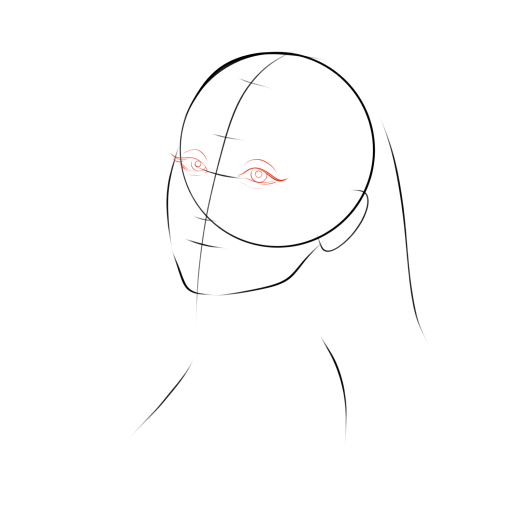
STEP 5 / 15
Step 5
Determine the place for the expressive eyes: the distance between them is approximately equal to the width of one eye. Lightly sketch the pupils and the almond shape of the eyes.
Use this image in the tutorial maker →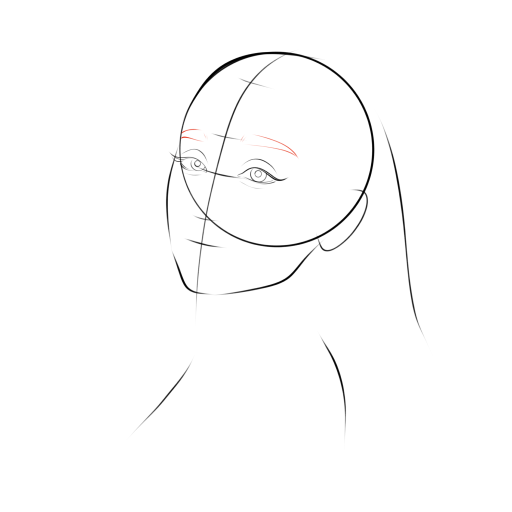
STEP 6 / 15
Step 6
Draw the graceful arches of the eyebrows, which give the face an emotional expression.
Use this image in the tutorial maker →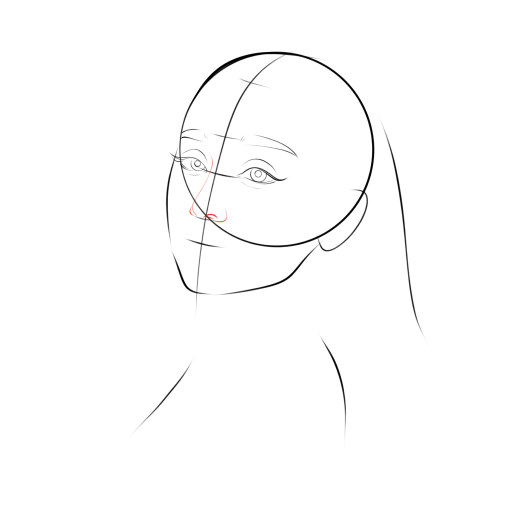
STEP 7 / 15
Step 7
Mark the shape of the nose, characteristic of the singer—miniature and refined.
Use this image in the tutorial maker →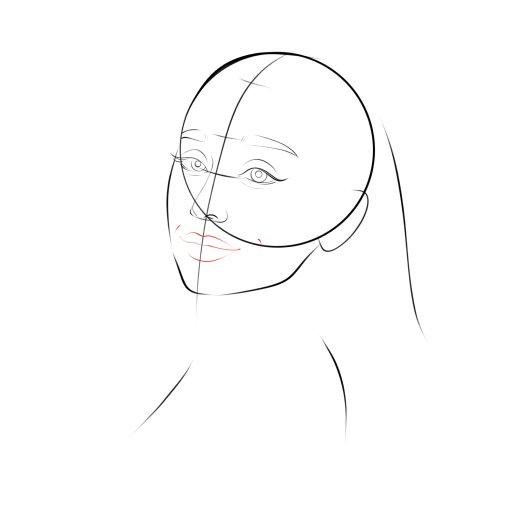
STEP 8 / 15
Step 8
Carefully draw the lips: for precise placement of the corners, draw imaginary lines down from the center of the pupils.
Use this image in the tutorial maker →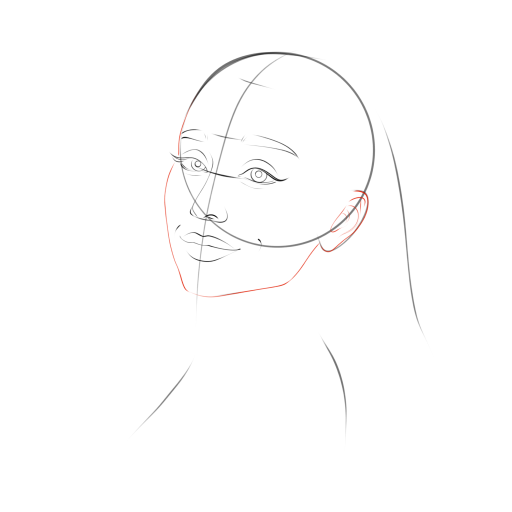
STEP 9 / 15
Step 9
Refine the contour of the face: emphasize the cheekbones and the jawline, giving the portrait resemblance. Detail the ear.
Use this image in the tutorial maker →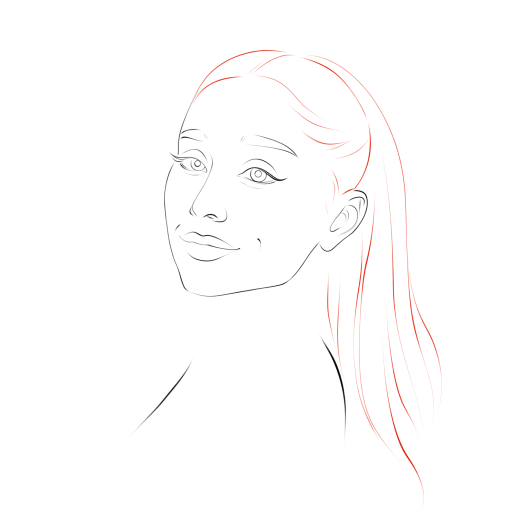
STEP 10 / 15
Step 10
Move on to the most famous detail—the hairstyle. With free, flowing movements, draw the lush ponytail and the strands framing the face.
Use this image in the tutorial maker →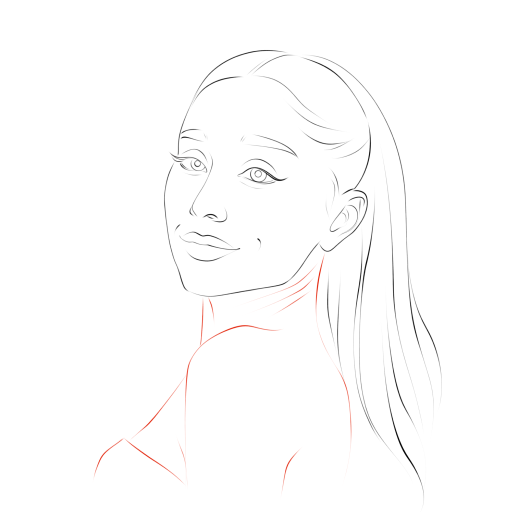
STEP 11 / 15
Step 11
Draw the graceful neck, mark the collarbones and the line of the shoulders to complete the figure.
Use this image in the tutorial maker →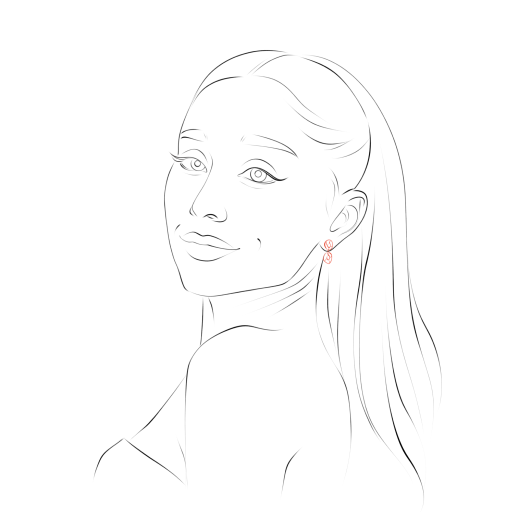
STEP 12 / 15
Step 12
Add an exquisite detail—an earring in the ear, using small strokes.
Use this image in the tutorial maker →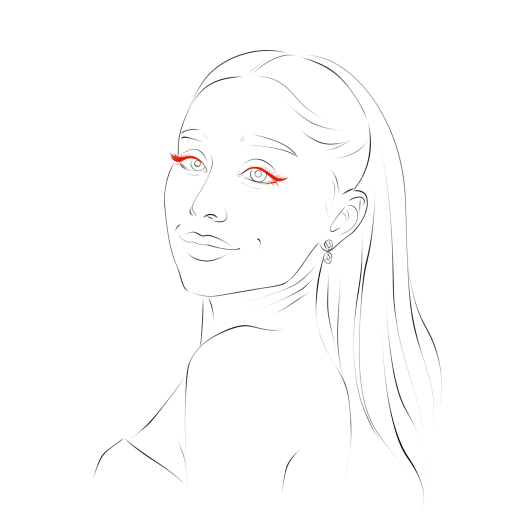
STEP 13 / 15
Step 13
Detail the eyes by adding the signature winged eyeliner, which emphasizes the shape of the eyes.
Use this image in the tutorial maker →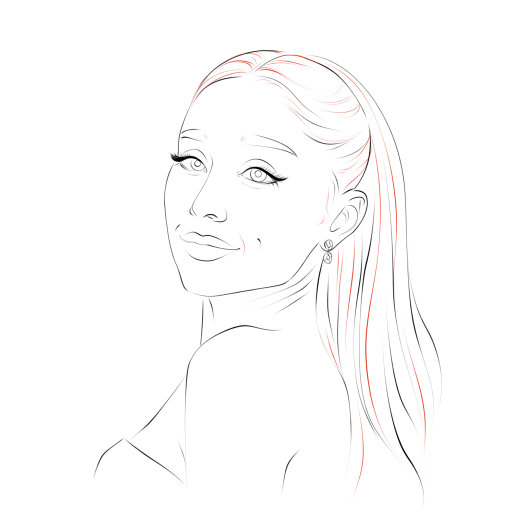
STEP 14 / 15
Step 14
Add volume and life to the hairstyle: work on individual strands, add highlights and texture, creating the effect of thick hair.
Use this image in the tutorial maker →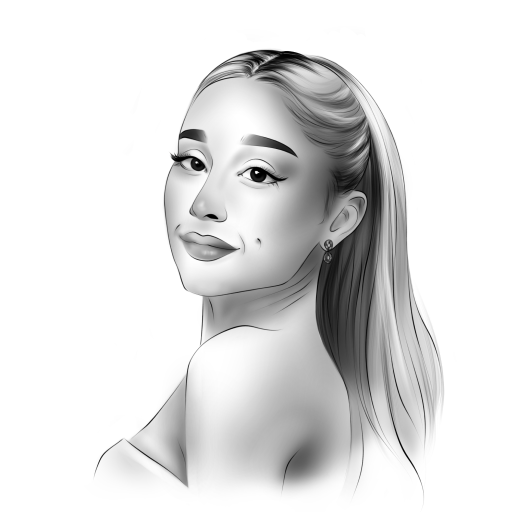
STEP 15 / 15
Step 15
The drawing is ready! All that's left is to give it volume according to the example.
Use this image in the tutorial maker →


