ORIGINAL DRAWING LESSON
Anime head drawing tutorial
In this lesson, we will learn how to properly draw an anime character's face with a pencil. We will start by building the proportions of the face, and then add tone and volume.
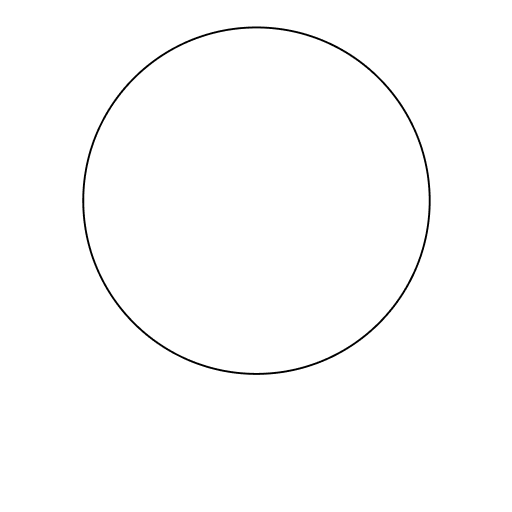
STEP 2 / 18
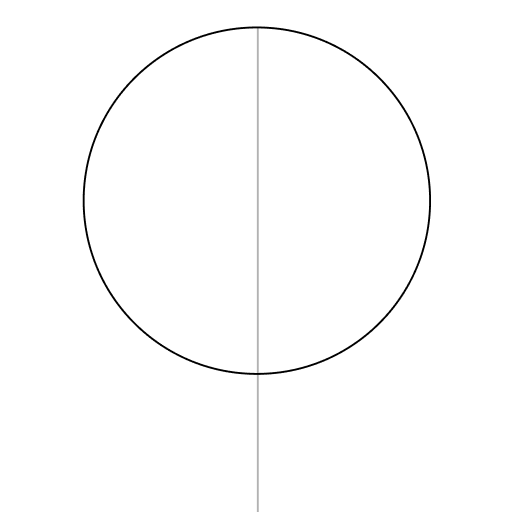
Step 2
Draw a straight vertical line through its middle. It is necessary for the symmetry of the face.
Use this image in the tutorial maker →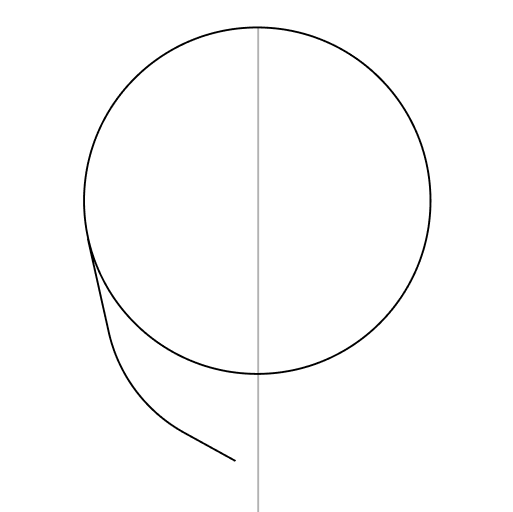
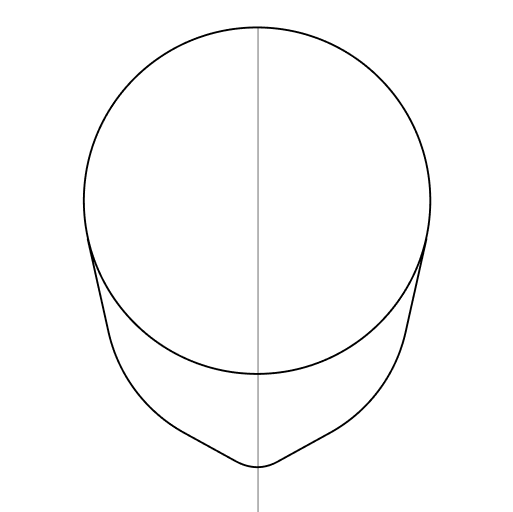
STEP 5 / 18
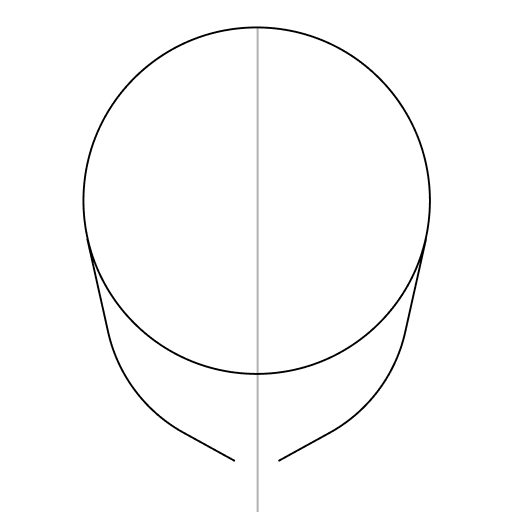
Step 5
Add a line of chin. It should be slightly smaller in width than the circle.
Use this image in the tutorial maker →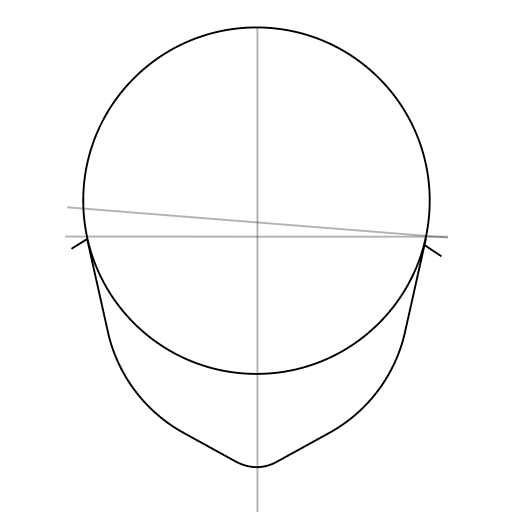
STEP 6 / 18
Step 6
Draw a straight horizontal line down the middle of the resulting face.
Use this image in the tutorial maker →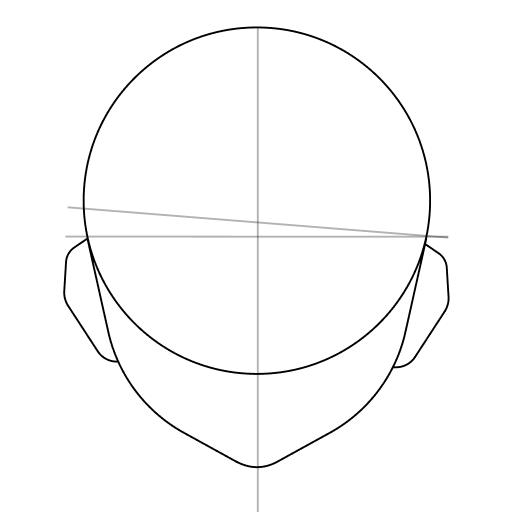
STEP 7 / 18
Step 7
Draw the ears below the line. To make them look more realistic, don't draw them as a simple oval — the shape of the ears is more complex. The widest part should not be in the center, but slightly higher.
Use this image in the tutorial maker →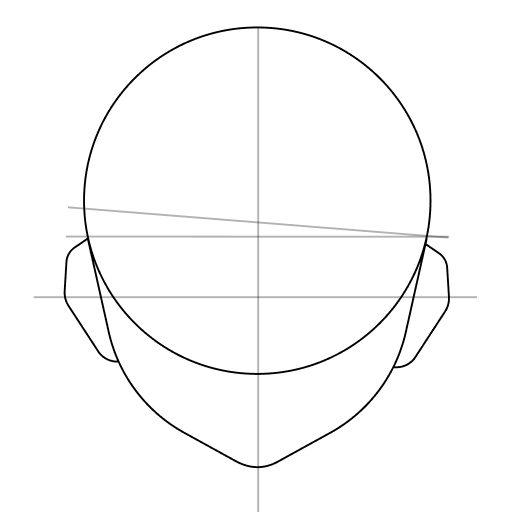
STEP 8 / 18
Step 8
Find the middle of the ears and draw another horizontal line from one point to another. The eyes will be between the two lines.
Use this image in the tutorial maker →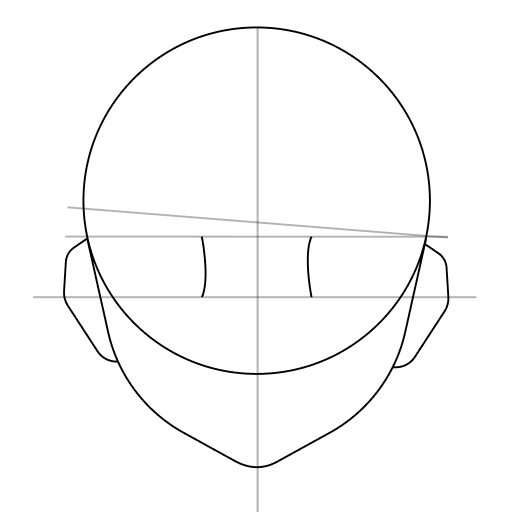
STEP 10 / 18
Step 10
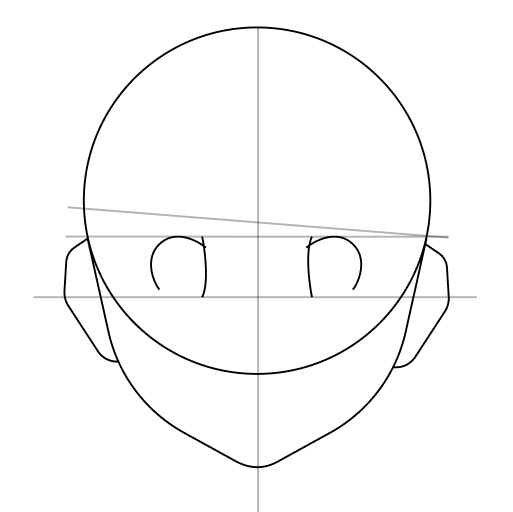
From these lines draw a semicircle, touching the auxiliary lines.
Use this image in the tutorial maker →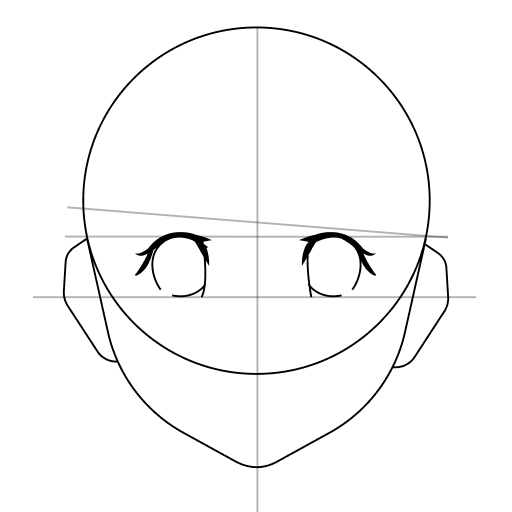
STEP 11 / 18
Step 11
Strengthen the upper line and add eyelashes. You don’t need to draw them in separate strokes — it’s better to draw several thick lines from the eyelid. There should be more eyelashes in the corner of the upper eyelid, and they can only be outlined on the lower one.
Use this image in the tutorial maker →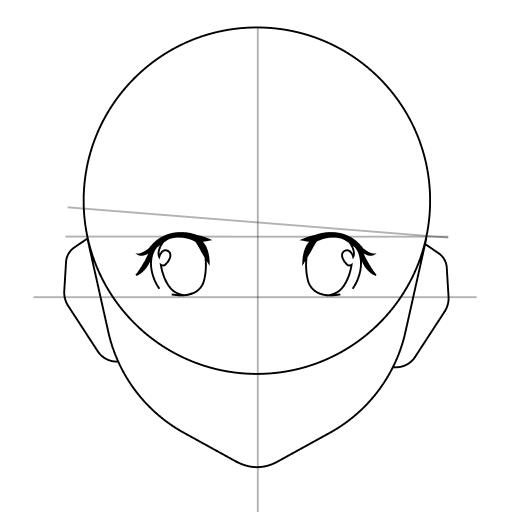
STEP 12 / 18
Step 12
Draw an oval iris inside the eyes - it will take up about ⅔ of the space.
Use this image in the tutorial maker →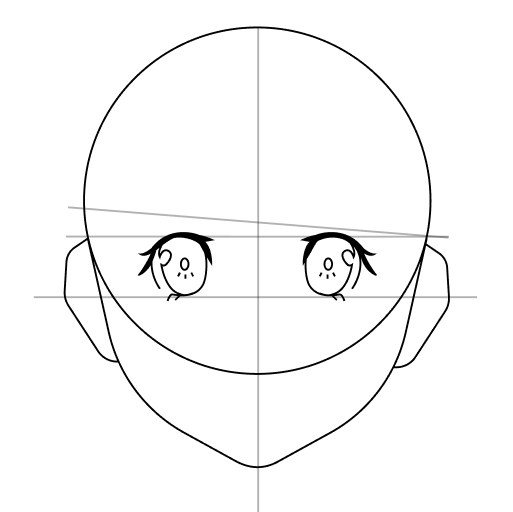
STEP 13 / 18
Step 13
Mark the pupils and add highlights - it is important that they are on one side.
Use this image in the tutorial maker →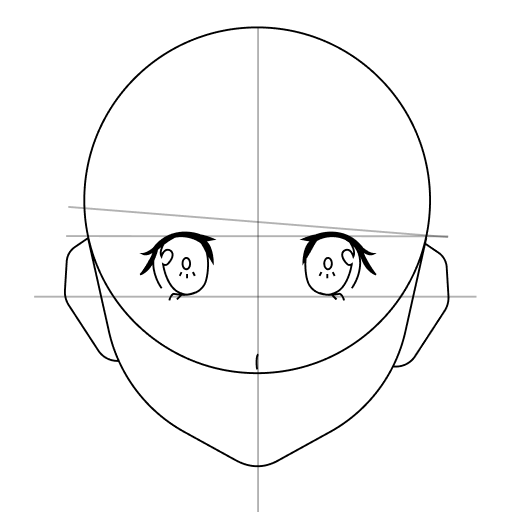
STEP 14 / 18
Step 14
Mark the nose with a small triangle. It should be right in the center.
Use this image in the tutorial maker →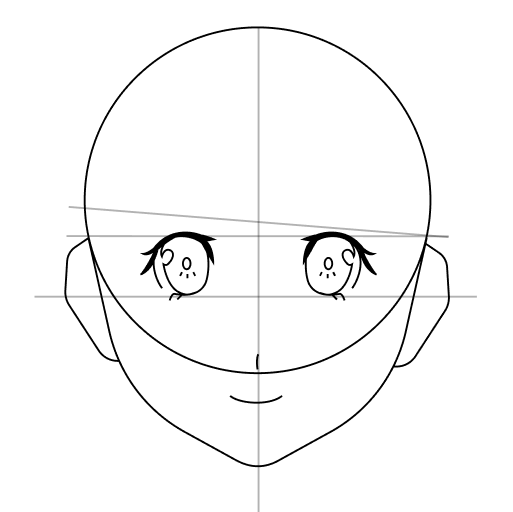
STEP 15 / 18
Step 15
The lips can be depicted as a curved line, reinforced towards the ends.
Use this image in the tutorial maker →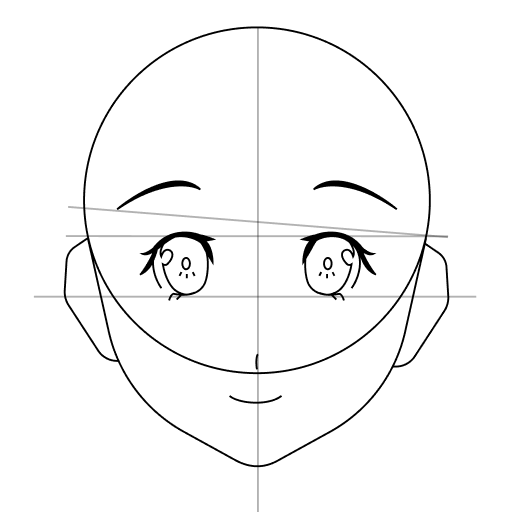
STEP 16 / 18
Step 16
Finish drawing the eyebrows with two thick lines that go up.
Use this image in the tutorial maker →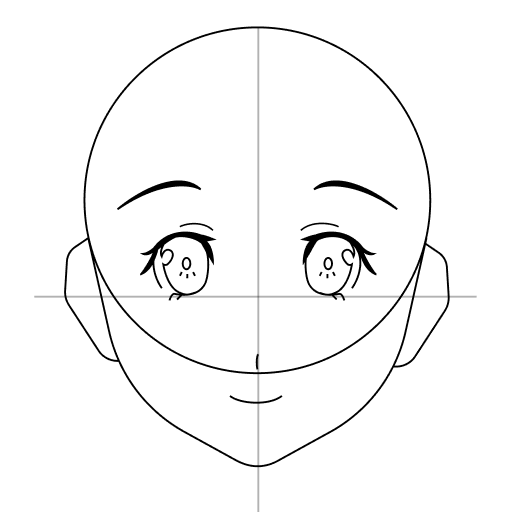
STEP 18 / 18
Step 18
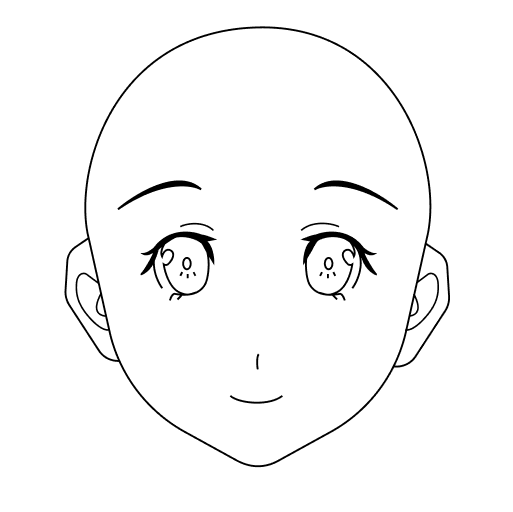
Add ear details - the auricle curl, the tragus. Now you can erase the auxiliary lines, and the drawing is ready!
Use this image in the tutorial maker →


